

Hardware components | ||||||
 |
| × | 1 | |||
 |
| × | 1 | |||
 |
| × | 4 | |||
 |
| × | 9 | |||
 |
| × | 1 | |||
| × | 1 | ||||
Software apps and online services | ||||||
 |
| |||||
Hand tools and fabrication machines | ||||||
 |
| |||||
You can learn how to program a Raspberry Pi Pico using the Arduino IDE from here. I would recommend you to go through the code to get an understanding of how it works as it will make it easier to make changes and troubleshoot.
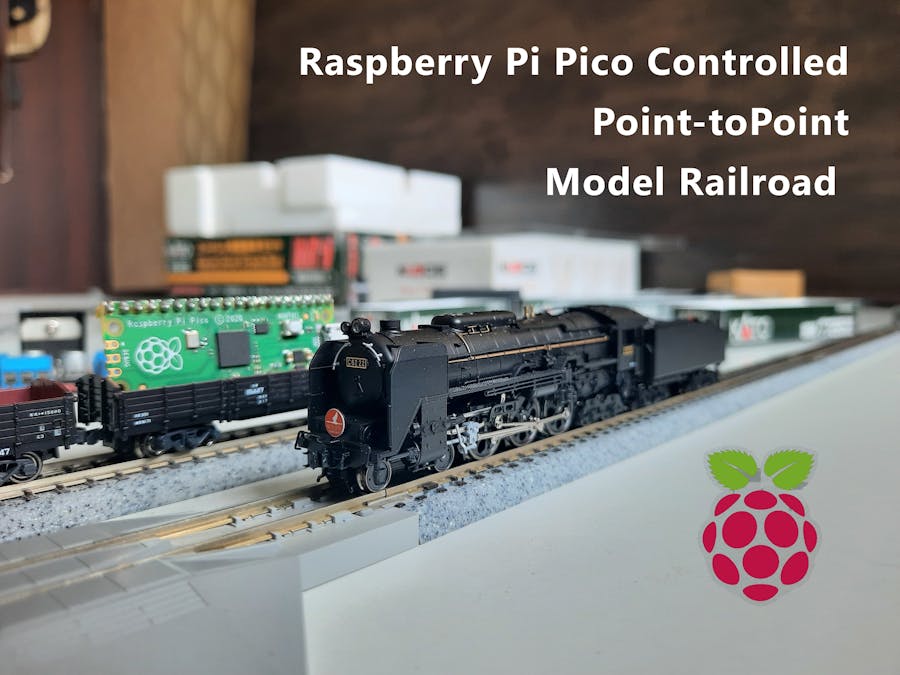
Step 2: Set Up the LayoutThe two 'sensored' tracks will be installed, after leaving some length of tracks at each end of the layout. This extra length of the track is required for the locomotive to slow down gradually and stop.
Step 3: Install the Pico on a BreadboardYou can skip this step if your Pico has female headers installed.
Step 4: Connect the Motor Driver to Power WiresMake sure the header pins behind the power input terminals are bridged with a jumper connector. The left terminal will be connected to a +12-volt DC supply, the middle one will be connected to the GND of the power supply and Pico and the right terminal will be connected to the VSYS pin of the Pico.
Step 5: Connect Track Power to the Motor DriverConnect +5-volt terminal of the motor driver to the VSYS pin of Pico and the GND terminal to the GND pin of Pico, then make the following wiring connections:
- IN1 to GP7
- IN2 to GP8
- ENA to GP9
Connect the VCC pin of each sensor to the 3V3(OUT) pin of the Pico and the GND of each sensor to the GND pin of the pico. Connect the output of the sensor near point A to pin ADC0 and the output of the sensor near point B to the ADC1 pin of the Pico.
Step 8: Place the Locomotive on the TracksPlace the locomotive at point A of the layout. Use of a rerailing tool is recommended, especially for steam locomotives.
Step 9: Power Up the SetupDouble-check all the wiring connections and then connect the 12-volt power supply to the motor driver via a female DC jack. After turning on the power, the locomotive should start to move as shown in the video above.
Step 10: Tinker With the ProjectNow that you have got your locomotive running successfully around the layout, why not try modifying it? You can increase the length of the track and add another halting point in the layout, you can add a turnout, or run two trains! There is a lot to do. If possible, do share your creation with the community. All the best!

_3u05Tpwasz.png?auto=compress%2Cformat&w=40&h=40&fit=fillmax&bg=fff&dpr=2)
Comments