

Hardware components | ||||||
| × | 1 | ||||
| × | 1 | ||||
 |
| × | 1 | |||
 |
| × | 1 | |||
 |
| × | 1 | |||
It is quite tricky to get Arduino (and it's hardware connected to it) talking to a screen; like a phone, iPad or laptop. This code helps you to connect Arduino to all kinds of experiences. Like playing Spotify, making a photobooth (where a sensor or button triggers making the picture), playing games or prototyping hardware connected apps.
It is a bit like Makey Makey, that made it possible to connect to laptops (or devices that allow USB); this library can help you to create wireless connections from the ESP32 to anything that supports Bluetooth low energy (BLE).
Bluetooth keyboards are a great way to connect Arduino to a phone to make these prototypes. We used the Bluetooth keyboard-chip from Adafruit (The bluefruit EZ-key) a lot for making remote controls talk to iPads or other digital devices within my internship at LEGO. Because we wanted full control over what the buttons would send to the iPad, we put an Arduino Nano in between that could send a character on press and one on release.
Now that the ESP32 chip arrived it is easier to create BLE experiences than ever; making the ESP32 chip talk like a keyboard is a great way to have everything at one chip, which reduces space, cost and increases possibilities.
People like T-vK and chegewara have made it easier than ever to make the ESP talk like a Bluetooth keyboard by creating a library for the Arduino software that makes it possible with just a few lines to send keystrokes to any device (that supports BLE)
Steps- Install Arduino (probably already done ;) )
- Install the ESP32 boards (using the board manager), see instructions here
- Install the ESP32-keyboard library (see the installation tab on the GitHub) it is not yet in the library manager.
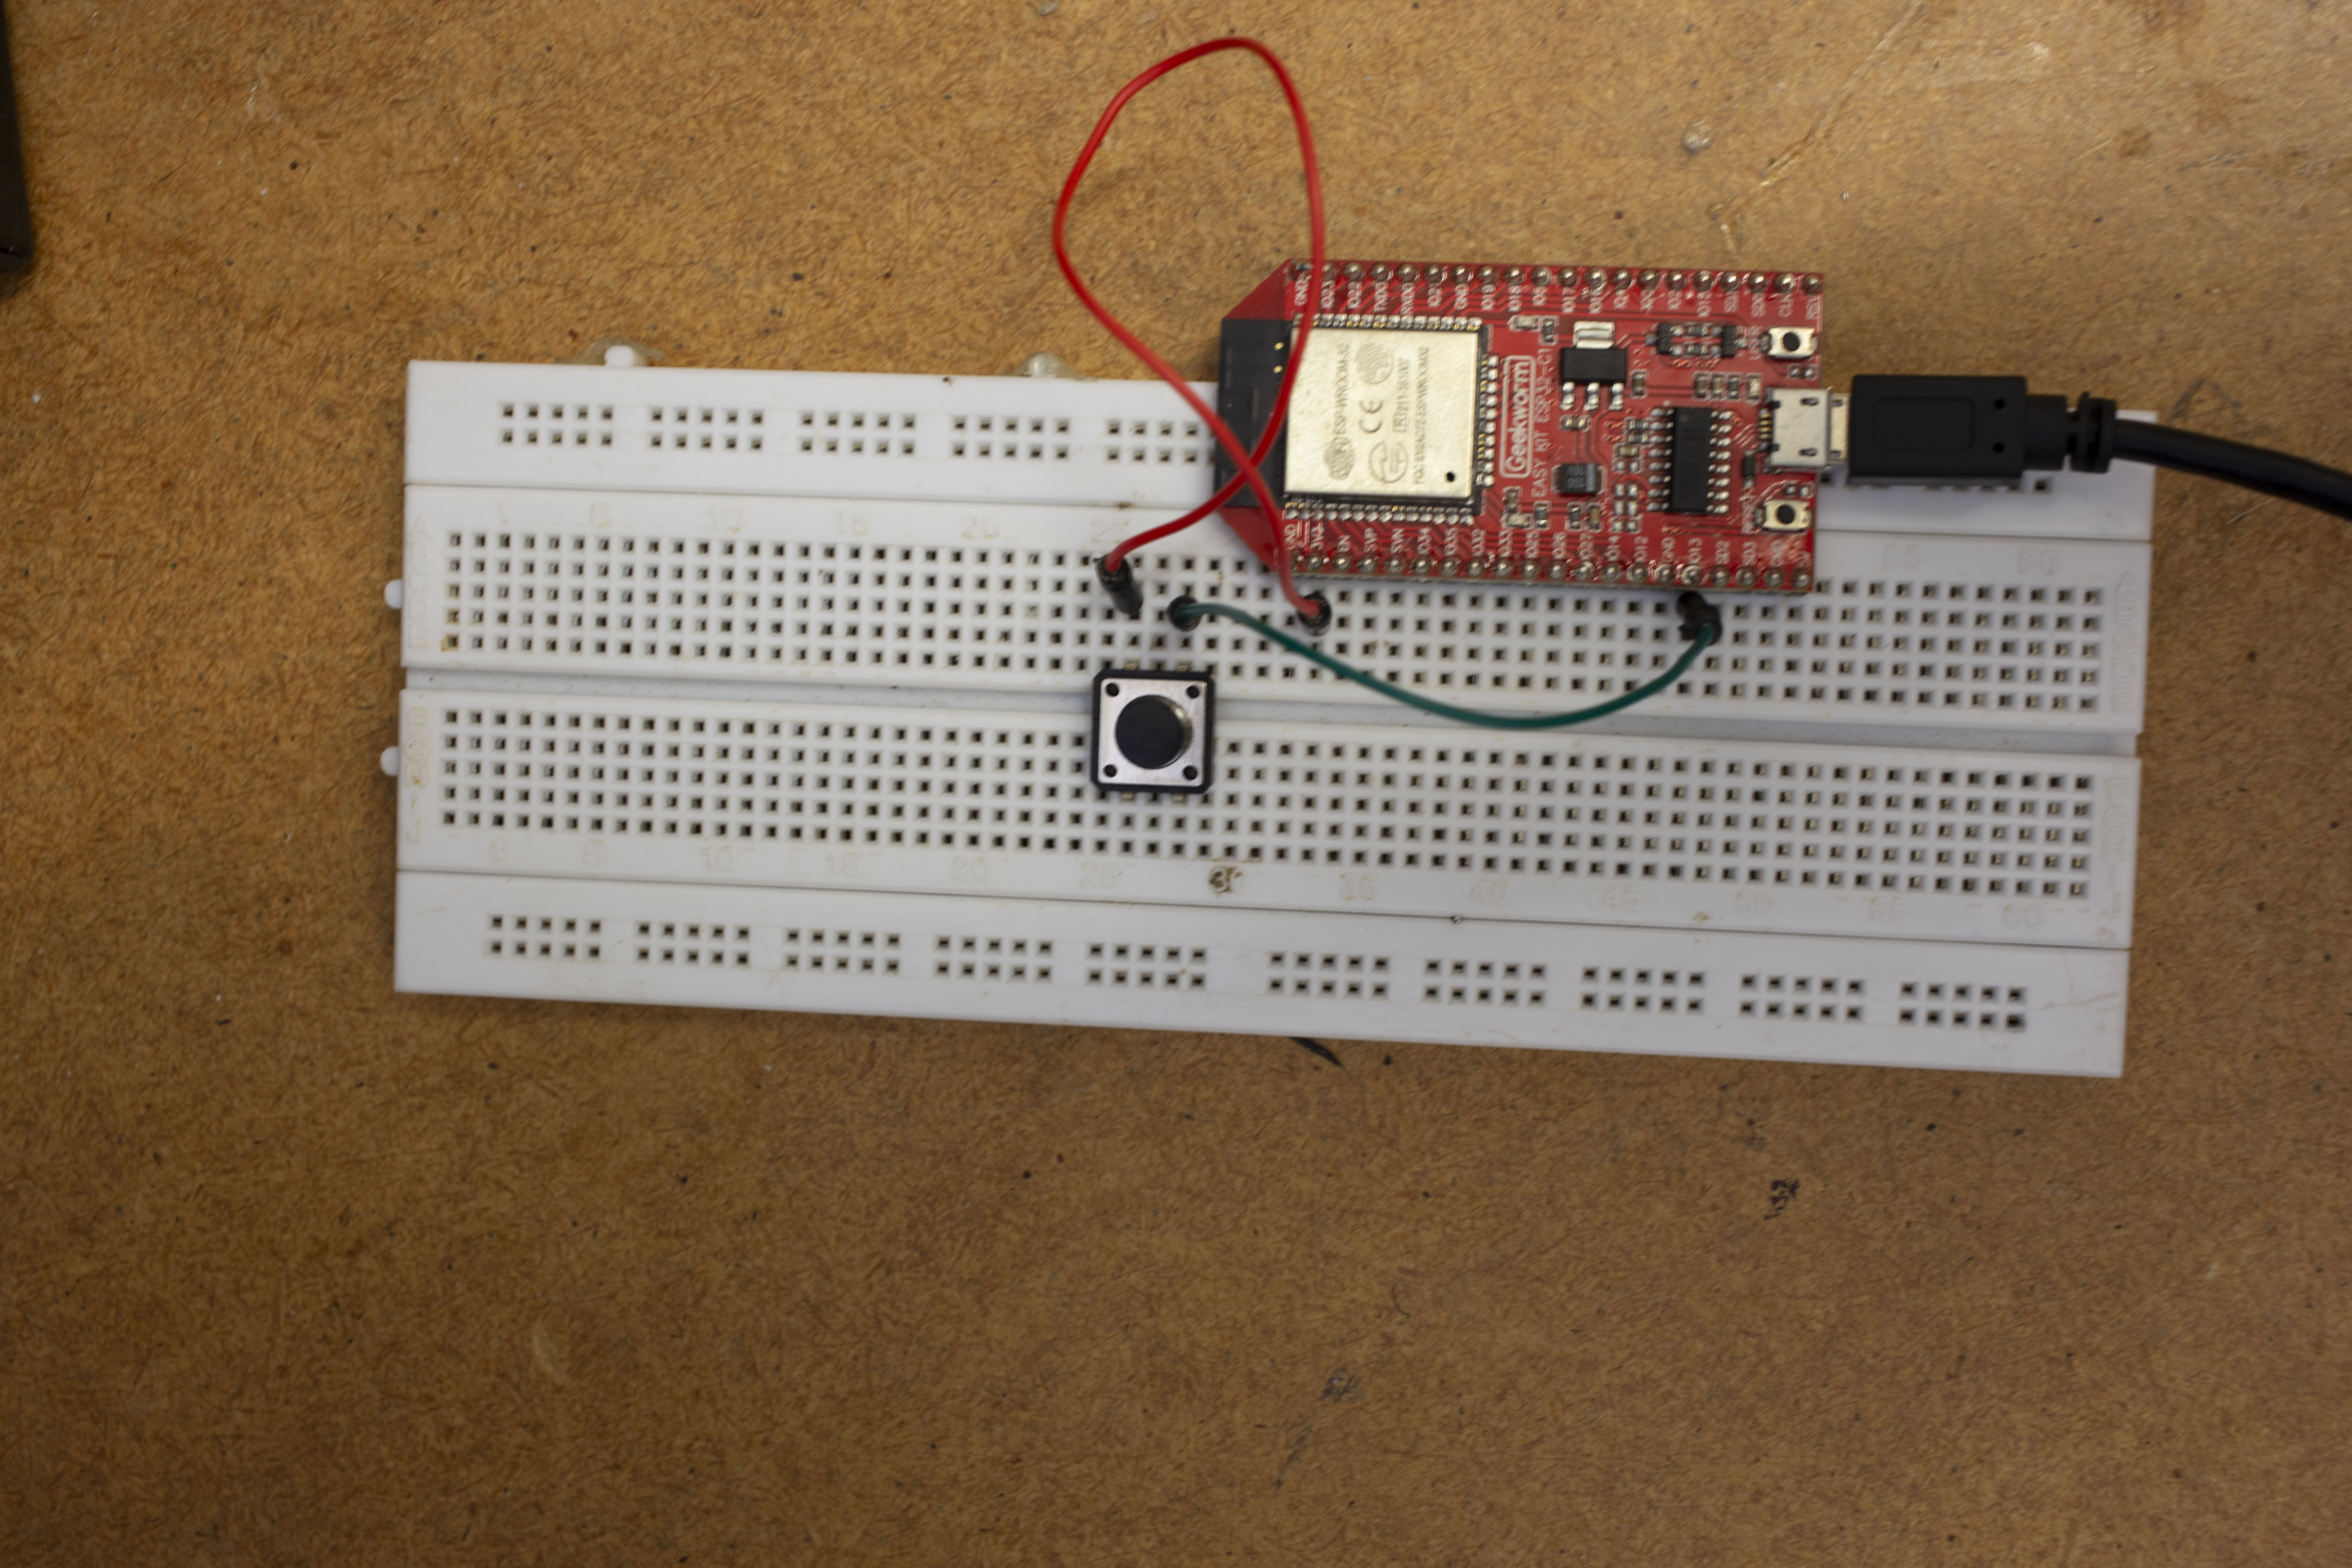
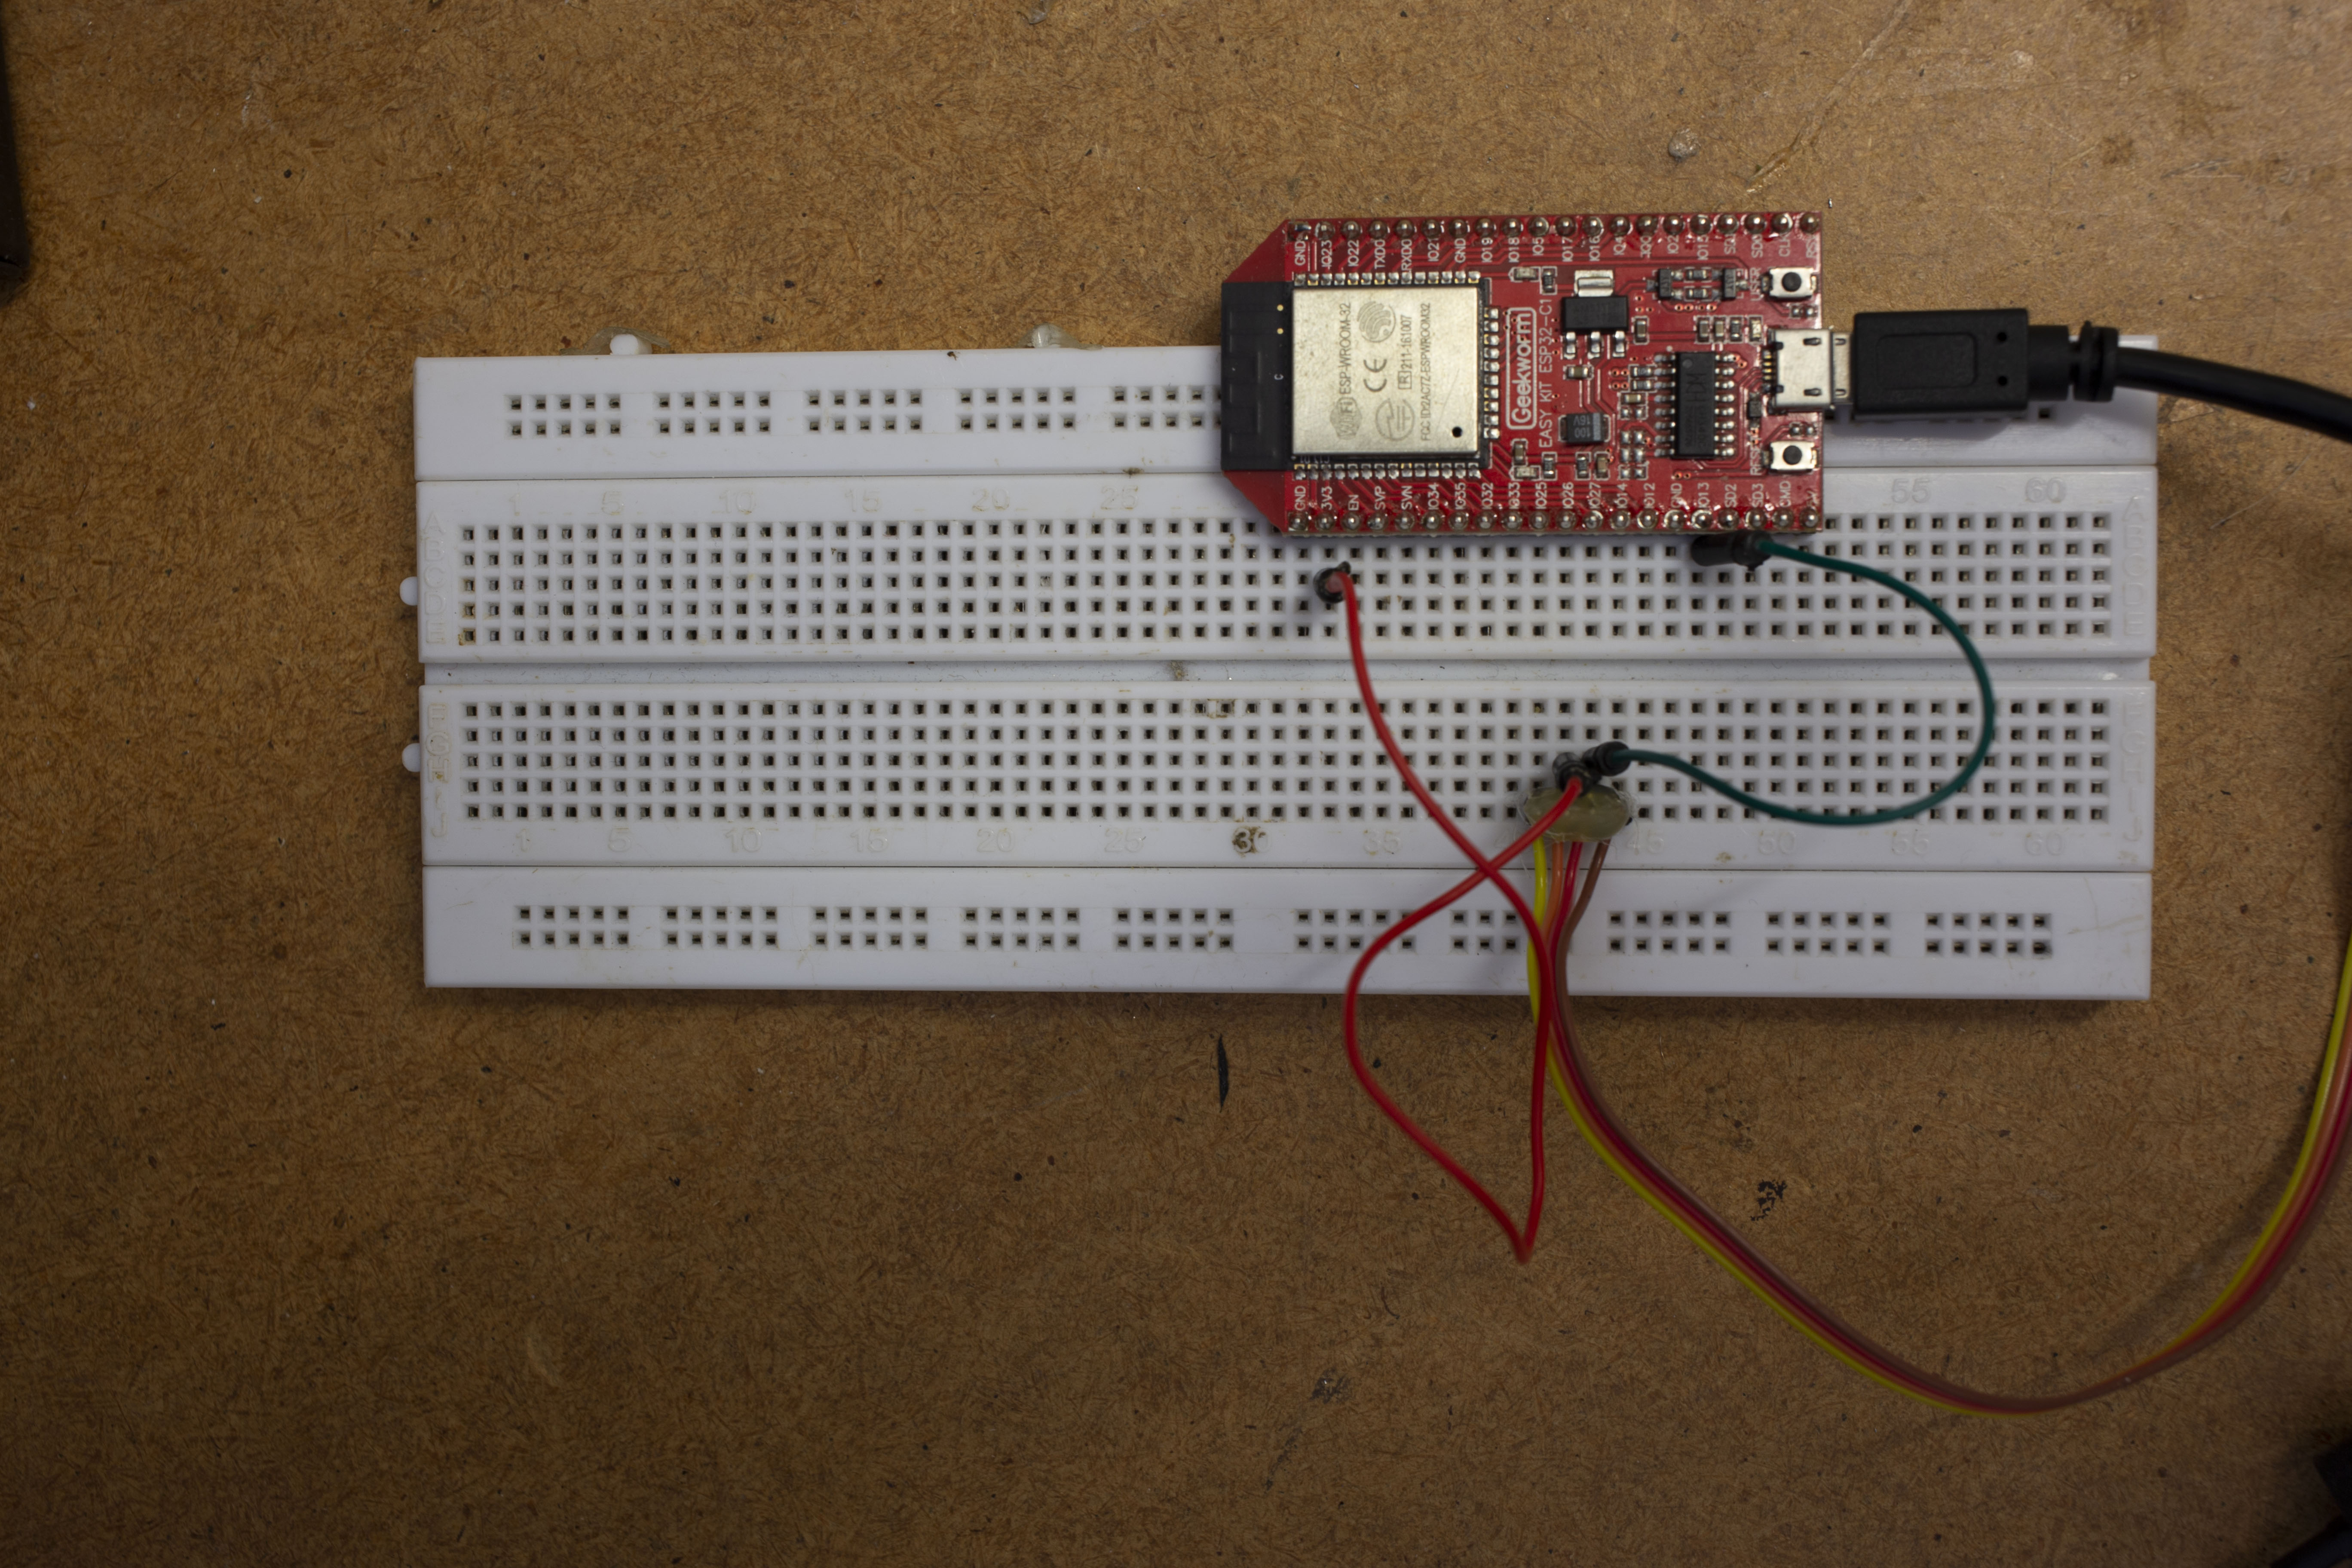
- Connect the button (could be any pushbutton, or just a wire connecting the 3.3V to the pin 13; don't connect 5V to it; it might damage your board!)
- Download the example from this project hub
- And start playing
Of course, the possibilities aren't limited to a single key, it is just a fast and simple example that can show the power, you could f.e. also connect a potentiometer where the value defines what character is being sent out.
In one of my experiences for the Fluid Assemblage course, a device is being used to set the privacy level of a social network; in this case, it is challenging the fact that our networks and social network pages are always on; what if we can turn them off; or make them fade a certain moment in time.
The app on the phone is prototyped in Adobe XD, which allows for smooth transitions and keyboard control of the screens, so the potentiometer is sending 0, 1, 2, 3, 4 depending on where the potentiometer is, XD changes the screen when a number is pressed on the keyboard.
Game controllerI've got some requests on how this could be used as a controller for flight simulators, there is some good news, LemmingDev developed a specific library based on the ESP32-BLE-Keyboard library for game controllers called ESP32-BLE-Gamepad, which allows you to connect joysticks and other HID peripherals to your games. You could use GamePadViewer to test if the controller is working.
LimitationsWith this tutorial, you can send information from the Arduino to the phone.
If you want to send data back and forth between the phone and the Arduino you could use the BLE UART protocol, I've made a tutorial on how to use this nowadays it becomes easier since even browsers have the ability to connect to BLE devices.
If it doesn't need to be wireless, or connecting to a phone you could use the web serial, which I described in this tutorial. Then you could use any Arduino compatible board since you don't need the Bluetooth functionality of the ESP.
Also, note that this code only works for ESP32 chips for now...
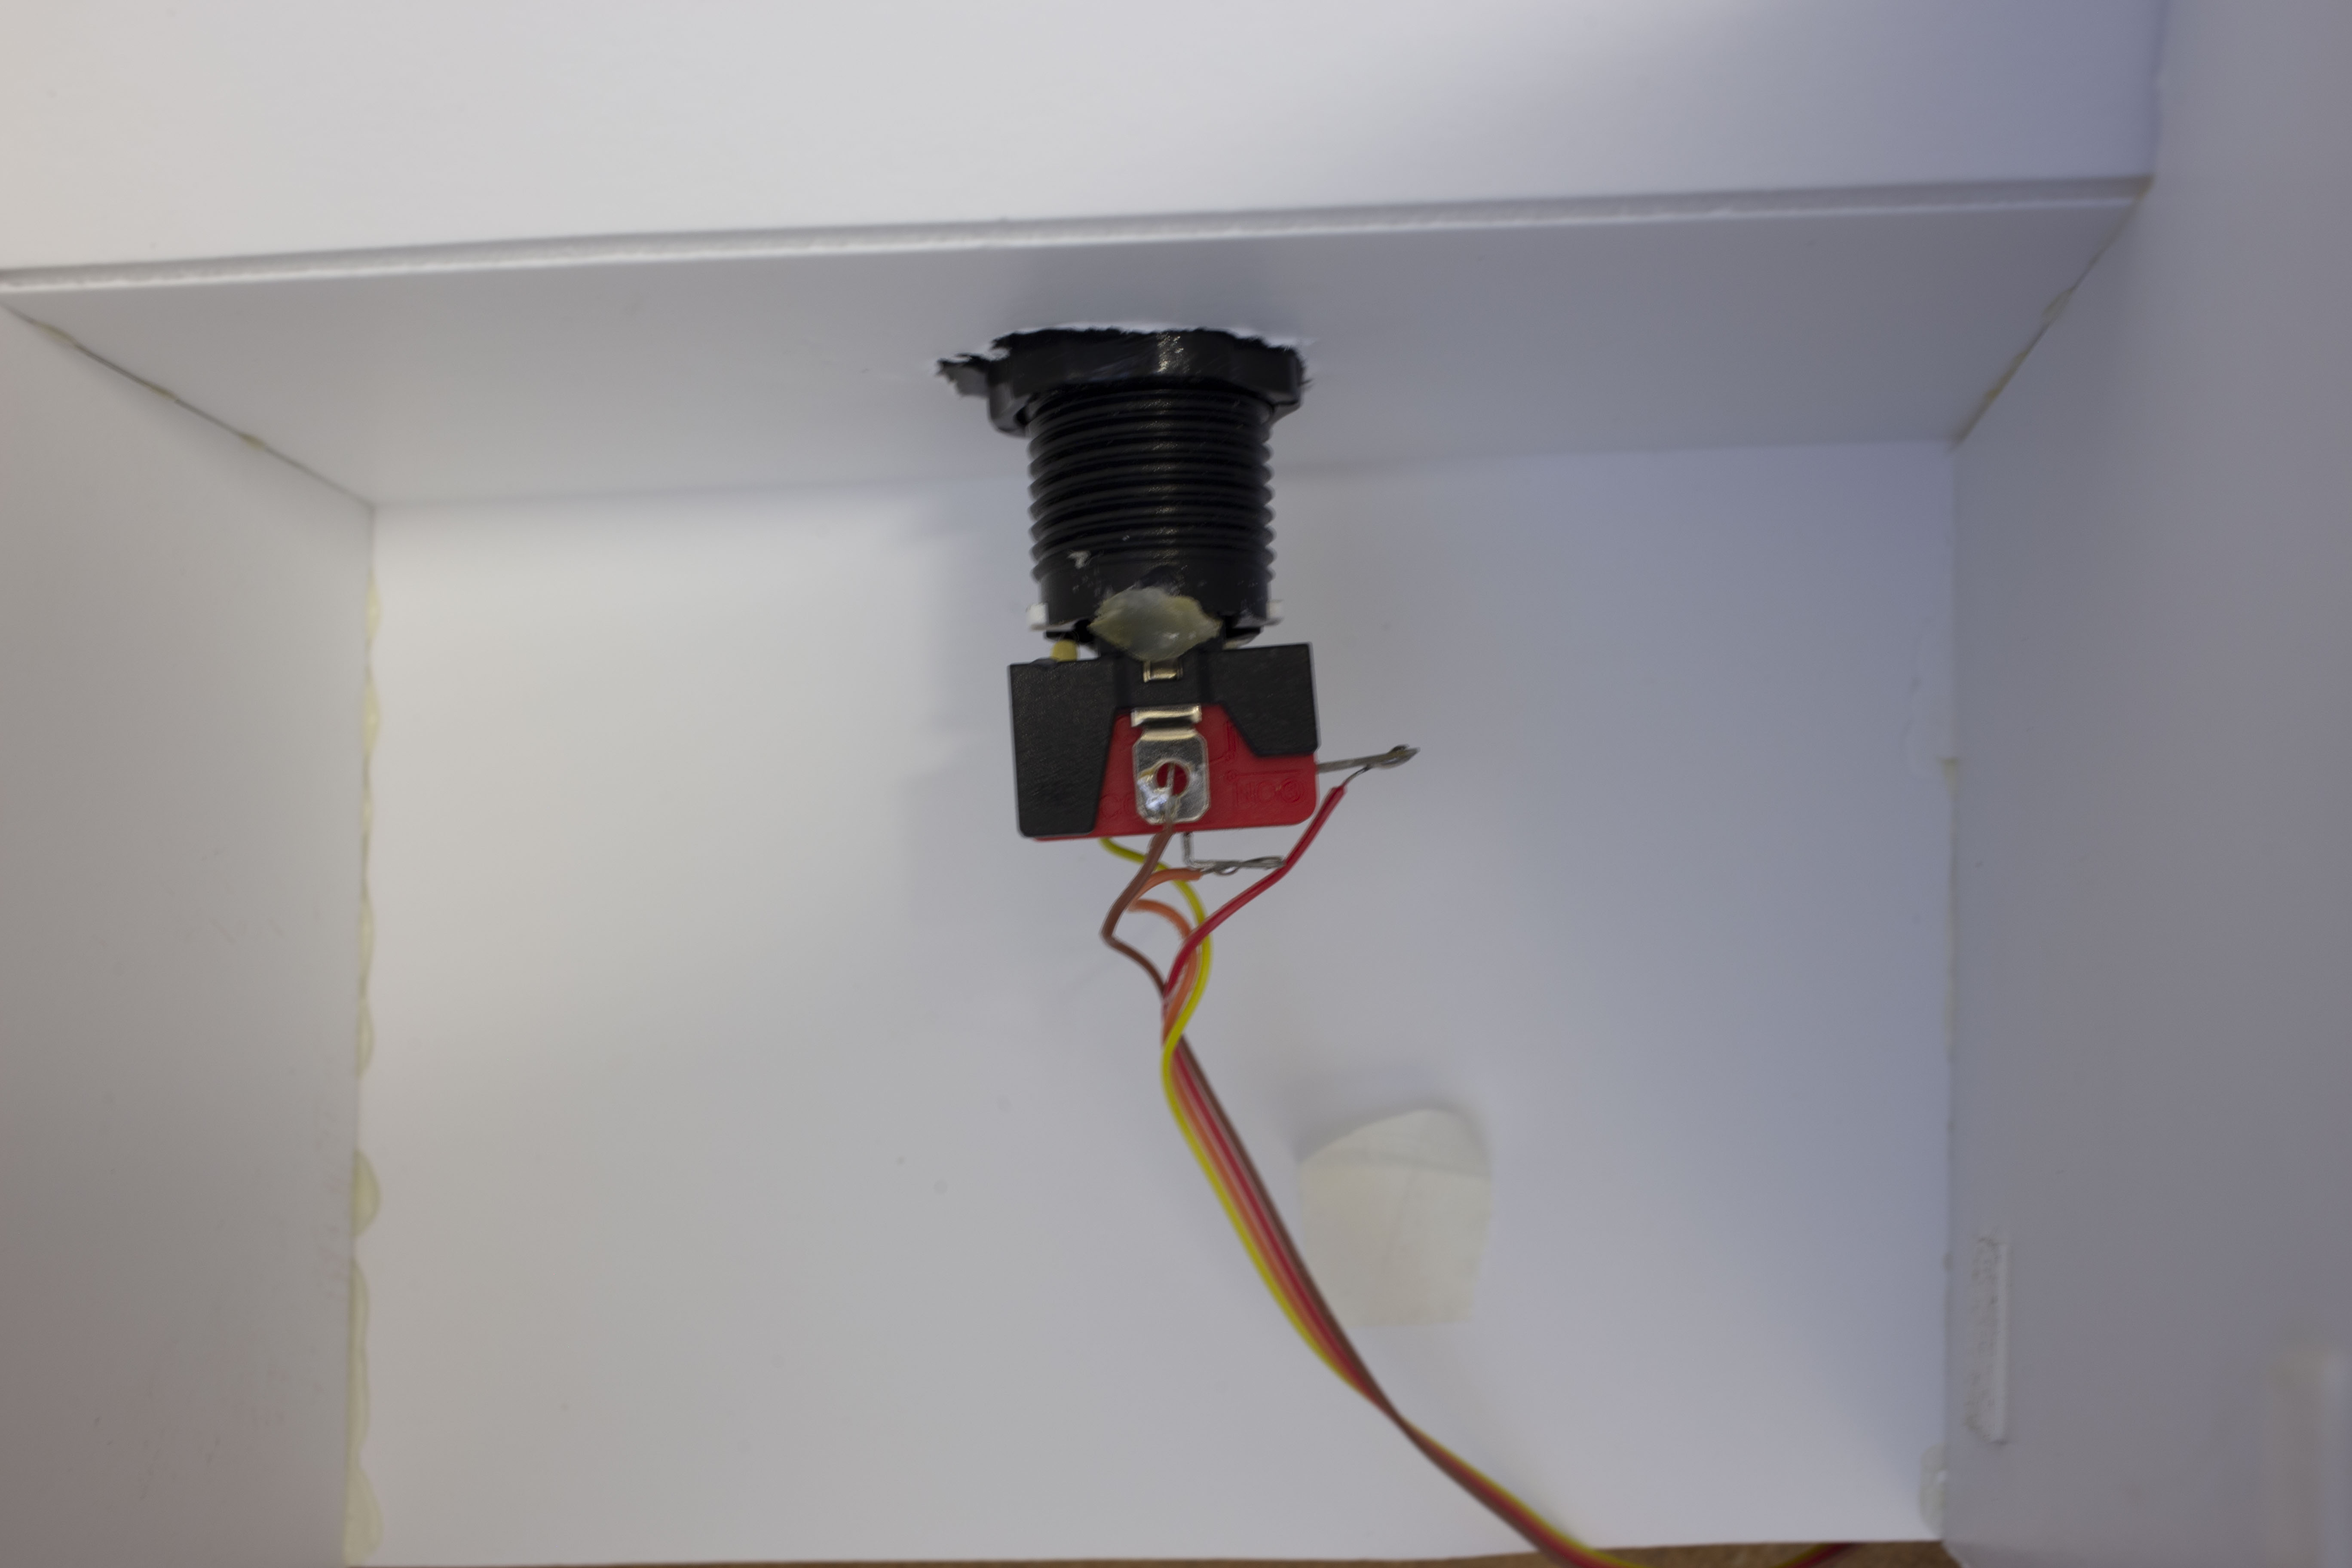
Arcade setup

Comments