


Hardware components | ||||||
 |
| × | 1 | |||
 |
| × | 1 | |||
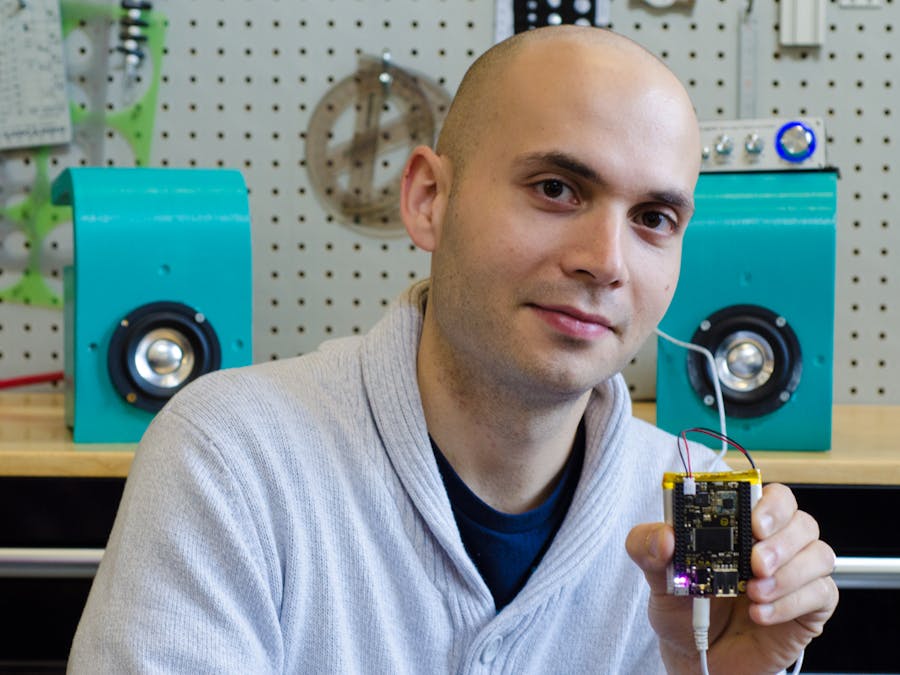
I'm always streaming audio from my phone or computer and wanted a low-cost way to stream music to external speakers. Because C.H.I.P. has an audio-out jack and on-board WiFi, it's a great wireless bridge between dumb speakers and internet-connected devices, like phones, laptops, tablets, and whatever else.
Thanks to the great work done by Mike Brady (https://github.com/mikebrady/shairport-sync/), setting up CHIP as an AirPlay sink is simple, as below:
You can set up C.H.I.P. either connected to a display...
http://docs.getchip.com/#connect-to-wifi
Or via SSH...
If you've got several wireless devices around your home or office, it's probably a good idea to give them unique IDs via the hostname. This will also help distinguish them if you're using multiple C.H.I.P.s for a multi-room audio set up.
http://docs.getchip.com/#change-the-hostname
Next, install the packages and libraries that Shairport-Sync needs and prepare to compile the Shairport-Sync source code. For a more detailed explanation of what some of these libraries and commands mean, please refer to Mike Brady's excellent documentation in the github link above.
(all these commands are typed into the terminal)
sudo apt-get update


sudo apt-get install build-essential


sudo apt-get install git

sudo apt-get install autoconf libtool libdaemon-dev libasound2-dev libpopt-dev libconfig-dev libavahi-client-dev

sudo apt-get install libssl-dev


sudo apt-get install libsoxr-dev


git clone https://github.com/mikebrady/shairport-sync

cd shairport-sync


autoreconf -i -f


./configure --with-alsa --with-avahi --with-ssl=openssl --with-metadata --with-soxr --with-systemd
(if you get any errors, try to re-install the libraries noted above)
make
To complete installation, type (or copy and paste) the following commands.
getent group shairport-sync &>/dev/null || sudo groupadd -r shairport-sync >/dev/null

getent passwd shairport-sync &> /dev/null || sudo useradd -r -M -g shairport-sync -s /usr/bin/nologin *yourCHIPhostnamehere*

sudo make install
1. Now let's open nano and configure Shairport-Sync!
sudo nano /etc/shairport-sync.conf
(if you don't know how to use nano, a widely used text editor, check out this guide: http://www.howtogeek.com/howto/42980/the-beginners-guide-to-nano-the-linux-command-line-text-editor/)
2. Remove the // marks in front of "name" and change the value to the right of the = sign to the name you want for your AirPlay speakers (put the value inside the parenthesis). I named mine according to the room I wanted to put each speaker set in, like Living Room, Bathroom, etc.
3. Remove the // marks in front of "interpolation" and change the value to the right of the = sign to soxr (put this value inside the parenthesis).
4. Remove the // marks in front of "output_device" and change the value to the right of the = sign to hw:0 (put this value inside the parenthesis).
5. Press control-X to exit from nano and save
6. Now let's enable Shairport-Sync to start automatically at startup:
sudo nano /etc/rc.local
7. Write shairport-sync below the comments section, below the exit command, then control-x to exit from nano and save.
Step 5: Quick TestStart Shairport-Sync for a quick test!
shairport-sync
(if it works, it will show "startup" in the terminal, as below)
1. Choose your AirPlay speaker sound output from System Preferences (in Mac OS X), in iTunes, or in Pandora/Spotify's sound output options.
Here's a screenshot from System Preferences in Mac OS X showing different sound output options:


Comments
Please log in or sign up to comment.