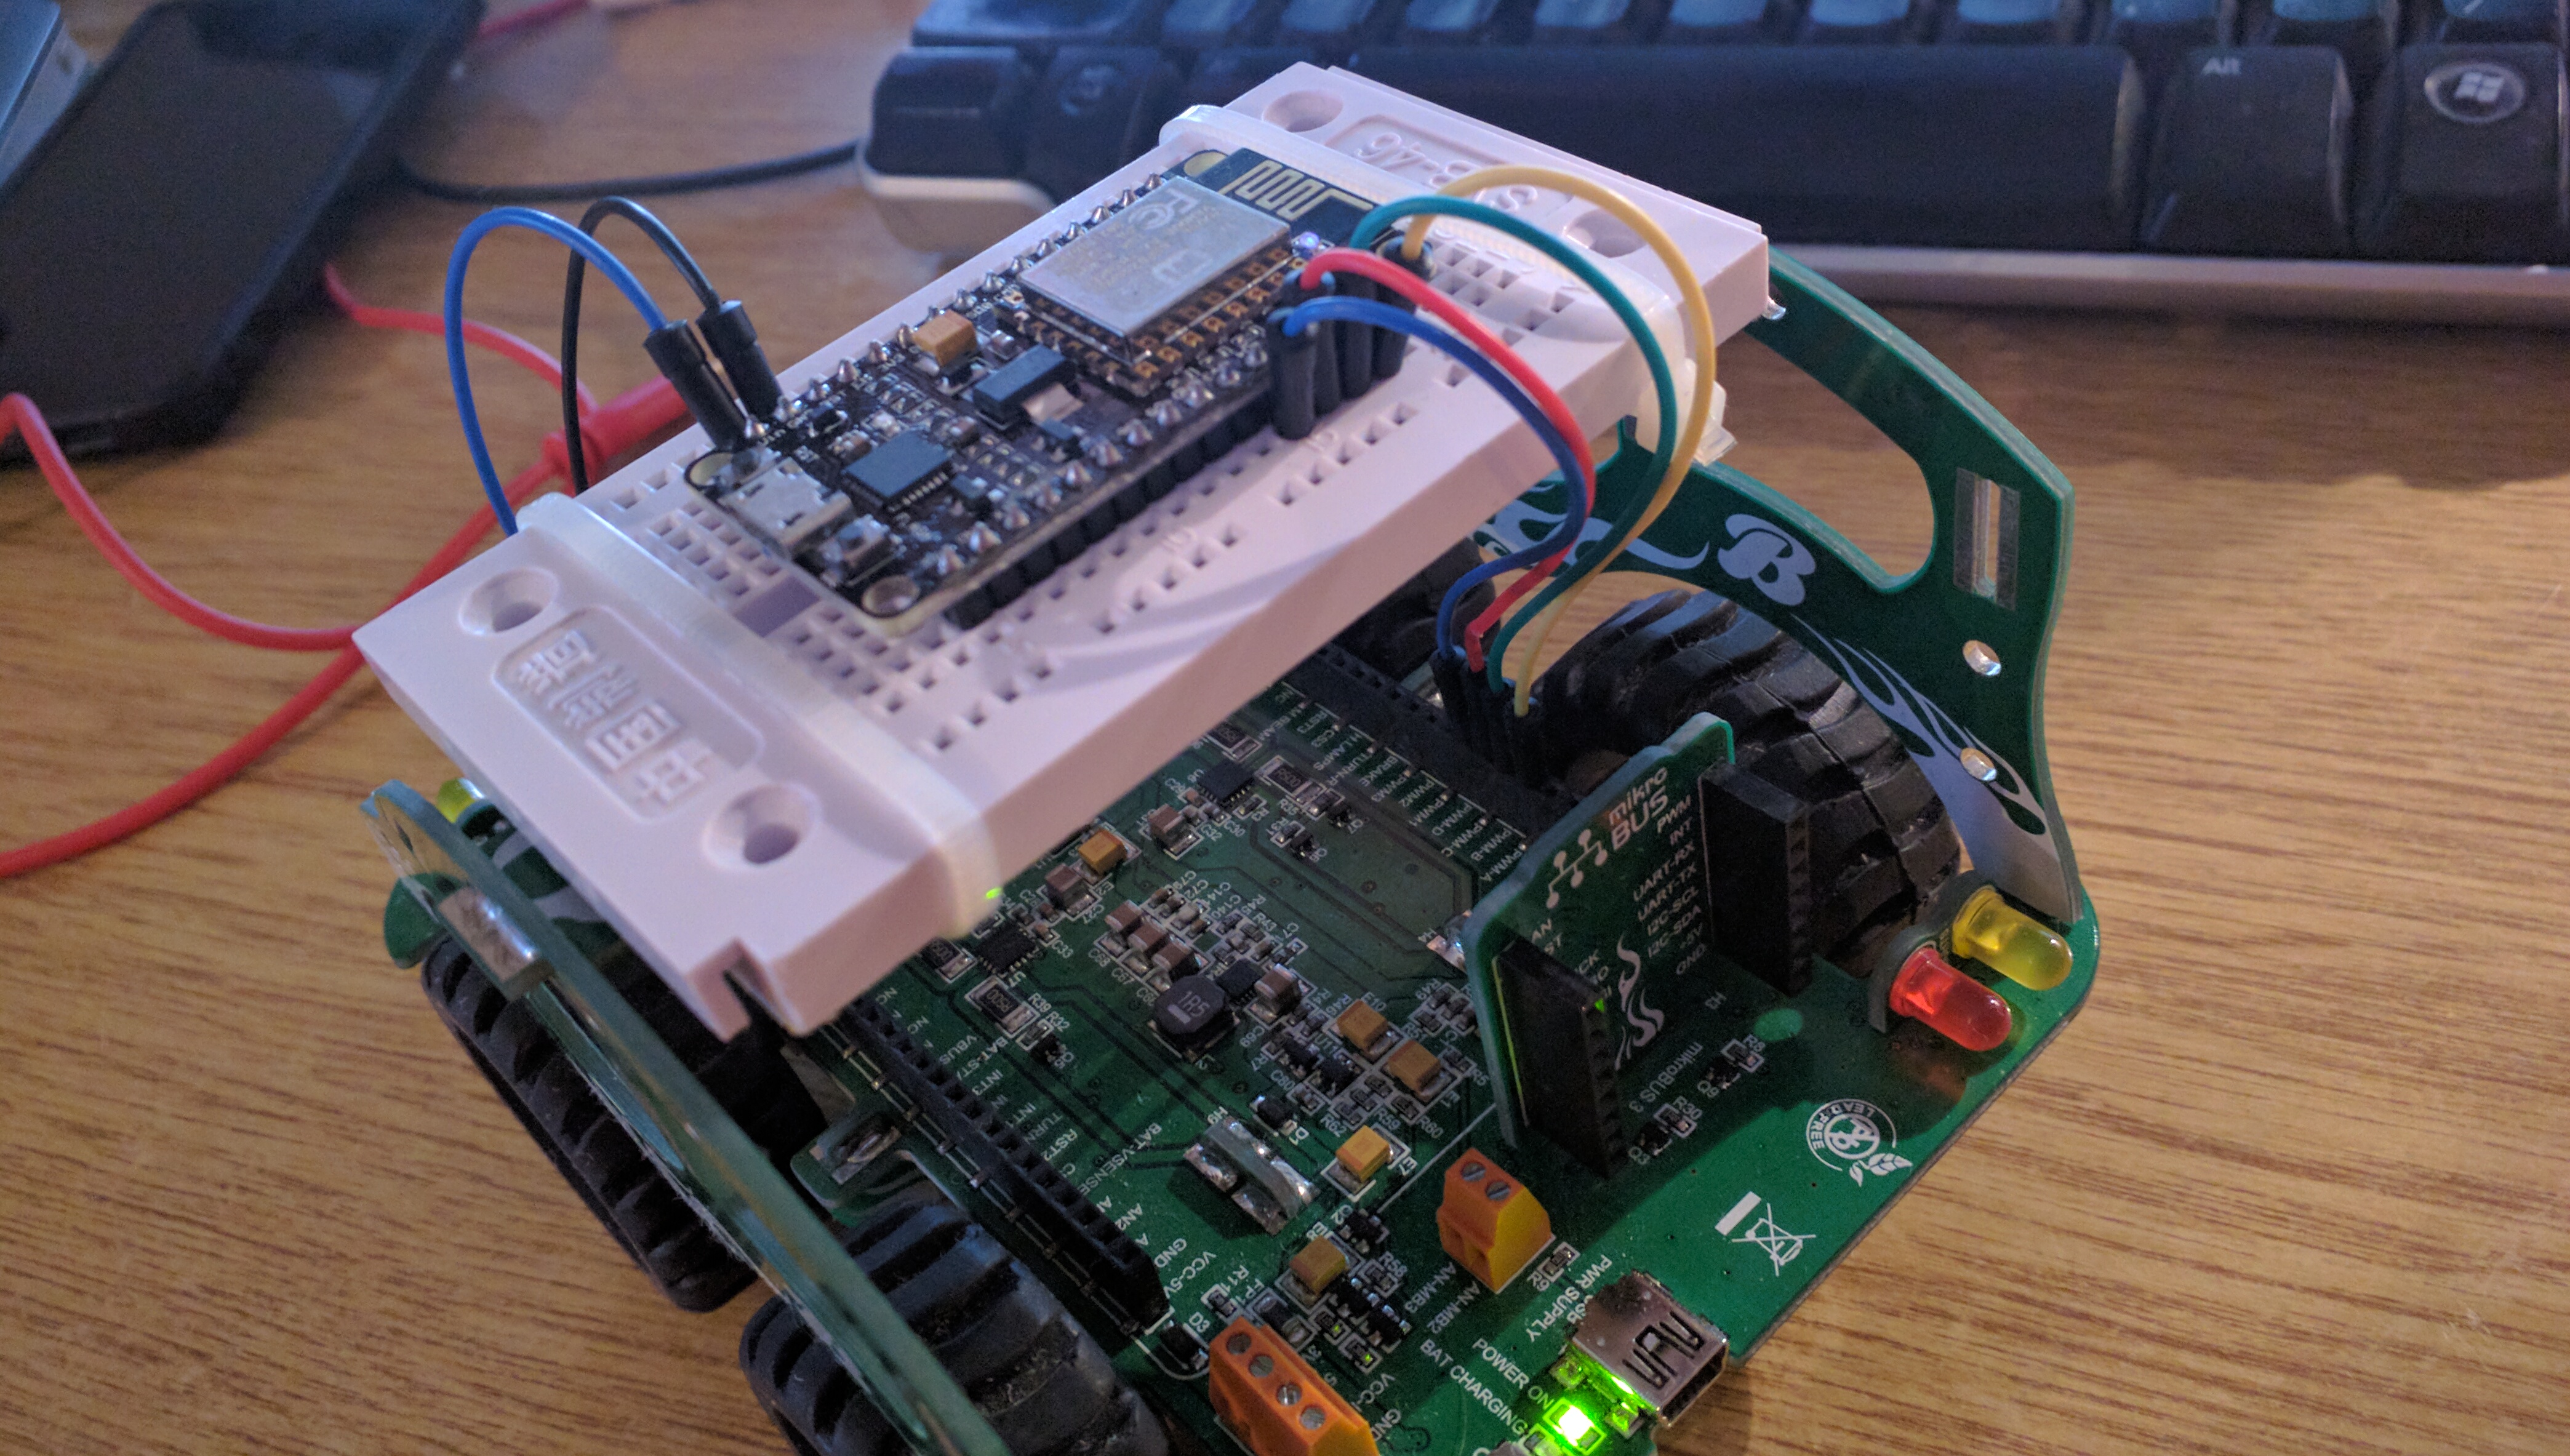
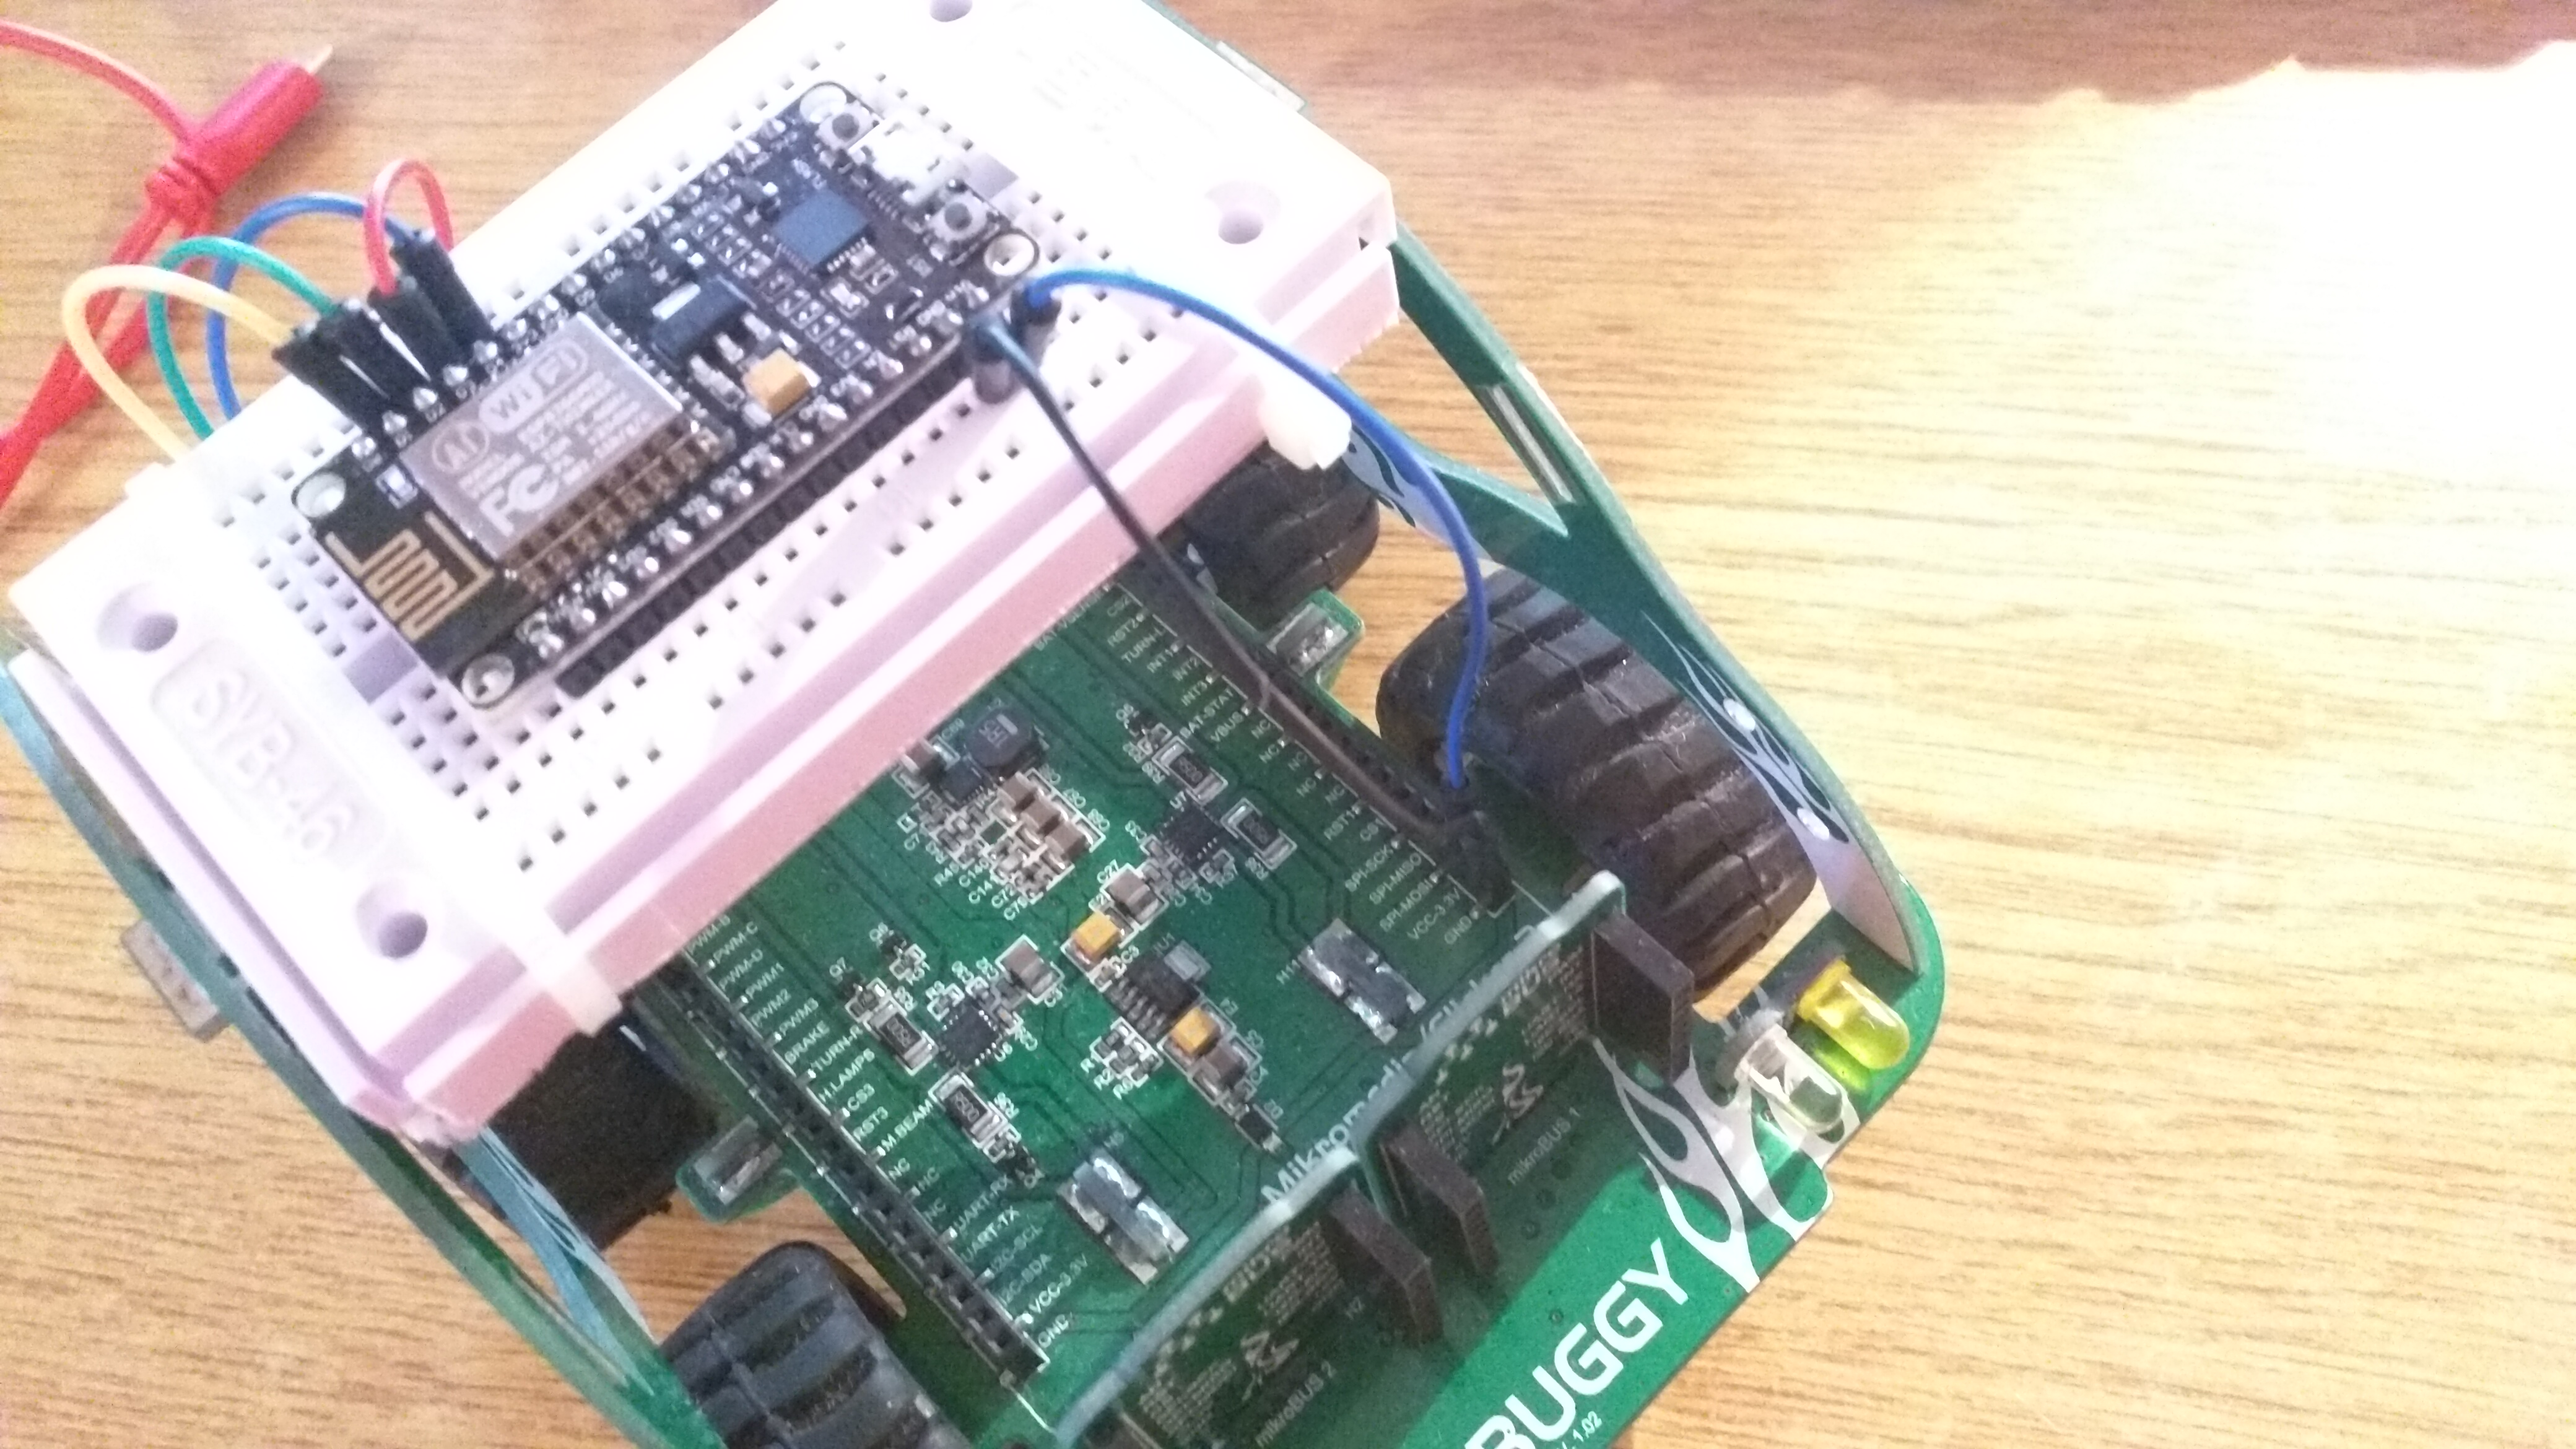
This is a project that we wanted to do as a nice tutorial on how to make web interface that will operate on small WiFi enabled device. MikroElektronika offers a lot of boards and possibilities to operate their MIKROE-1670 Buggy Development Platform. Here we wanted to use one of our favorite platforms NodeMCU.
Idea is to make a simple web server that will provide and driving interface from a web browser of your smartphone.
Web serverWeb server is based on ESP8266 filesystem. For working wit filesytem we highly recomend Arduino filesystem uploader plugin which packs sketch data folder into SPIFFS filesystem image. In this project we used FSBrowser example as a starting point. When you create web server you just need to register new REST end-point:
ESP8266WebServer server(80);
...
 // REST end point
 server.on("/drive", drive );
Than you need to implement a handler that will part HTTP GET parameters and call driver routine moveBuggy:
void drive(){
 int direction = 0, throttle = 0;
 if(server.hasArg("d")) {
   direction = server.arg("d").toInt();
 }
   if(server.hasArg("t")) {
   throttle = server.arg("t").toInt();
 }
 moveBuggy(direction, throttle);
 //Must play nice and return 200OK
 server.send(200, "text/plain", server.arg(0));
}
Idea for the web interface is usage of HTML5 canvas that will display gradient pattern. We want to maximize UI size so we use screen width as a dimension of the canvas.
<html>
<head>
 <title>Makers NS</title>
 <meta name="viewport" content="width=device-width, initial-scale=1">
 <script type="text/javascript">
   var size = (screen.width < screen.height) ? screen.width : screen.height;
   var halfSize = size / 2;
...
   function initialize(){
     document.getElementById("remote").innerHTML = "<canvas id=\"remoteCanvas\" width=\"" + size + "\" height=\" " + size + "\"></canvas>";
     var canvas = document.getElementById('remoteCanvas');
     var ctx = canvas.getContext("2d");
     var grd = ctx.createRadialGradient(halfSize, halfSize, 0, halfSize, halfSize, halfSize);
     grd.addColorStop(0, "red");
     grd.addColorStop(1, "green");
     ctx.fillStyle = grd;
     ctx.fillRect(0, 0, size, size);
...
   }
 </script>
 <style> body { margin: 0px; padding: 0px; } </style>
 </head>
 <body onLoad = initialize()>
   <div id="remote"></div>
   <p id="showURL"></p>
 </body>
</html>
Result looks like this:
To be able to drive from your mobile phone we need to use handles for touchscreen event:
   function touchStart(e){ doDrive(e.changedTouches[0].pageX, e.changedTouches[0].pageY); }
   function touchMove(e){ doDrive(e.changedTouches[0].pageX, e.changedTouches[0].pageY) }
   function touchEnd(e){ doDrive(halfSize, halfSize); }
   function initialize(){
     document.getElementById("remote").innerHTML = "<canvas id=\"remoteCanvas\" width=\"" + size + "\" height=\" " + size + "\"></canvas>";
     var canvas = document.getElementById('remoteCanvas');
     console.log(size);
     var ctx = canvas.getContext("2d");
     var grd = ctx.createRadialGradient(halfSize, halfSize, 0, halfSize, halfSize, halfSize);
     grd.addColorStop(0, "red");
     grd.addColorStop(1, "green");
     ctx.fillStyle = grd;
     ctx.fillRect(0, 0, size, size);
     canvas.addEventListener('touchstart', touchStart, false);
     canvas.addEventListener('touchend', touchEnd, false);
     canvas.addEventListener('touchmove', touchMove, false);
   }
 </script>
 <style> body { margin: 0px; padding: 0px; } </style>
 </head>
 <body onLoad = initialize()>
   <div id="remote"></div>
   <p id="showURL"></p>
 </body>
</html>
Actual drive is performed by HTTP GET method to the /drive?d=42&t=42 where we pass two parameters d:
- direction and t
- throttle.
   function doDrive(x, y){
     var xmlHttp = new XMLHttpRequest();
     var d = Math.round(100 *(x - halfSize)/halfSize);
     var t = Math.round(100 *(halfSize - y)/halfSize);
     theUrl = "drive?d=" + d + "&t=" + t;
     console.log(theUrl);
     document.getElementById("showURL").innerHTML = theUrl;
     xmlHttp.open( "GET", theUrl, false );
     xmlHttp.send( null );
     return xmlHttp.responseText;
   }
Use your thumb to drive. Red means stop. Green means go.
We are using 4 PWM signals from D1 to D4 pins. At first we want to make sure that we stand still (and wait for commands):
void setupBuggy()
{
 // We will use these 4 output PWMs
 pinMode(D1, OUTPUT);
 pinMode(D2, OUTPUT);
 pinMode(D3, OUTPUT);
 pinMode(D4, OUTPUT);
 stopBuggy();
}
void stopBuggy()
{
 analogWrite(D1, 0);
 analogWrite(D2, 0);
 analogWrite(D3, 0);
 analogWrite(D4, 0);
}
To be able to make easier updated of the code we introduces these constants. Hopefully they are self explanatory.
#define THROTTLE_TRESHOLD 30
#define THROTTLE_MAX 90
#define PWM_MIN 190
#define PWM_MAX 1023
#define DIRECTION_TRESHOLD 30
#define FULL_PWM_FACTOR 2.55
Now the moving (PWM) part. First of all we need to figure our are we moving forward of backward:
int movingForwart = (throttle > 0);
If we move backward we now know it (variable movingForwart) so if we move backward we can reverse throttle to make our PWM calculation little bit easier.
 if(!movingForwart)
   throttle = - throttle; // we should go in reverse -> flip the sign
Also we want to make sure that breaking is easy enough so we introduced certain thresholds where we keep buggy stand still.
if(throttle < THROTTLE_THRESHOLD)
 {
   stopBuggy();
   return;
 }
We calculate PWM signal with map and constrain functions to make thumb (joystick) movements easier.
 int leftPWM = map(throttle, THROTTLE_THRESHOLD, THROTTLE_MAX, PWM_MIN, PWM_MAX);
 int rightPWM = leftPWM;
...
 leftPWM = constrain(leftPWM, 0, PWM_MAX);
 rightPWM = constrain(rightPWM, 0, PWM_MAX);
For turning we will just turn off left or right wheels. We also have threshold here to make it easier to move straight.
 if(direction > DIRECTION_THRESHOLD)
   rightPWM = 0;
 if(direction < - DIRECTION_THRESHOLD)
   leftPWM = 0;
And finally we send PWM to buggy (analogWrite) based on the forward/backward direction:
 // Move
 if(movingForwart)
 {
   analogWrite(D1, 0);
   analogWrite(D2, leftPWM);
   analogWrite(D3, 0);
   analogWrite(D4, rightPWM);
 }
 else{
   analogWrite(D1, leftPWM);
   analogWrite(D2, 0);
   analogWrite(D3, rightPWM);
   analogWrite(D4, 0);
 }
We need to add some sensors to try to prevent collision (hitting walls and people) and we will do that in future. Until then, please drive carefully!


Comments
Please log in or sign up to comment.