


Hardware components | ||||||
 |
| × | 1 | |||
| × | 1 | ||||
This guide will show you how to use the Omega to build an WiFi-controlled automatic lock for any door with a single cylinder deadbolt.
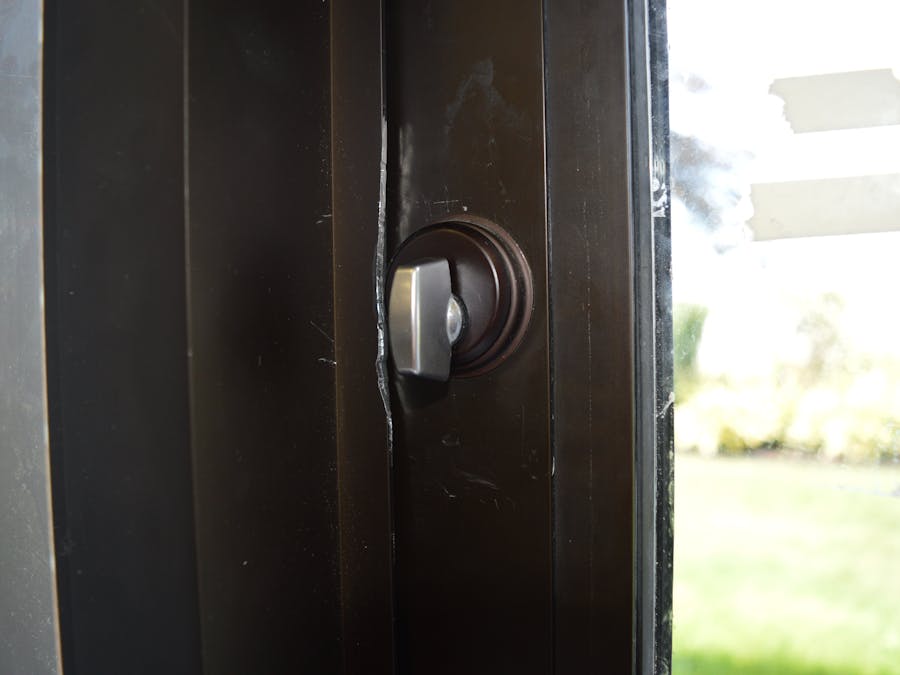
We will be taking a regular deadbolt like this:
And making it wirelessly controllable using the Omega:
This guide will show you how to setup the physical mechanism to lock & unlock the deadbolt, and the software required to control the mechanism wirelessly.
Tutorial Difficulty: Intermediate
Time Required: 15-20 minutes
Required Materials:- The Omega
- The Expansion Dock
- The Servo Expansion
- A Servo Motor
- A Casing to attach the motor to the deadbolt
- A MicroUSB Power supply
Useful Experience:
- Using the Servo Expansion
- Using Shell Scripts
- Using JavaScript
- Familiarity with the Omega
These motors turn using PWM signals. Our servo expansion has a pwm-exp function that can be used to generate these pulses. Most deadbolts lock and unlock at 90 degrees so modifications are not usually necessary. If your lock has to turn more than 180 degrees, you may want to modify your motor for continuous rotation.
The Motor CasingYou will need a way to attach your motor to your door and turn the lock. You can make a casing for the motor that can attach to your door and hold the motor in place. A small piece of plastic in the shape of the lock's bar should be attached to the motor. An easy way to obtain these is to 3D print them. These are the models we are using.
Storing lock state using UCIOpenWRT is installed on the omega so you are able to use UCI to store configurations on the omega. So, we will use this to store the status of the lock. If your lock needs to turn more than 180 degrees, this would prevent the motor from applying a force on already locked/unlocked doors.
We will use the ubus to run commands from the app. To setup a new ubus service, navigate to the rpcd directory on your omega:
cd /usr/libexec/
and create a new ubus service:
cat > onion-lock
then fill it in with the ubus service code, found on our GitHub repo: https://github.com/OnionIoT/smart-lock/blob/master/tutorial/rpcd/onion-lock
For more information about the ubus, please take a look at our ubus tutorial series: https://wiki.onion.io/Tutorials/Contents#introduction-to-openwrt
Adding ubus PermissionsIn order to run ubus commands outside of the terminal, you must first include the functions in the ubus permissions file. Go to the permissions directory:
cd /usr/share/rpcd/acl.d/
In onion-console.json, add your ubus functions under read:ubus:
and write:ubus:
Having an app to request functions is a lot easier and has a better UI than the terminal. There is an app template at /www/apps/ which you can use to build an app. Copy the onion-template folder and give it an app name. Edit the app.json and icon.png files to register it. Set the icon value to “true” for your app to show up on the console.
Our example code for the app is located on GitHub. We are using the Polymer framework to create an HTML element. You may look in the files of other apps to see how your code should be organized.
This is what the UI looks like.
You are now finished. Attach your motor to your door and test it. Don't forget to reboot your omega!
Using the ProjectSimply press the buttons on your app to tell the servo to lock or unlock your door.
Going FurtherYou may want to connect your app to the web so it can be used even when you're not within range of the WiFi network to which the Omega is connected.
Original Wiki PageThe original guide page is available at:


Comments
Please log in or sign up to comment.