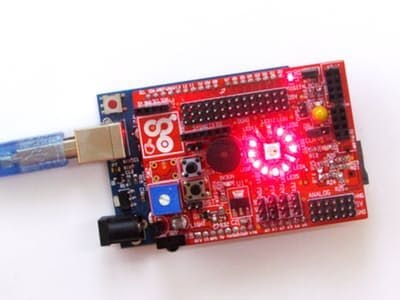
In this project, I am going to demonstrate how to make different patterns on a LED ring with the help of the idIoTware shield. You will need the following things to get started:
- An Arduino Uno
- idIoTware shield
- USB cable to connect Arduino to computer
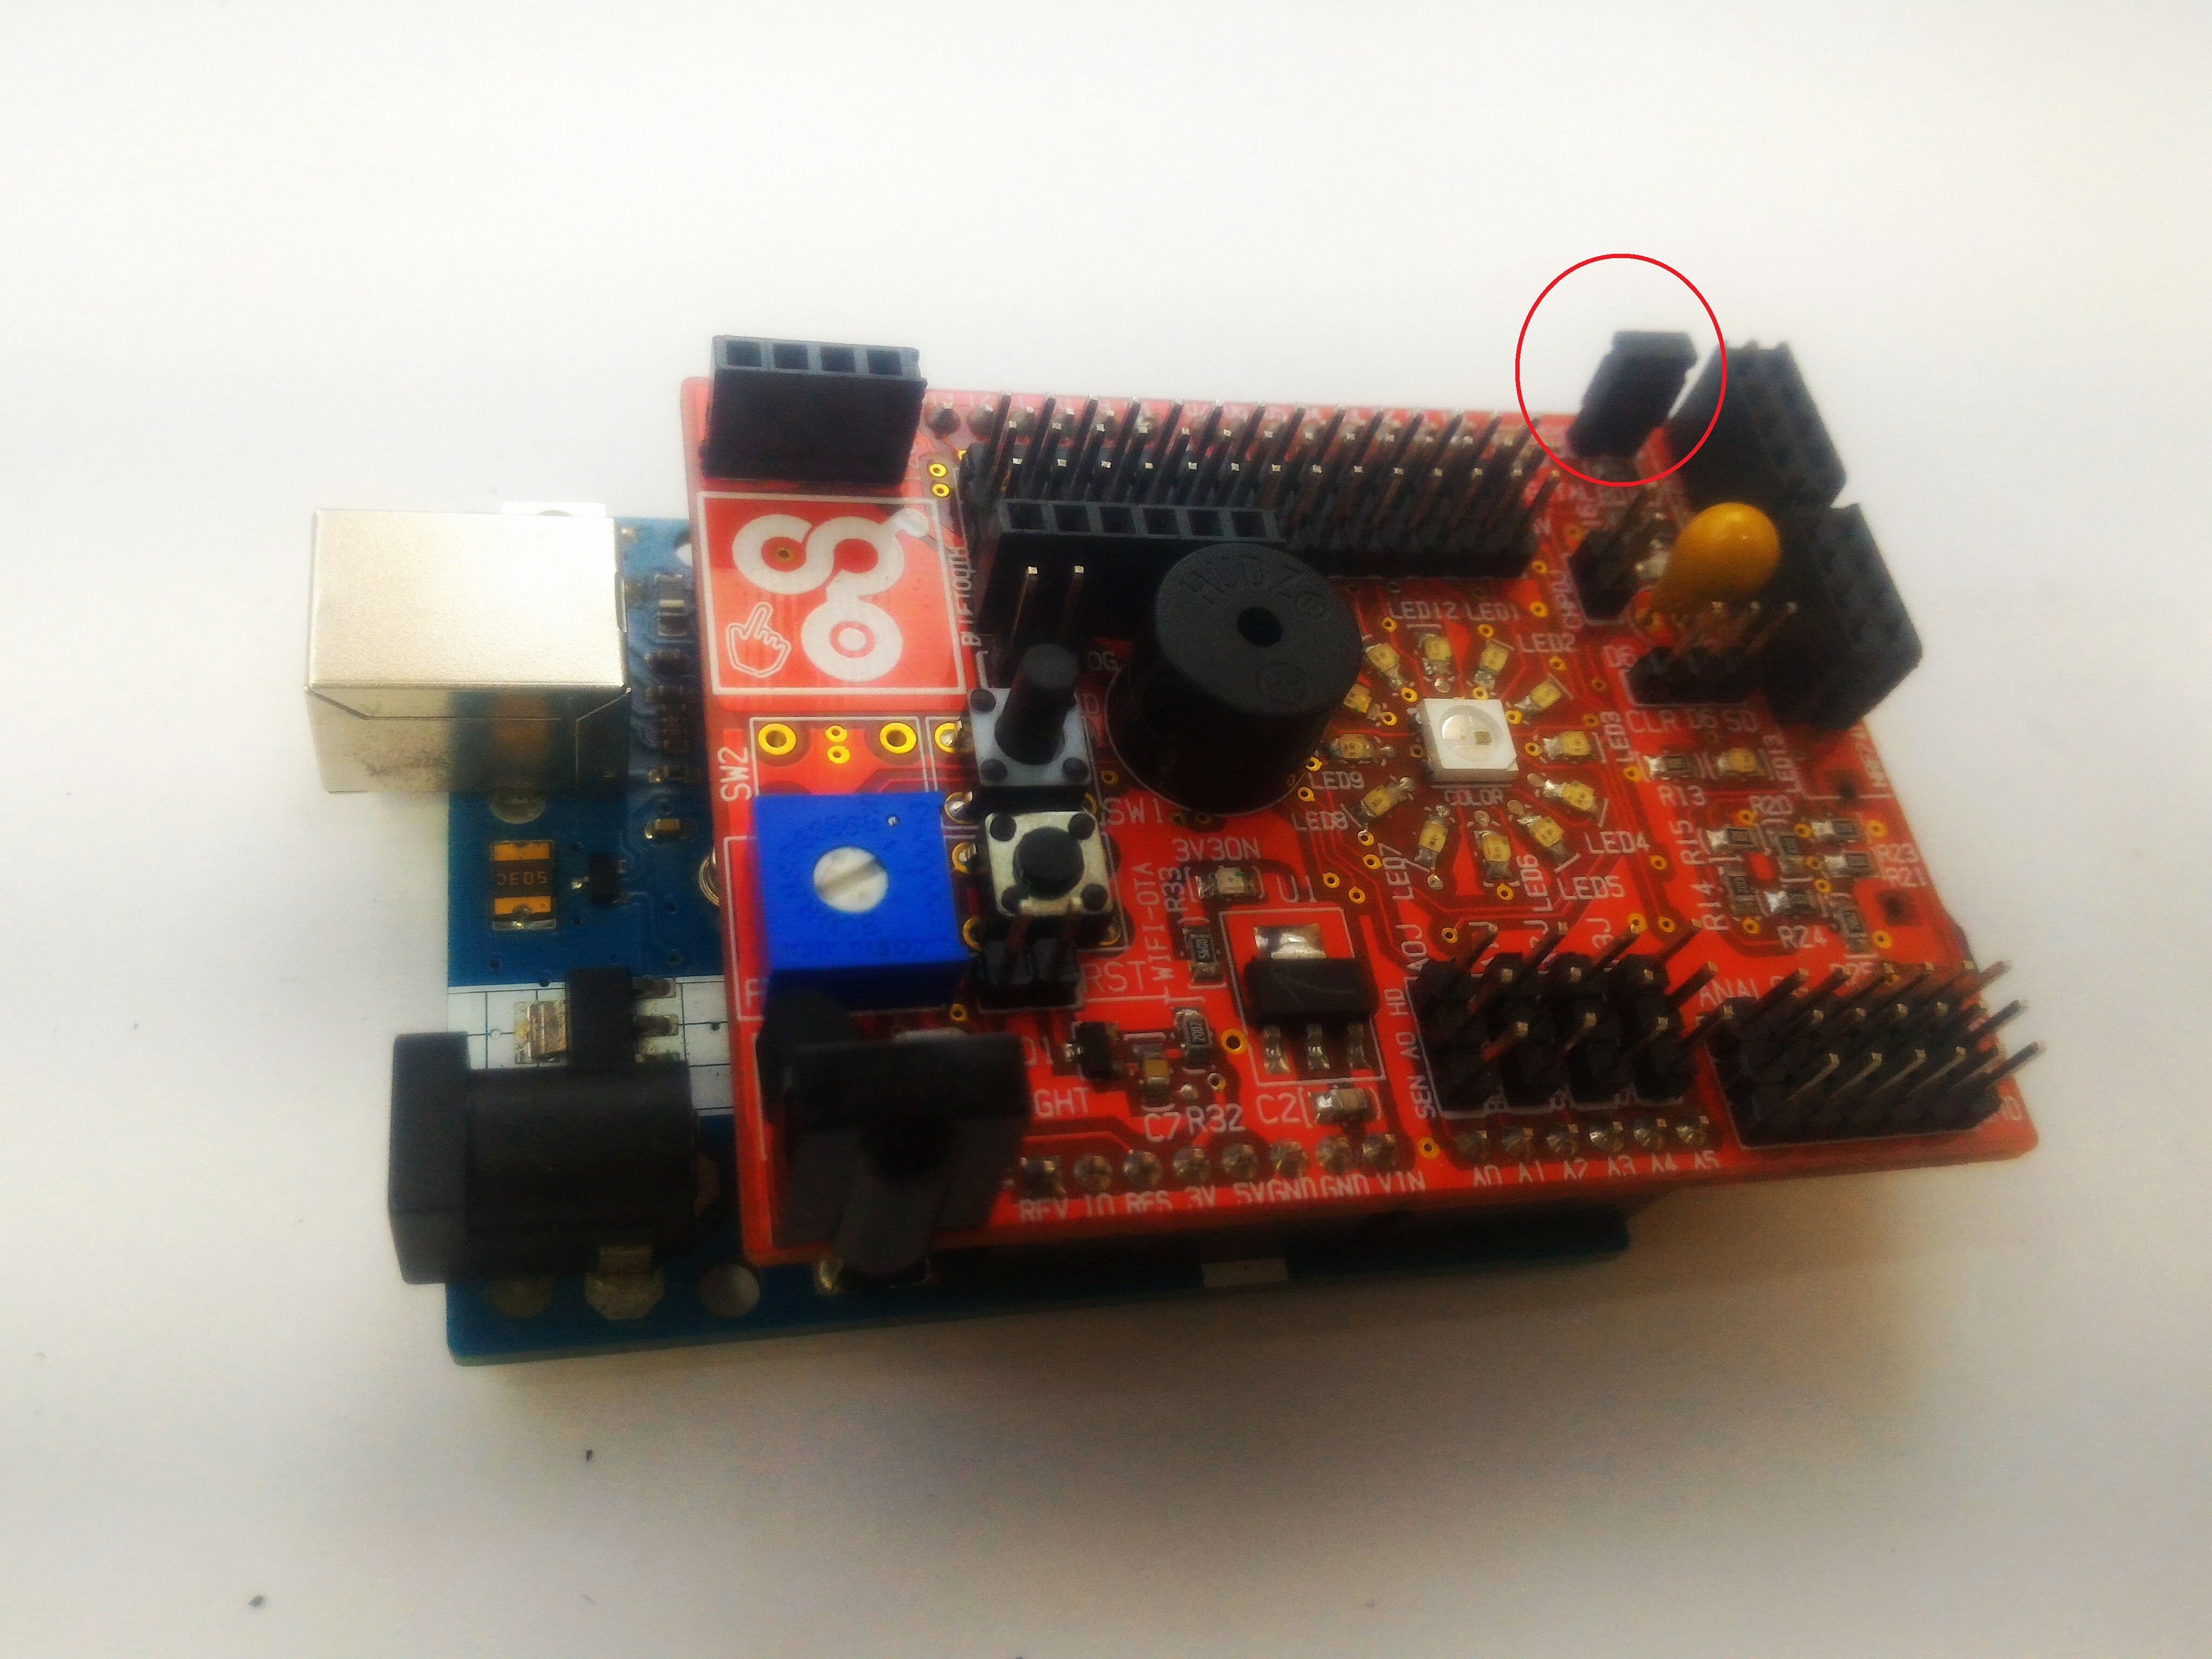
- One jumper to enable the LED Ring
You can download the code from the link in the description.
Functions in the codeThe following patterns are already defined as functions in code.
a) Sweep
b) Half Circle
c) Curtain
d) Fast and Slow Pattern.
The LED’s on the ring are connected from Digital Pin 1 to Digital pin 12 of the Arduino. We need to initialize these LEDs in void setup() function of Arduino sketch.
The void loop() runs over and over again, repeatedly till power is removed. We will use functions like sweep(2). The “2” means how many repetitions you wish to do for that animation. This value can only be whole numbers, and not have numbers with decimal points. The jumper has to be connected to the 2 Pin LED_EN header. See the video in the description on how to connect this jumper.
Once we upload the code in Arduino, you will be able to see the LED’s light up in a pattern, it is that simple! In a similar manner, you can also use the other functions to mix and match animations on the LED Ring.
Additionally, you can use the touch-pad or potentiometer as the input to control the 12 LED’s in the ring. We will see how to do this in future videos. You can now make your own program and create patterns on the LED’s and put this up on your Christmas tree or any other decorations to bring an interactive look to your project.
No more connecting LEDs to breadboard and messy wiring. With the idIoTware shield the sky's the limit.


_ztBMuBhMHo.jpg?auto=compress%2Cformat&w=48&h=48&fit=fill&bg=ffffff)


Comments
Please log in or sign up to comment.