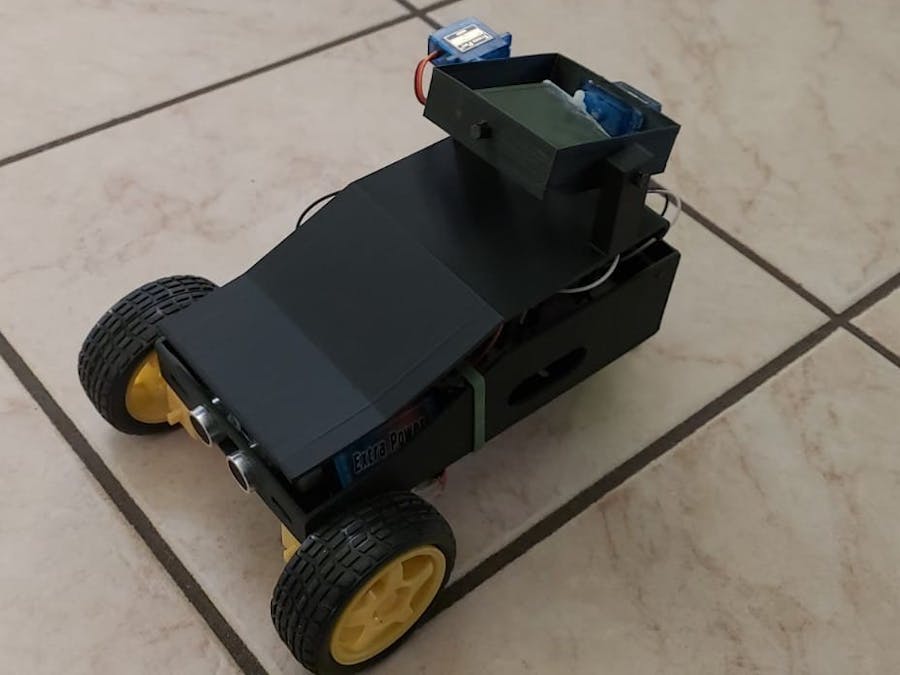
Pluto is a project about a particular Bluetooth machine.
This car can be controlled by a mobile phone, connecting the car on the Bluetooth we have used the app Arduino Bluetooth Controller which can be found on the Play Store.
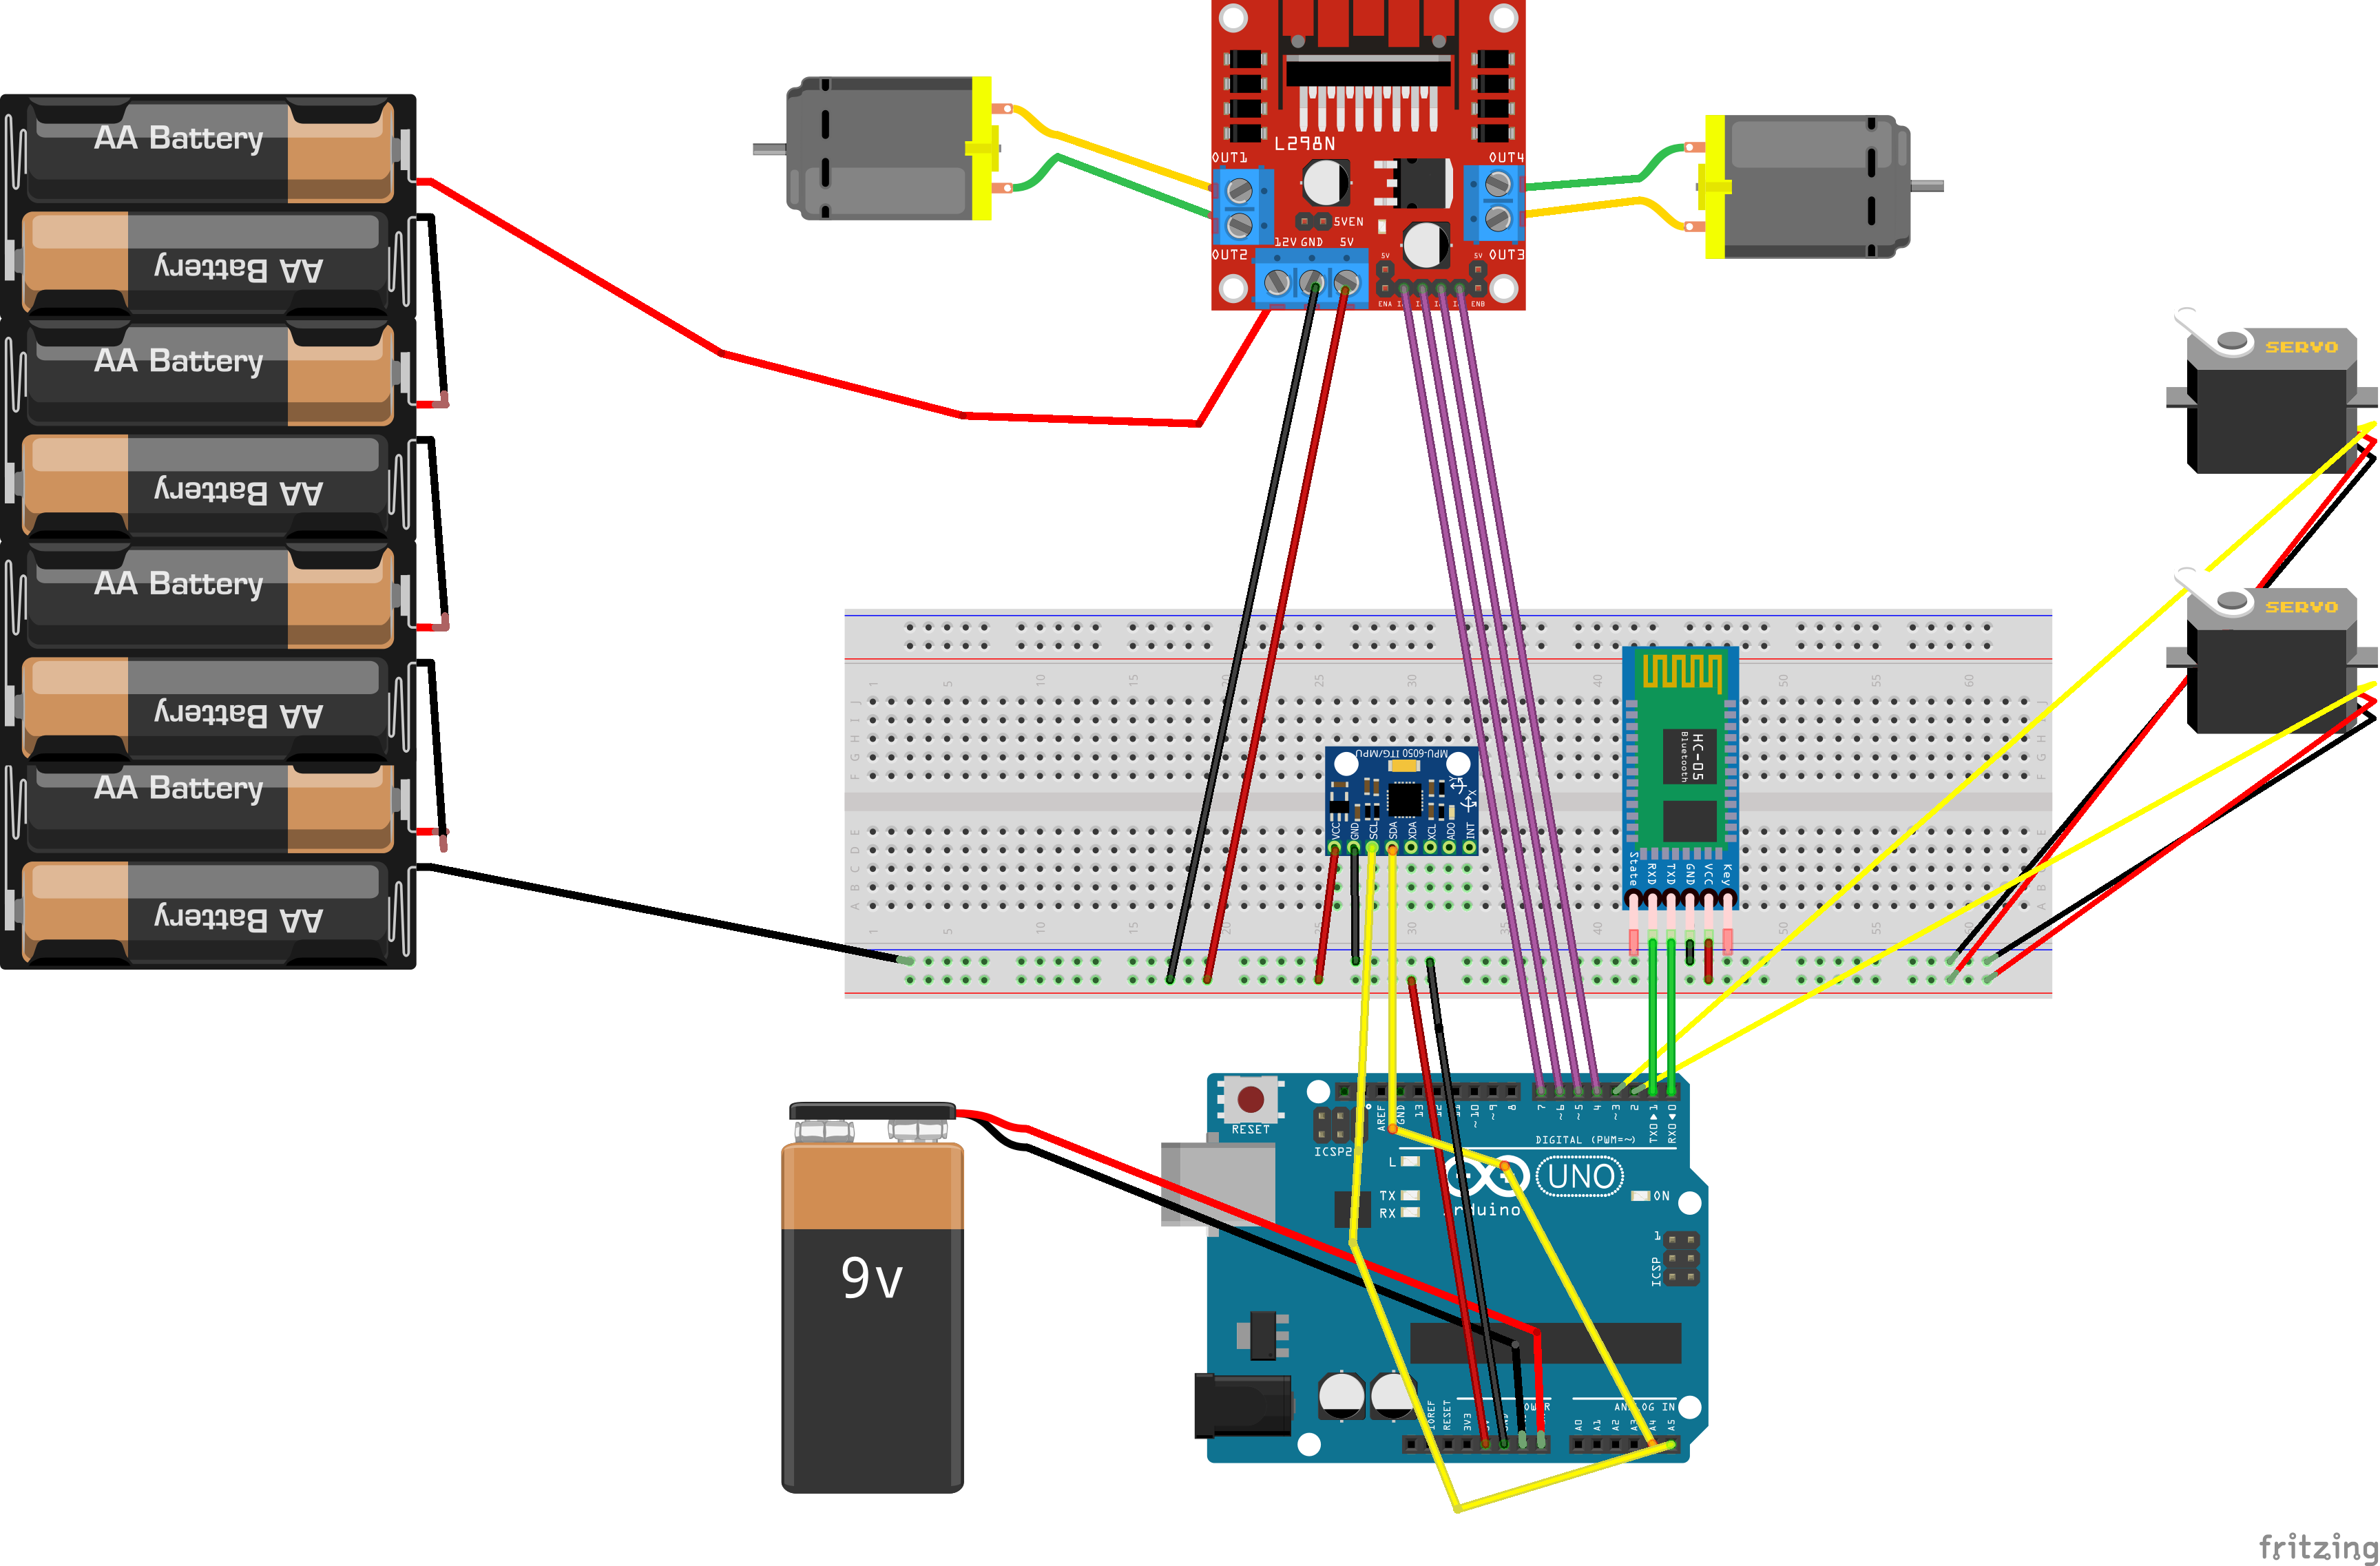
On it are installed a self-balancing platform composed of two floors connected to two servo motors, which keep the horizontal plane, by means of an accelerometer, which calculates the angle and sends the same values to the servomotors, but opposite.
We decided to do this project for two reasons: 1. have a child play; 2. to be able to bring a glass to a person without emptying it if there are ramps.
The operation is simple: sending a Bluetooth signal from the phone the arduino card detects it and makes the machine move left, right, forward, backward or stand still based on what we want it to do to it.
For the self-balancing plane it stabilizes independently thanks to the two servo motors, the accelerometer and the gyroscope (MPU6050).


_ztBMuBhMHo.jpg?auto=compress%2Cformat&w=48&h=48&fit=fill&bg=ffffff)


Comments