Edge Impulse recently introduced official support for Raspberry Pi 4 which is the easiest way to build Machine Learning solutions on real embedded hardware. It contains tools that let you collect data from any microphone or camera, can be used with the Node.js, Python, Go and C++ SDKs to collect data and run impulses with full hardware acceleration.
While Edge Impluse Linux SDK does all the magic from collecting data through running inference on your Raspberry Pi, still there are some manual steps you need to follow to get your embedded device ready to use the SDK.
We have been working to "balenafy" the entire process so that you can start training your model with just a few clicks.
Pre-requisites 🧾Free balena account
Free Edge Impulse account
Download balena etcher
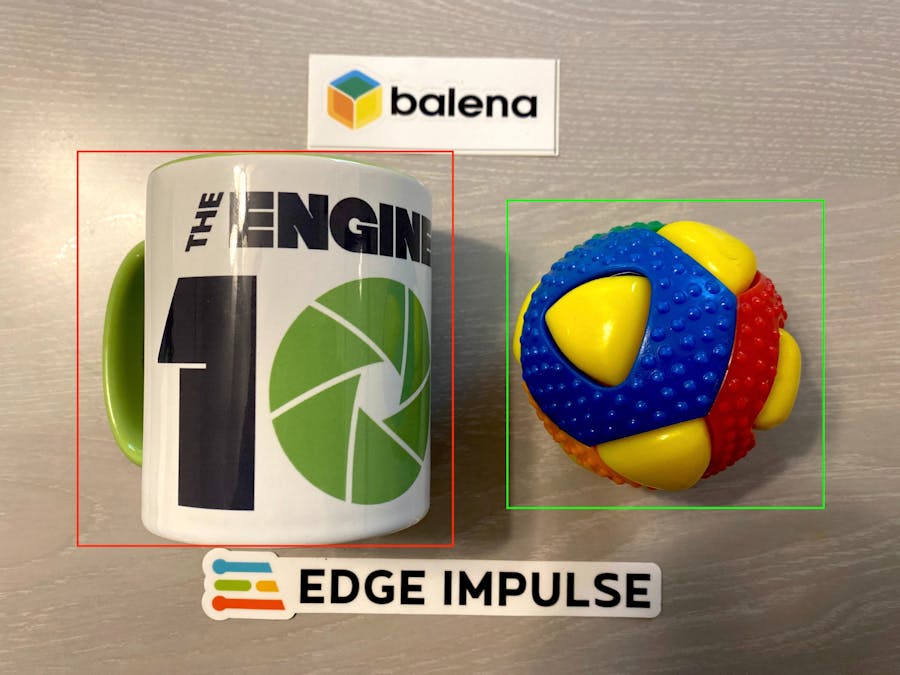
1. Create EI Project 🏗️If you have anexisting EI studio account, log into that. If you are new, create a new account then create your project by clicking "Create New Project". In this tutorial we will train and deploy an object detection model to identify balls and mugs.
Type a meaningful name for your project, say, detect_balls_mugs and hit "Create new project" button. On the following modal, choose "Images", then "Object detection".
Once your project is created, you will be taken to dashboard. Navigate to "Keys" tab and click on "Add new API key".
On the modal, type a name, say "balena", pick "Admin" role, check off "Set as development key" and hit "Create API key". API key will be created for you. Copy that, you will need it later.
Now, navigate to "Devices" menu and you will notice there is no device which is expected as we have not connected any device yet.
Login in to your balena cloud account and then head over to this Github repo and click on the big "Deploy with balena" button.
This will take you to your balena cloud account with a modal as below. Type a meaningful application name, leave other fields as default and click "Create and deploy"
In few seconds, your application will be created.
Now navigate to "Environment Variables" and put EI API Key your copied earlier. Also change EI_COLLECT_MODE to 1 ( 1 for data collection, 0 for inference)
Head over to "Devices" and click on "Add device" button.
Select "Wifi + Ethernet" and type your home wifi credential and click on "Download balena os" button. Your image is ready to flash !!!
Use etcher to flash the image on your SD card, put it back on your Pi and connect your Pi 4 to power source. After few minutes, you should see the device online on your balena cloud account.
Click on the device and you will notice it's connect to EI studio!
Now, open your EI studio and navigate to devices menu and you will see your Pi connected! Is not it cool ?
Head over to the "Data acquisition" tab, select "Camera" from the sensor dropdown and you will see a live feed coming from your Pi Camera.
In this project, I am not going to discuss how to collect data and train your model as there are plenty of resources available under Edge Impulse website. I strongly encourage you to visit this page and learn more about it.
4. Run Inference 🔎Once you are done with data collection and train the model, head over to balena cloud and navigate to your device's environment variables tab. Change EI_COLLECT_MODE to 0.
Your device will be rebooted and you will notice it's running EI inference.
Copy IP address and open your favorite browser. I am using Chrome. Type http://IP:4912/
If you see your camera feed is not showing up on the browser, reboot the device from balena cloud. Sometimes it does not recognize the camera or lost connection to the camera
This repo has been tested with Pi 4, Fin and Pi3.
For any issues, please file an issue to the Github repository.


Comments
Please log in or sign up to comment.