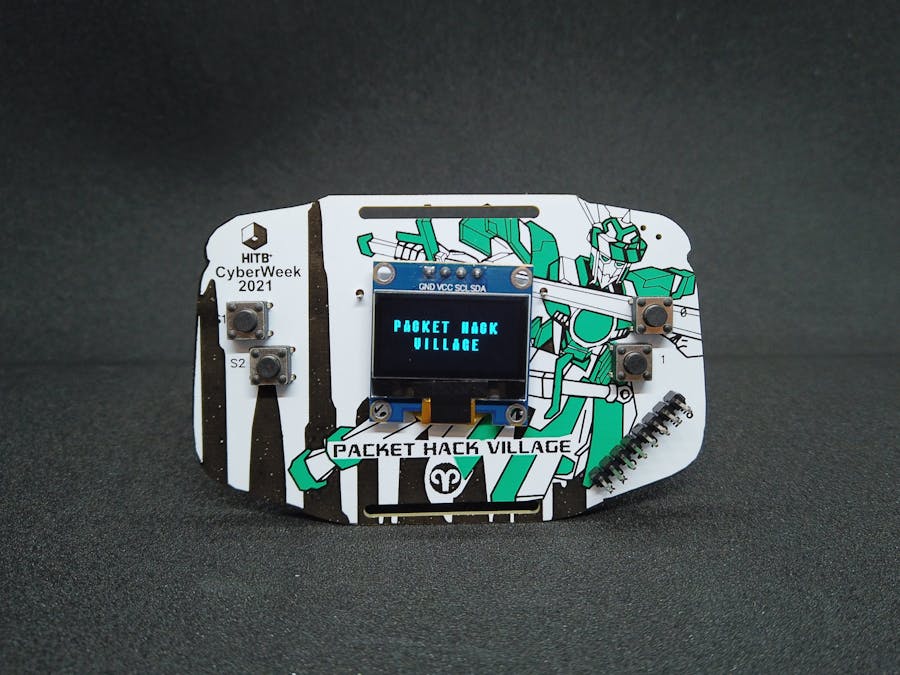
I was asked by HITB founder l33tdawg to think of a badge that can use some legacy from our former popular badge while also bringing new innovations to it for their HITB+Cyberweek conference, held in Abu Dhabi.
So we partnered with the amazing team at Packet Hack Village who are renowned in DEF CON for their village and CTFs to make the first-ever Packet Hack Badge. We built it with 3 key characteristics in mind:
- CTF: Badge would utilise its functionality to be a part of multi-dimensional Packet Hack CTF.
- Reprogrammable: The badge would be easily programmable again and again both during the event and at home.
- Wearable: Added functionality of not requiring to carry badges around the neck and instead wear it on the wrist.
The artwork made by Doc from Packet Hack Village is incredible, to say the least. It is quite simply our most intricately designed badge artwork ever. He took the inspiration from UAE to draw the background of its skyline silhouette in the mesh of digital networks.
And for the first time ever, the badge got its own character. Packet Hack UAE Mech was ready to hunt threats in the network packets.
Both when put together, formed a coherent design that everyone instantly liked when the films were ready.
It became the most detailed single-sided PCB design we ever made. For the Mech design accent, we tried a newly experimented shade of green.
After sliding the switch on the top right corner, the badge boots up in the Packet Hack and HITB+Cyberweek logo animation. If you're one of the designated special badge holders, it will also flash your name on the display.
Puzzle Mode:
Press and hold the S1 key for 4 seconds to launch the "Insert Code" mode. On this screen, you can enter your Packet Hack CTF binary which will lead to the correct flag.
You can clear the binary input with the S2 key. Keys to enter binary are on the right side of the badge. The badge responds to the binary automatically as soon as it receives all the correct (or incorrect) binary.
Reprogramming:
All badges are equipped with male headers and pinouts for reference.
The only thing required to program the badges is jumper wires and ISP Programmer. Attach the Jumper wires from their corresponding pins to the ISP Programmer connected to the system.
Launch Microchip Studio or any of your favourite IDE to program the badge. From there, you can edit the code or make your own build from scratch.
The Code:
We utilised our custom-built libraries to bring cool fonts and funky animations to the badge.
There's also a portion of code dedicated to serial communication. Users can build it as per their use to utilise serial communication and maybe, just maybe, at some point it has to do with the Rx-Tx pins on the badge.
Many thanks to Lanrat for refining the code and taking it to next level. He was able to brainstorm a super quick script to flash the badge with the user name. Please refer to the readme for instructions.
Feel free to experiment with both the pins and the code now that The Packet Hack Mech is your ally!


Comments