

Hardware components | ||||||
 |
| × | 1 | |||
| × | 1 | ||||
 |
| × | 1 | |||
| × | 1 | ||||
 |
| × | 1 | |||
| × | 1 | ||||
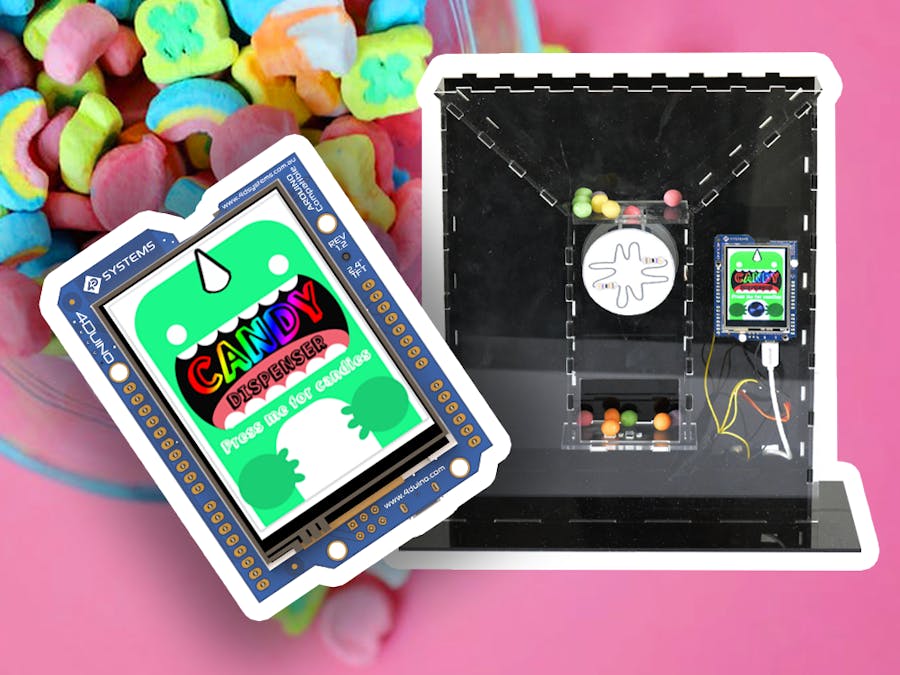
In this project, 4Duino-24 checks whether a food tray contains enough candy or not. Once the button on the display is touched it will send a command to the servo motor to rotate, thus dispensing the candy.
You can also add IR Sensor. Infrared sensor detects if there’s an object beneath the mouth of the dispenser. Once detected it will turn the rotating container 180 degrees to dispense candies. The rotating container will then automatically go back to its initial position. The dispensing of candies can also be done manually by touching a button on the display.
How it Works4Duino-24 acts as the controller of this project. It's resistive touch display provides the graphical user interface for the users to touch whenever they want to get candies. Upon pressing the display, 4Duino-24 will send command to the servo motor attached to the candy dropper to move.
Components- Connecting Wires
- Servo Motor
- Arcylic Boards
- IR sensor
- microUSB Cable
- 5V 1A External DC power supply
Build the circuit as shown in the following diagram.
Workshop 4 – 4Duino Basic Graphics environment is used to program this project. This project requires the Arduino IDE to be installed as Workshop calls the Arduino IDE for compiling the Arduino sketches. The Arduino IDE however is not required to be opened or modified to program the 4Duino-24.
Open this file using Workshop 4.
Note: Download the code here.
Step 3: CompileClick on the “Compile” button.
Note: This step could be skipped. However, compiling is essential for debugging purposes.
Step 4: Comms PortConnect the 4Duino to the PC using μUSB cable. Then navigate to the Comms tab and select the Comms port to which the 4Duino connected.
Finally, go back to “Home” tab. This time, click on the “Comp’nLoad” button.
The Workshop 4 IDE will prompt you to insert a μSD card to the PC in order to save the widget images. Insert uSD card, select the appropriate drive and press button “OK”.
If the uSD card has the widget images you can click button “No Thanks”.
Step 6: Insert uSD cardAfter uploading the program in to the 4Duino, it will try to mount the uSD card. If the uSD card is not present it will print an error message.
All you need to do is insert the uSD card you saved the image files to into the 4Duino.
DemonstrationAfter uploading, you can now interface your circuit to the candy dispenser case. You can create your own Candy Dispenser using a simple box, 3D printer or acrylic boards.


Comments
Please log in or sign up to comment.