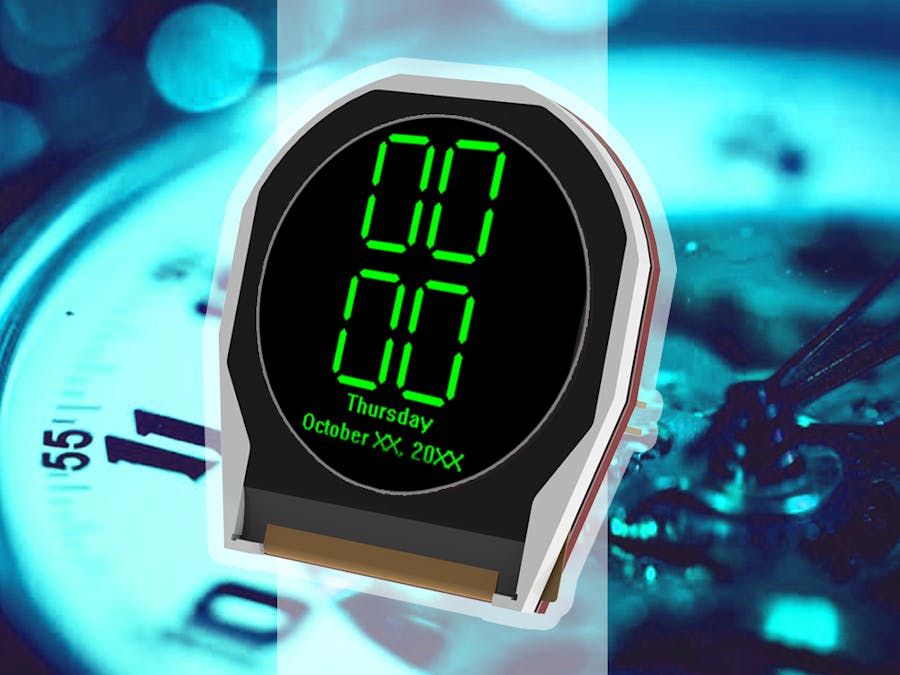
This simple project aims to create a customizable wristwatch for its users by using the 220RD display module and a real time clock with buttons to set and adjust the time accordingly by the user.
Users are able to customize this project by creating better custom-LED digits that can be uploaded to the 220RD, smaller prototype enclosures can also be develop to create a wristwatch version of this project.
How it Works
Components- uLCD-220RD Round Display Module
- uUSB-PA5 and mini USB Cable or 4D Programming Cable
ImplementationStep 1: BuildBuild the circuit as shown in the diagram.
- If you are using the 4D Programming Cable board, connect the display to the PC like the image below.
- If you are using the uUSB-PA5 board and mini-USB cable, connect the display to the PC like the image below.
Step2: Program- Download the project file here.
- Open the project using Workshop 4. This project uses the Visi Environment.
- You can modify the properties of each widget.
Step3: Compile- Click on the “Build Copy/Load” button.
Note: This step could be skipped. However, compiling is essential for debugging purposes.
Step4: Comp’n Load- Connect the display to the PC using uUSB-PA5 and a mini USB cable. Make sure that you are connected to the right port. Red Button indicates that the device is not connected, Blue Button indicates that the device is connected to the right port.
- Now click on the “(Build) Copy/Load” button.
- Workshop 4 will prompt you to select a drive to copy the image files to a uSD Card. After selecting the correct drive, click OK.
Step5: Mount uSD Card- The module will prompt you to insert the uSD card.
- Unmount the uSD Card properly from the PC and insert it to the uSD Card slot of the display module.


_3u05Tpwasz.png?auto=compress%2Cformat&w=40&h=40&fit=fillmax&bg=fff&dpr=2)


Comments
Please log in or sign up to comment.