In this project, we will use a gen4-uLCD-70DCT-CLB, a SOMO II MP3 Module and a speaker to create a simple Piano. The LCD Module displays the piano keys and controls the SOMO II MP3 Module to play the corresponding notes. The speaker transforms the electrical signal generated by the SOMO II MP3 module to sound.
How it Works
ComponentsImplementationStep1: Build- Wire the project according to the Fritzing diagram.
- Use a Gen4-PA board, to connect the display to the PC.
Step2: ProgramDownload the project code here.
Open the project using Workshop 4. This project uses the Visi Environment. You can modify the properties of each widget.
Step3: CompileClick on the “Build Copy/Load” button.
Note: This step could be skipped. However, compiling is essential for debugging purposes.
Step4: Comp’nLoad- Connect the display to the PC using uUSB-PA5 and a micro USB cable. Make sure that you are connected to the right port. Red Button indicates that the device is not connected, Blue Button indicates that the device is connected to the right port.
- Now click on the “(Build) Copy/Load” button.
- Workshop 4 will prompt you to select a drive to copy the image files to a uSD Card. After selecting the correct drive, click OK.
Step5: Mount uSD CardThe module will prompt you to insert the uSD card.
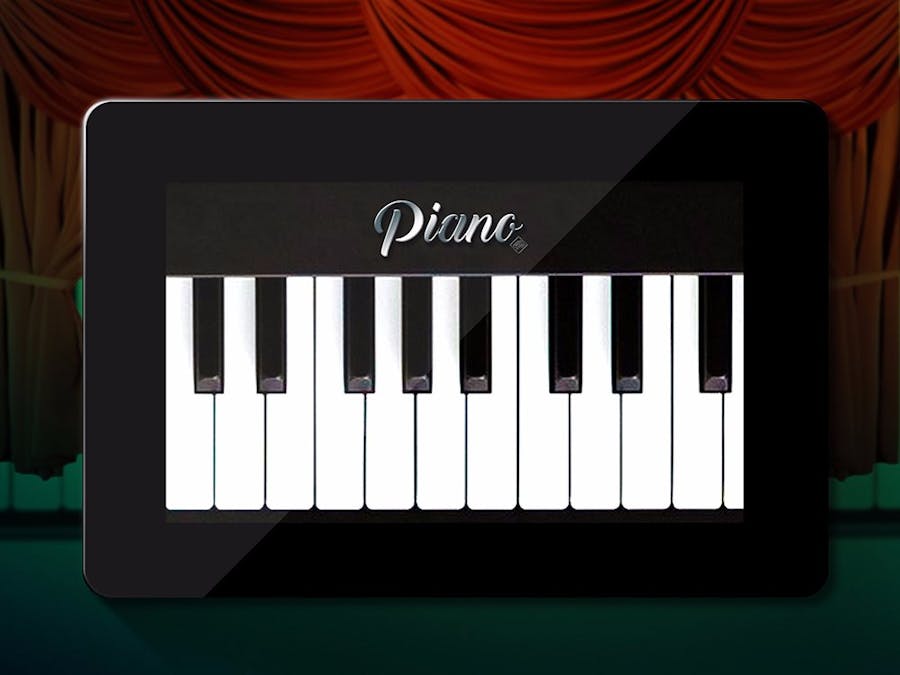
Properly unmount the uSD Card from the PC and insert it to the uSD Card slot of the display module. The image below must appear on your display after completing the steps above.


Comments
Please log in or sign up to comment.