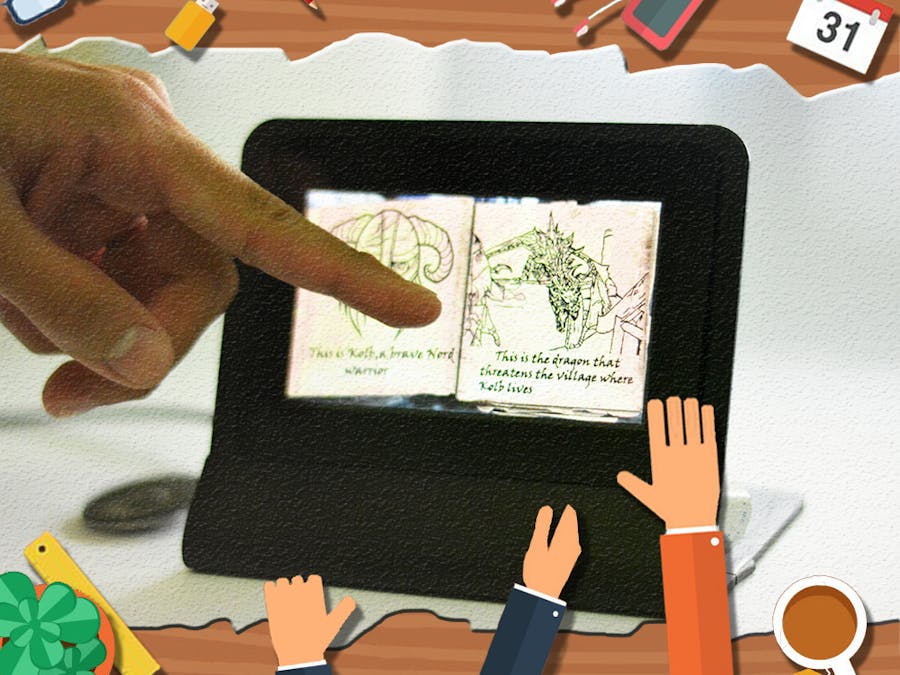
Recreate your favorite books and enhance your overall learning and reading experience with a gen4 display brought to us by 4D Systems.
This project used a gen4 - uLCD 70DCT – CLB to make a graphical narrative of a story from a text book. Some game mechanics were added in this project in order to make a creative storytelling, and sounds to make it more entertaining.
You can use this project for reference if you do want to create your own graphical story, and you can also improve this project depending on your preferences.
How it Works- Speaker
- Jumper Wires
- FFC Cable
- Micro USB Cable
- uSD Card
Step 1: Build
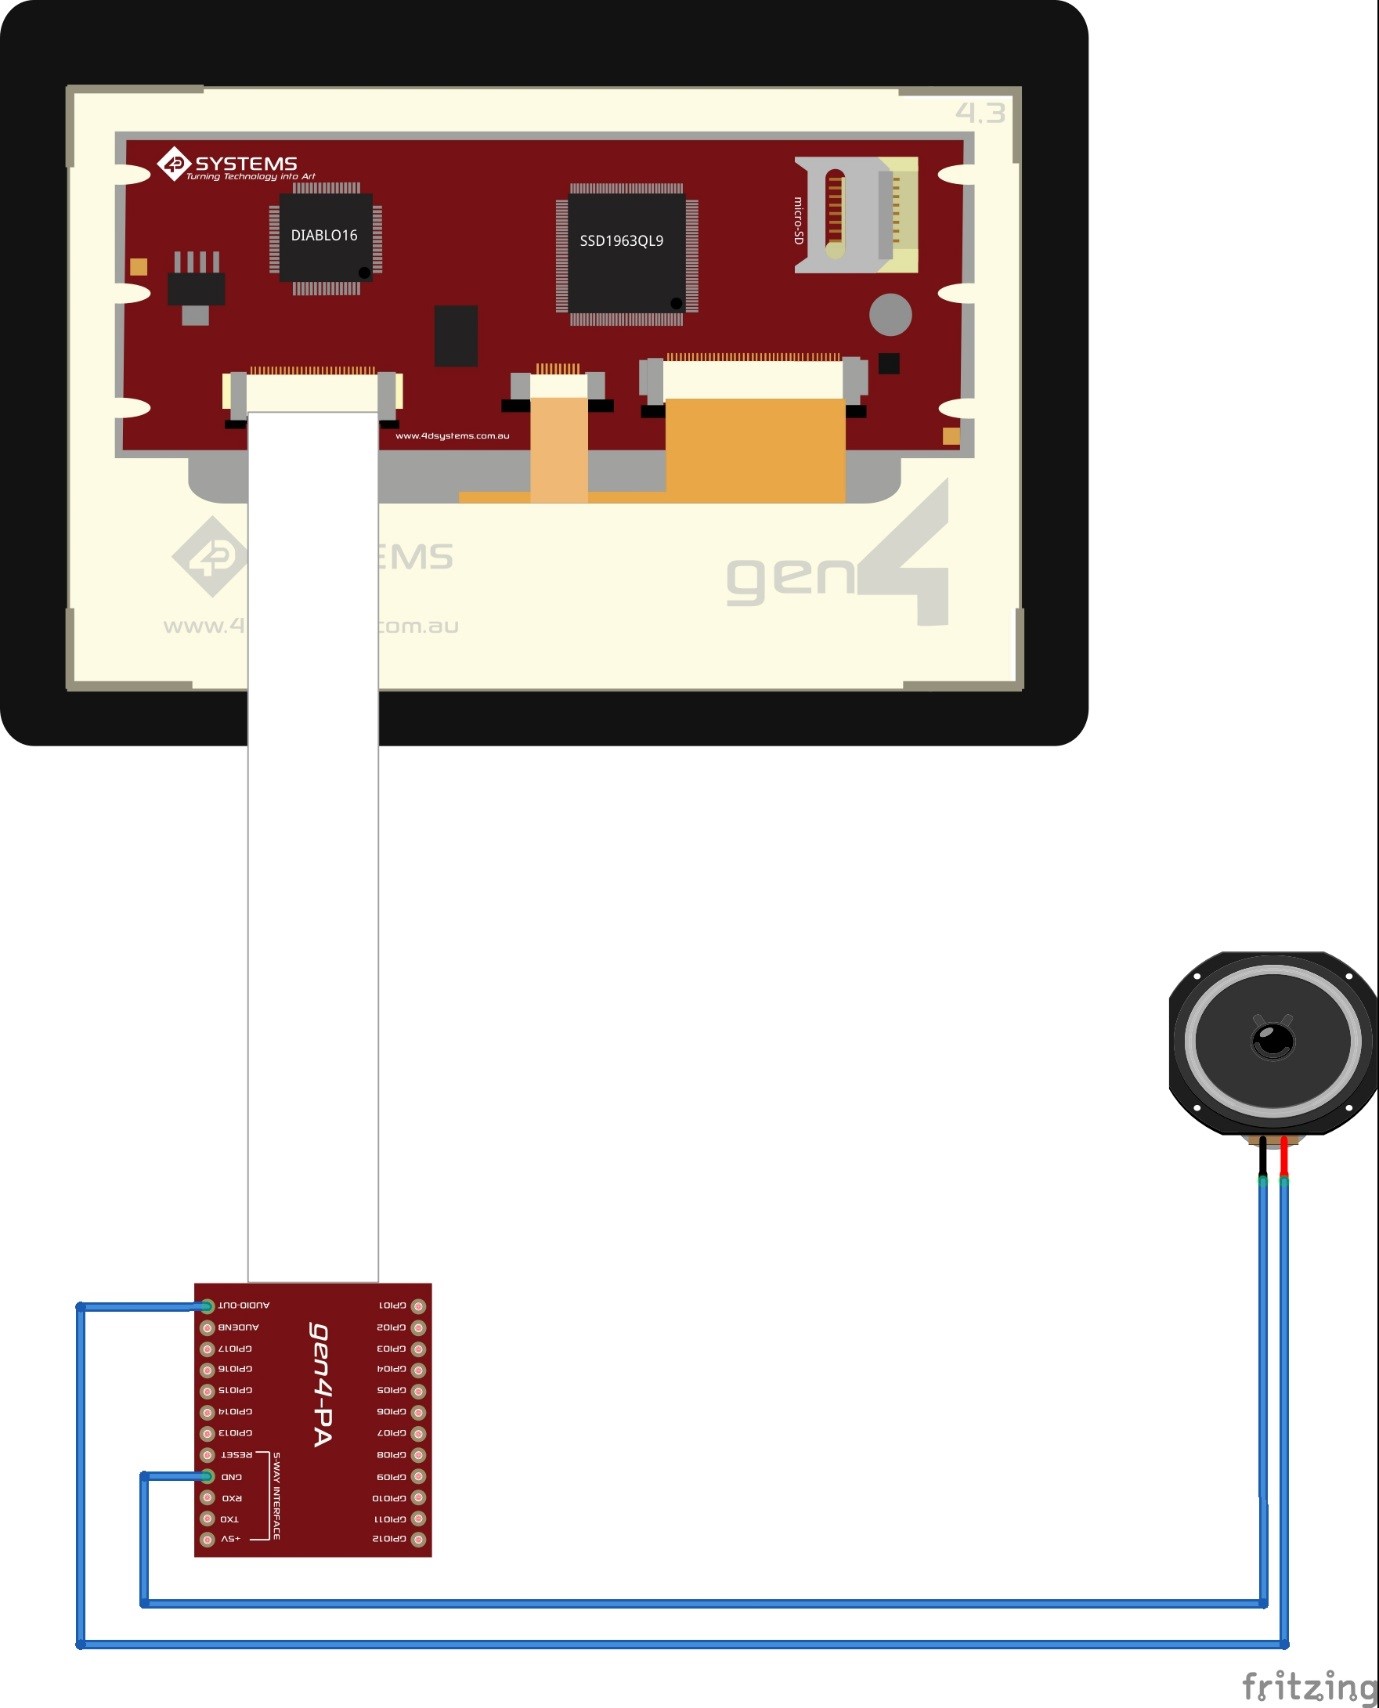
Build the circuit as shown in the diagram.
Step 2: Program
Download the project file here.
Open the project using the Workshop 4 IDE. This project uses the Visi Environment
Note: You are free to modify the properties of each widgets.
Step 3: Adding Audio Files
In your extracted files, kindly open this folder.
Then, copy the contents of the said folder to your uSD Card.
Step 4: Compile
Click on the “Compile” button.
Note: This step could be skipped. However, compiling is essential for debugging purposes.
Step 5: Comms Port
Connect the display to the PC using uUSB cable.
Navigate to the Comms tab, then check if you are connected to the right port. If you see a red button, it specifies that your device is not connected, while blue button shows that your device is connected.
Step 6: Compile and Upload
Go back to “Home” tab. This time, click on the “Comp’nLoad” button.
Workshop 4 will prompt you to select a drive to copy the image files to a uSD Card. After selecting the correct drive, click OK.
Step 7: Mount uSD Card
When the micro SD card is not yet placed correctly, a message saying this will appear:
If micro SD card is placed properly, this interface will appear:


Comments
Please log in or sign up to comment.