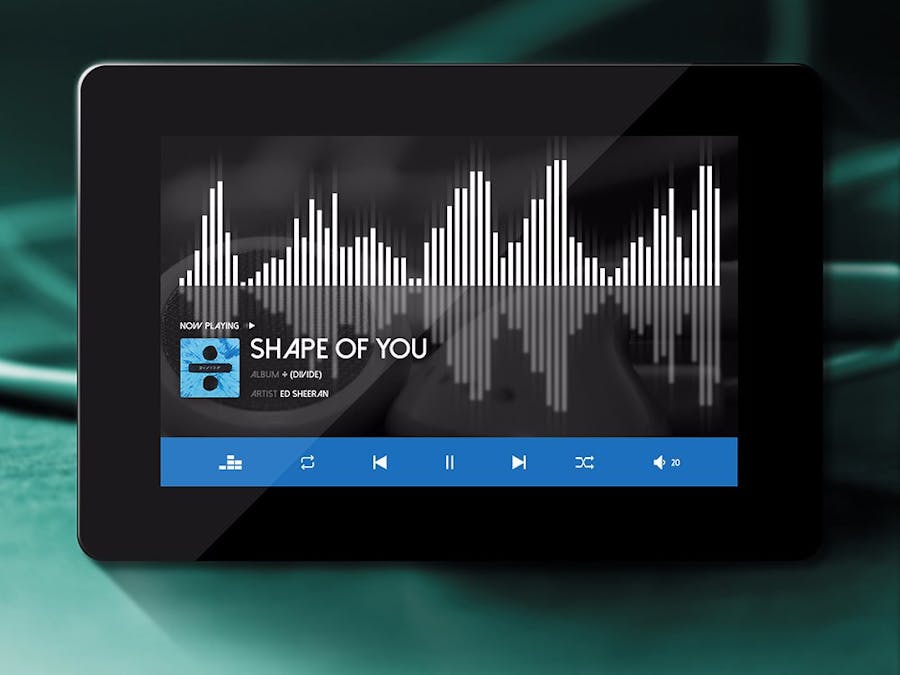
Build your own MP3 Player with this Project! This Gen4 – MP3 Player Project includes the basic functionality of a typical MP3 Player that includes functions like: Play, Stop, Next Song, Previous Song, Random, Volume Control and more.
This project also serves as an introduction to embedded Audio Sound applications and lays foundation for easy incorporation of sound in to your project.
Gen4-uLCD-32 DCT is used in this project. It will serve as the GUI and controller that manages the data communication with the SOMO-II. Gen4-uLCD32-DCT is a capacitive touch display that reacts better with user interaction.
SOMO-II is a simple and easy to use audio module. It has pin-outs for an external speaker as well as for audio jack. It can play .wav and .mp3 audio files that are accessed through microSD card or USB devices. UART can be used to communicate with the SOMO-II module with any other host by using serial byte commands. External Buttons can also be installed to communicate the SOMO-II.
In this Project, the SOMO-II is the one which plays and gives output to the speaker.
How it WorksMoreover, a screensaver will appear after 20 seconds of inactivity, you can press anywhere to turn on the screen again.
Components- uSD card (one for the SOMO-II and another for the microLCD)
- 4 ohm 3 Watt Speaker
- uUSB Cable
Connect the display to the PC as shown in the image below. You can also use the gen4-PA board if you want to use its GPIO pins.
Build the circuit as shown in the diagram below.
- Download the project code here.
- Open this project using Workshop 4. This project uses the Visi Environment
- You can modify the properties of each widget.
- Click on the “Build Copy/Load” button.
Note: This step could be skipped. However, compiling is essential for debugging purposes.
Step 4: Comp’n Load- Connect the display to the PC using uUSB-PA5 and a mini USB cable. Make sure that you are connected to the right port. Red Button indicates that the device is not connected, Blue Button indicates that the device is connected to the right port.
- Now click on the “(Build) Copy/Load” button.
- Workshop 4 will prompt you to select a drive to copy the image files to a uSD Card. After selecting the correct drive, click OK.
- The display module will prompt you to insert the uSD card.
- Properly unmount the uSD Card from the PC and insert it to the uSD Card slot of the display module. The image below must appear on your display after completing the steps above.
Play button is pressed and the knob volume is set, note that the SOMO-II status LED is on, indicating that a song or command is being played or executed.
Menu button is activated, EQ or equalizer modes can be selected, SOMO-II will reconfigure the audio output depending on the user’s choice.


Comments
Please log in or sign up to comment.