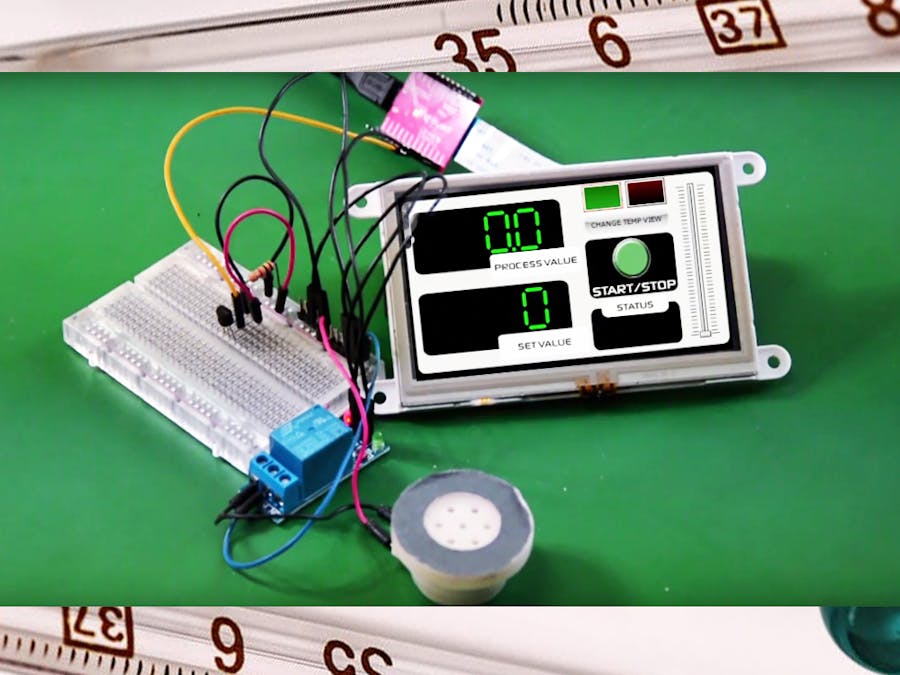
In the manufacturing industry, the Temperature Indicating Control or TIC is a widely used automation equipment that aims to automate temperature monitoring process. It can be used in both heating or freezing process and environments. Most TICs are installed in fermentation tanks, cooling tanks, tunnels and many more. External components such as temperature sensors and relays are needed to completely automate a process system. These controllers sometimes are also configured to send out a signal or temperature reading to a main computer, where a process engineer can monitor the whole plant process.
This project aims to replicate the aforementioned controller but reboot it in a user-friendly way. Most of the on-the-market TIC have robust design and few understandable buttons making it accessible only to experienced technicians or engineers.
The gen4 micro-LCD 43DT is a robust display that can be easily mounted onto any existing hardware prototype, which makes it easier for users to adapt it to their prototypes or solutions. Processing power of the on-board Diablo16 is comparable or at even higher than existing TICs, it can compute and update temperature readings fast for any automation or manufacturing solution users may need.
How It WorksThe flow rate sensing is sampled and displayed every 60 seconds. After an alarm value is provided, monitoring and checking can be then conducted.
Components- gen4 micro-LCD 43DT
- LM35 Temperature Sensor
- 1K Ohm Resistor
- 5v Relay Module
- gen4-PA
- 30 way FFC Cable
- uSD Card
- Micro USB Cable
- Connecting Wires
Please take note of the pin assignment of the LM35, you may also change the relay to your desires.
If you are using gen4-PA board, connect the display to the PC like the image below.
Download the project file here.
You can download Workshop 4 IDE and the complete code for this project from our website.
Open the project using Workshop 4. This project uses the Visi Environment.
You can modify the properties of each widget.
Click on the “Compile” button.
Note: This step could be skipped. However, compiling is essential for debugging purposes.
Step 4: Comp n' LoadConnect the display to the PC using uUSB-PA5 and a mini USB cable. Make sure that you are connected to the right port. Red Button indicates that the device is not connected, Blue Button indicates that the device is connected to the right port.
Now click on the “Comp n' Load” button.
Workshop 4 will prompt you to select a drive to copy the image files to a uSD Card. After selecting the correct drive, click OK.
The module will prompt you to insert the uSD card.
Properly unmount the uSD Card from the PC and insert it to the uSD Card slot of the display module. The image below must appear on your display after completing the steps above.
Users must first enter a set point temperature value (set value) before pressing the start/stop button. After this, the monitoring starts. An LED (RED for OFF and GREEN for ON) will indicate if the monitor is operating. The status box at the button indicates the comparison result. Note that Relay does not turn ON yet (RED Led only.)


Comments
Please log in or sign up to comment.