/************************************************************************
*
* Test of the Pmod
*
*************************************************************************
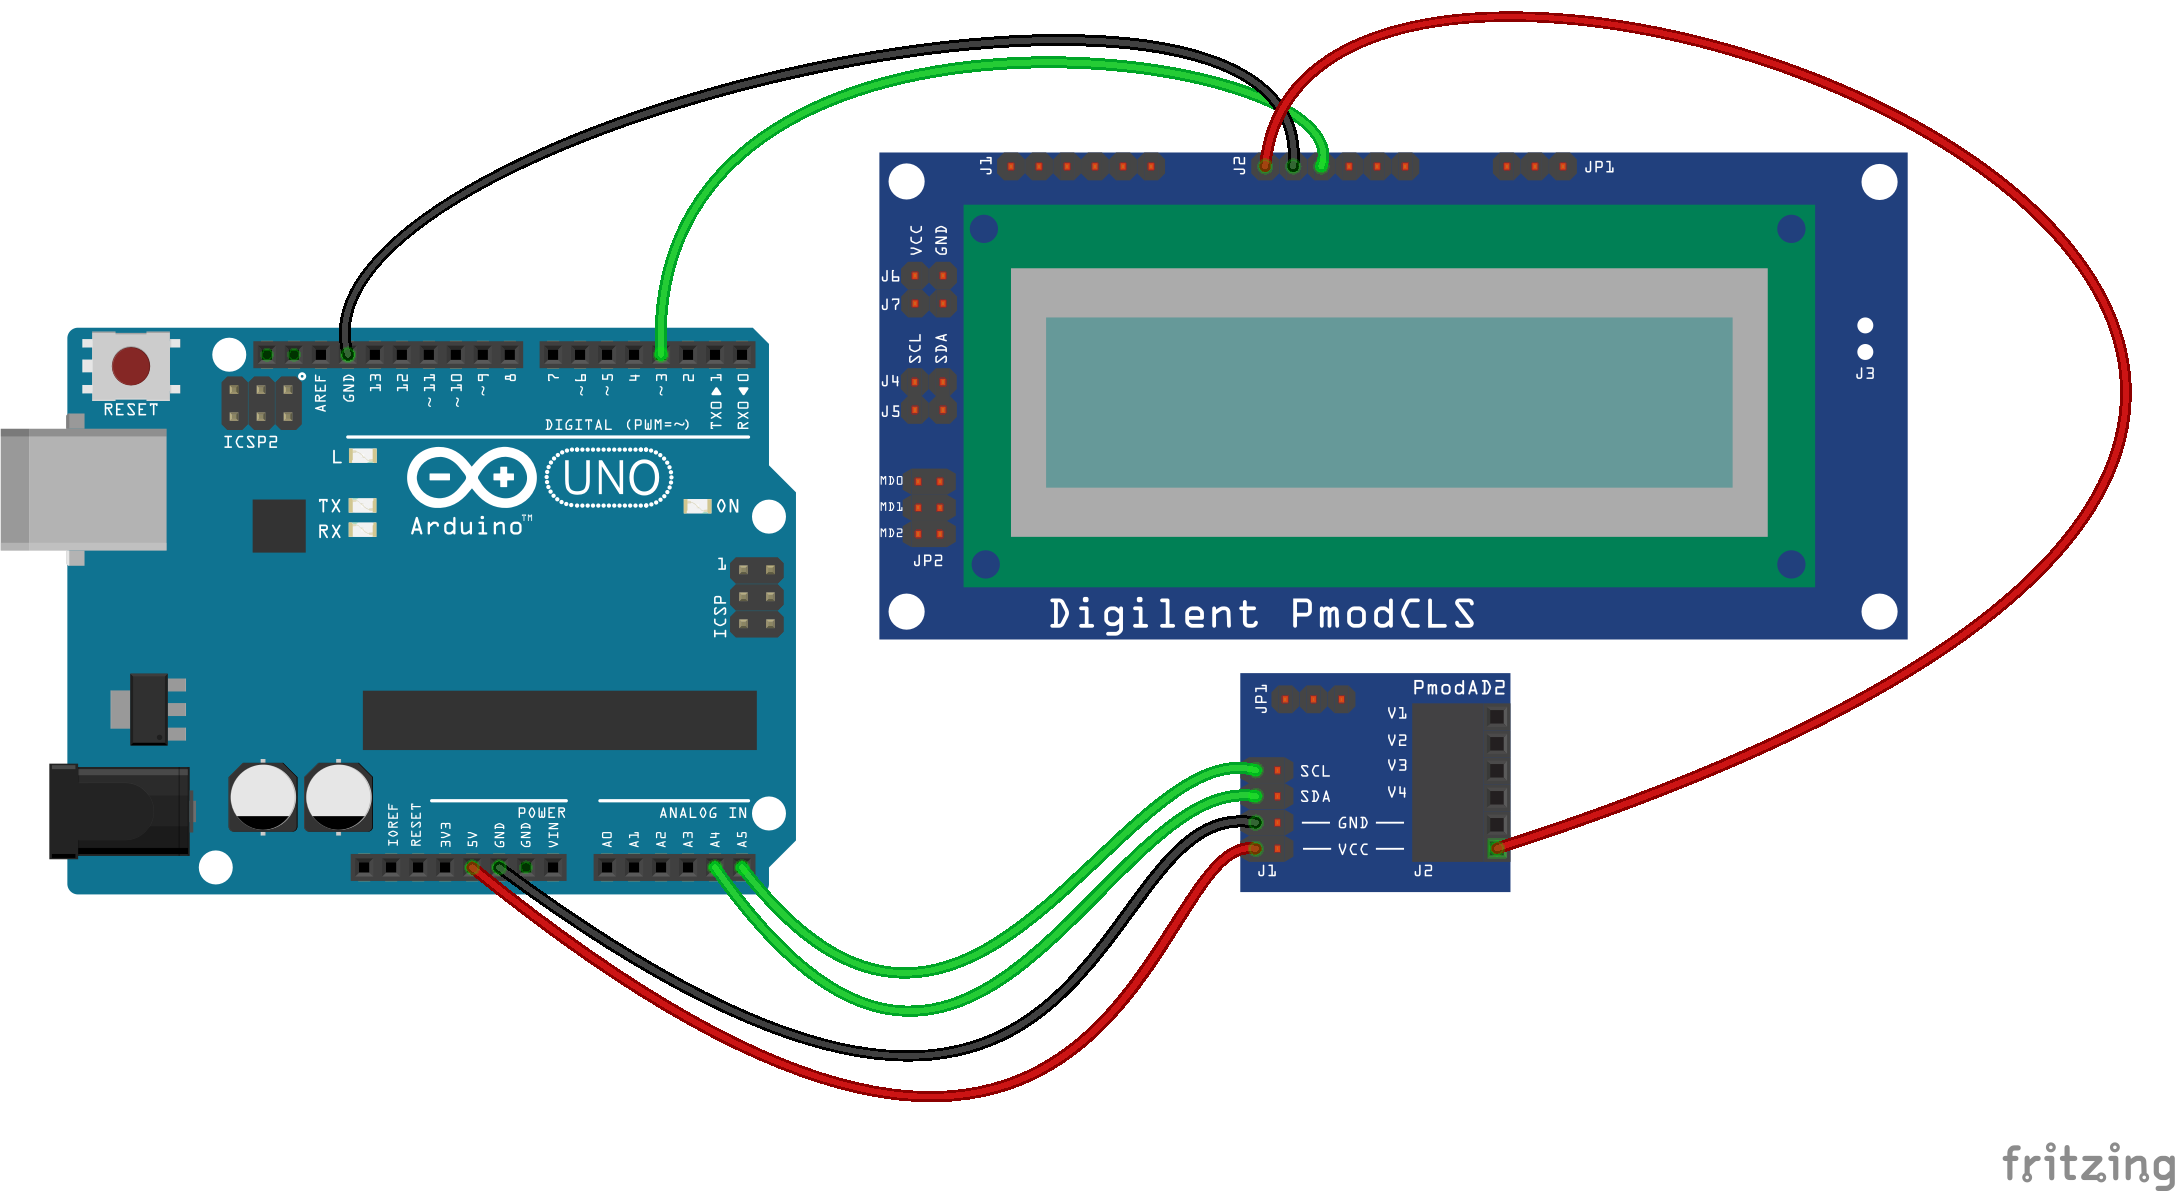
* Description: Pmod_AD2
* The result of A / D conversion of channel A0 is displayed on the serial monitor
* and on a serial LCD display.
*
*
* Material
* 1. Arduino Uno
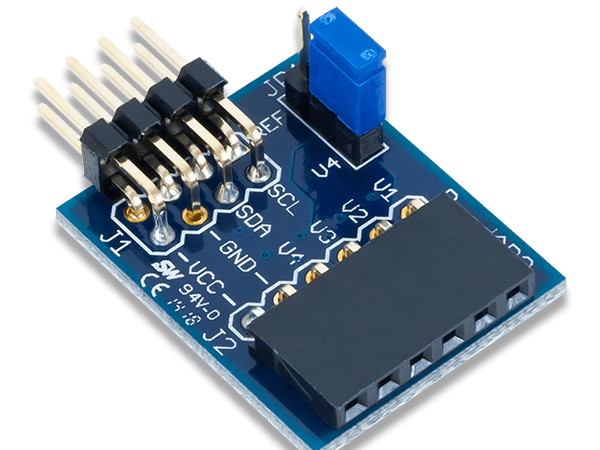
* 2. Pmod AD2 (Jumper on V4 position)
* 3. Pmod CLS
*
************************************************************************/

#include <Wire.h> // call library
#define AD7991_Adresse 0x28 // I2C adress of the Pmod AD2 module

//Déclaration d'un port série
#include <SoftwareSerial.h>
SoftwareSerial lcd(2,3); // RX, TX

int MSB;
int LSB;
int valeur;

void setup()
{
 Serial.begin(9600); // initialization of serial communication
 Wire.begin(); // initialization of I2C communication
 Init_AD7991(); // initialisation du module Pmod AD2
 lcd.begin(9600); // initialization of serial communication of display
 lcd.write("\x1b[j"); // Erase display
 lcd.write("\x1b[0h"); // cursor positioning 2nd row 1st column
}

void loop()
{
 Wire.beginTransmission(AD7991_Adresse); // Launch of the measure
 Wire.endTransmission();
 delay(10);
 Wire.requestFrom(AD7991_Adresse, 2); // Recovery of the two bytes MSB and LSB
 if(Wire.available() <=2)
 {
  MSB = Wire.read();
  LSB = Wire.read();
 }
 valeur=MSB<< 8 |LSB ;
 Serial.print("MSB="); // display in serial monitor
 Serial.println(MSB);
 Serial.print("LSB=");
 Serial.println(LSB);
 Serial.print("Valeur=");
 Serial.println(valeur);
 lcd.write("\x1b[j"); // Erase display
 lcd.print("MSB="); // Write on display
 lcd.print(MSB);
 lcd.print(" LSB="); // Write on display
 lcd.print(LSB);
 lcd.write("\x1b[1;0H"); // cursor positioning 2nd row 1st column
 lcd.print("Valeur="); // Write on display
 lcd.print(valeur);
 delay(1000);
}

// Initialisation du module Pmod AD2
void Init_AD7991(void)
{
 Wire.beginTransmission(AD7991_Adresse);
 Wire.write(0x08); // configuration of the I2C communication in HIGH SPEED Mode
 Wire.write(0x10); // configuration of Pmod AD2 (read of V0)
 Wire.endTransmission();
}


_ztBMuBhMHo.jpg?auto=compress%2Cformat&w=48&h=48&fit=fill&bg=ffffff)


Comments
Please log in or sign up to comment.