In this article we would introduce how to use OpenCV library in Python programming language to implement face recognition on LattePanda.
The operating system we used is the default Windows 10 on LattePanda.
1. Software PreparationInstall Python
First, please download the latest Python from the official website. Note that there are two versions of Python, one is version 2.7.x, the other one is version 3.x. The version 2.7.x is the older version and will be deprecated in the future, so in this project we use Python3, the latest version in this post is 3.6.1.
Please follow the installation shown below.
Don't forget to check the option "Add Python 3.6 to PATH" while Python installation, which enable the Windows system to call Python executable.
After installation, to test whether we can run Python on LattePanda, please launch command prompt by pressing the shortcut "Win+R" and type in "cmd".
Next, type "python" in cmd to start the Python interactive session. If the symbol ">>>" is showed up, it means Python is successfully installed and ran on your OS. Otherwise if you see any error message, please check out the installation steps, especially the PATH option.
Please enter "exit()" command to exit this shell and go back to command prompt.
Install required packages
Now, we would use Python package manager(pip) install three necessary Python packages of this project
1. Please type in "pip install numpy" in the command prompt to install this numerical computation tools for Python.
2. Next, type in "pip install opencv-python" to install the OpenCV, an open-source computer vision library, we use it to recognize face in our project.
3. Finally, type in "pip install pyserial" to install the serial communication tools for Python. We use this library to establish a serial connection with Python and Arduino.
One may need some tools to write codes efficiently. Here is a good Python IDE named Thonny we recommend to you. This IDE integrates all essential tools (debugger, python shell, variables, etc.) which is suitable for beginners.
You can download it from the official website: .
To let Thonny use the Python package installed before, we need to change the default path of interpreter to the location of Python executable in Windows system.
In thonny IDE, click Tools and then Options to open the preference window:
In this window, click interpreter tab and set the path to the default Python installation path, as shown below:
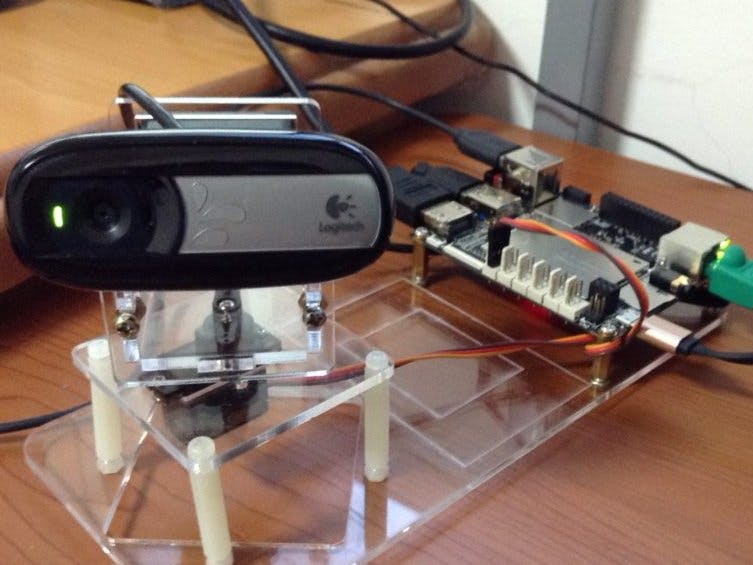
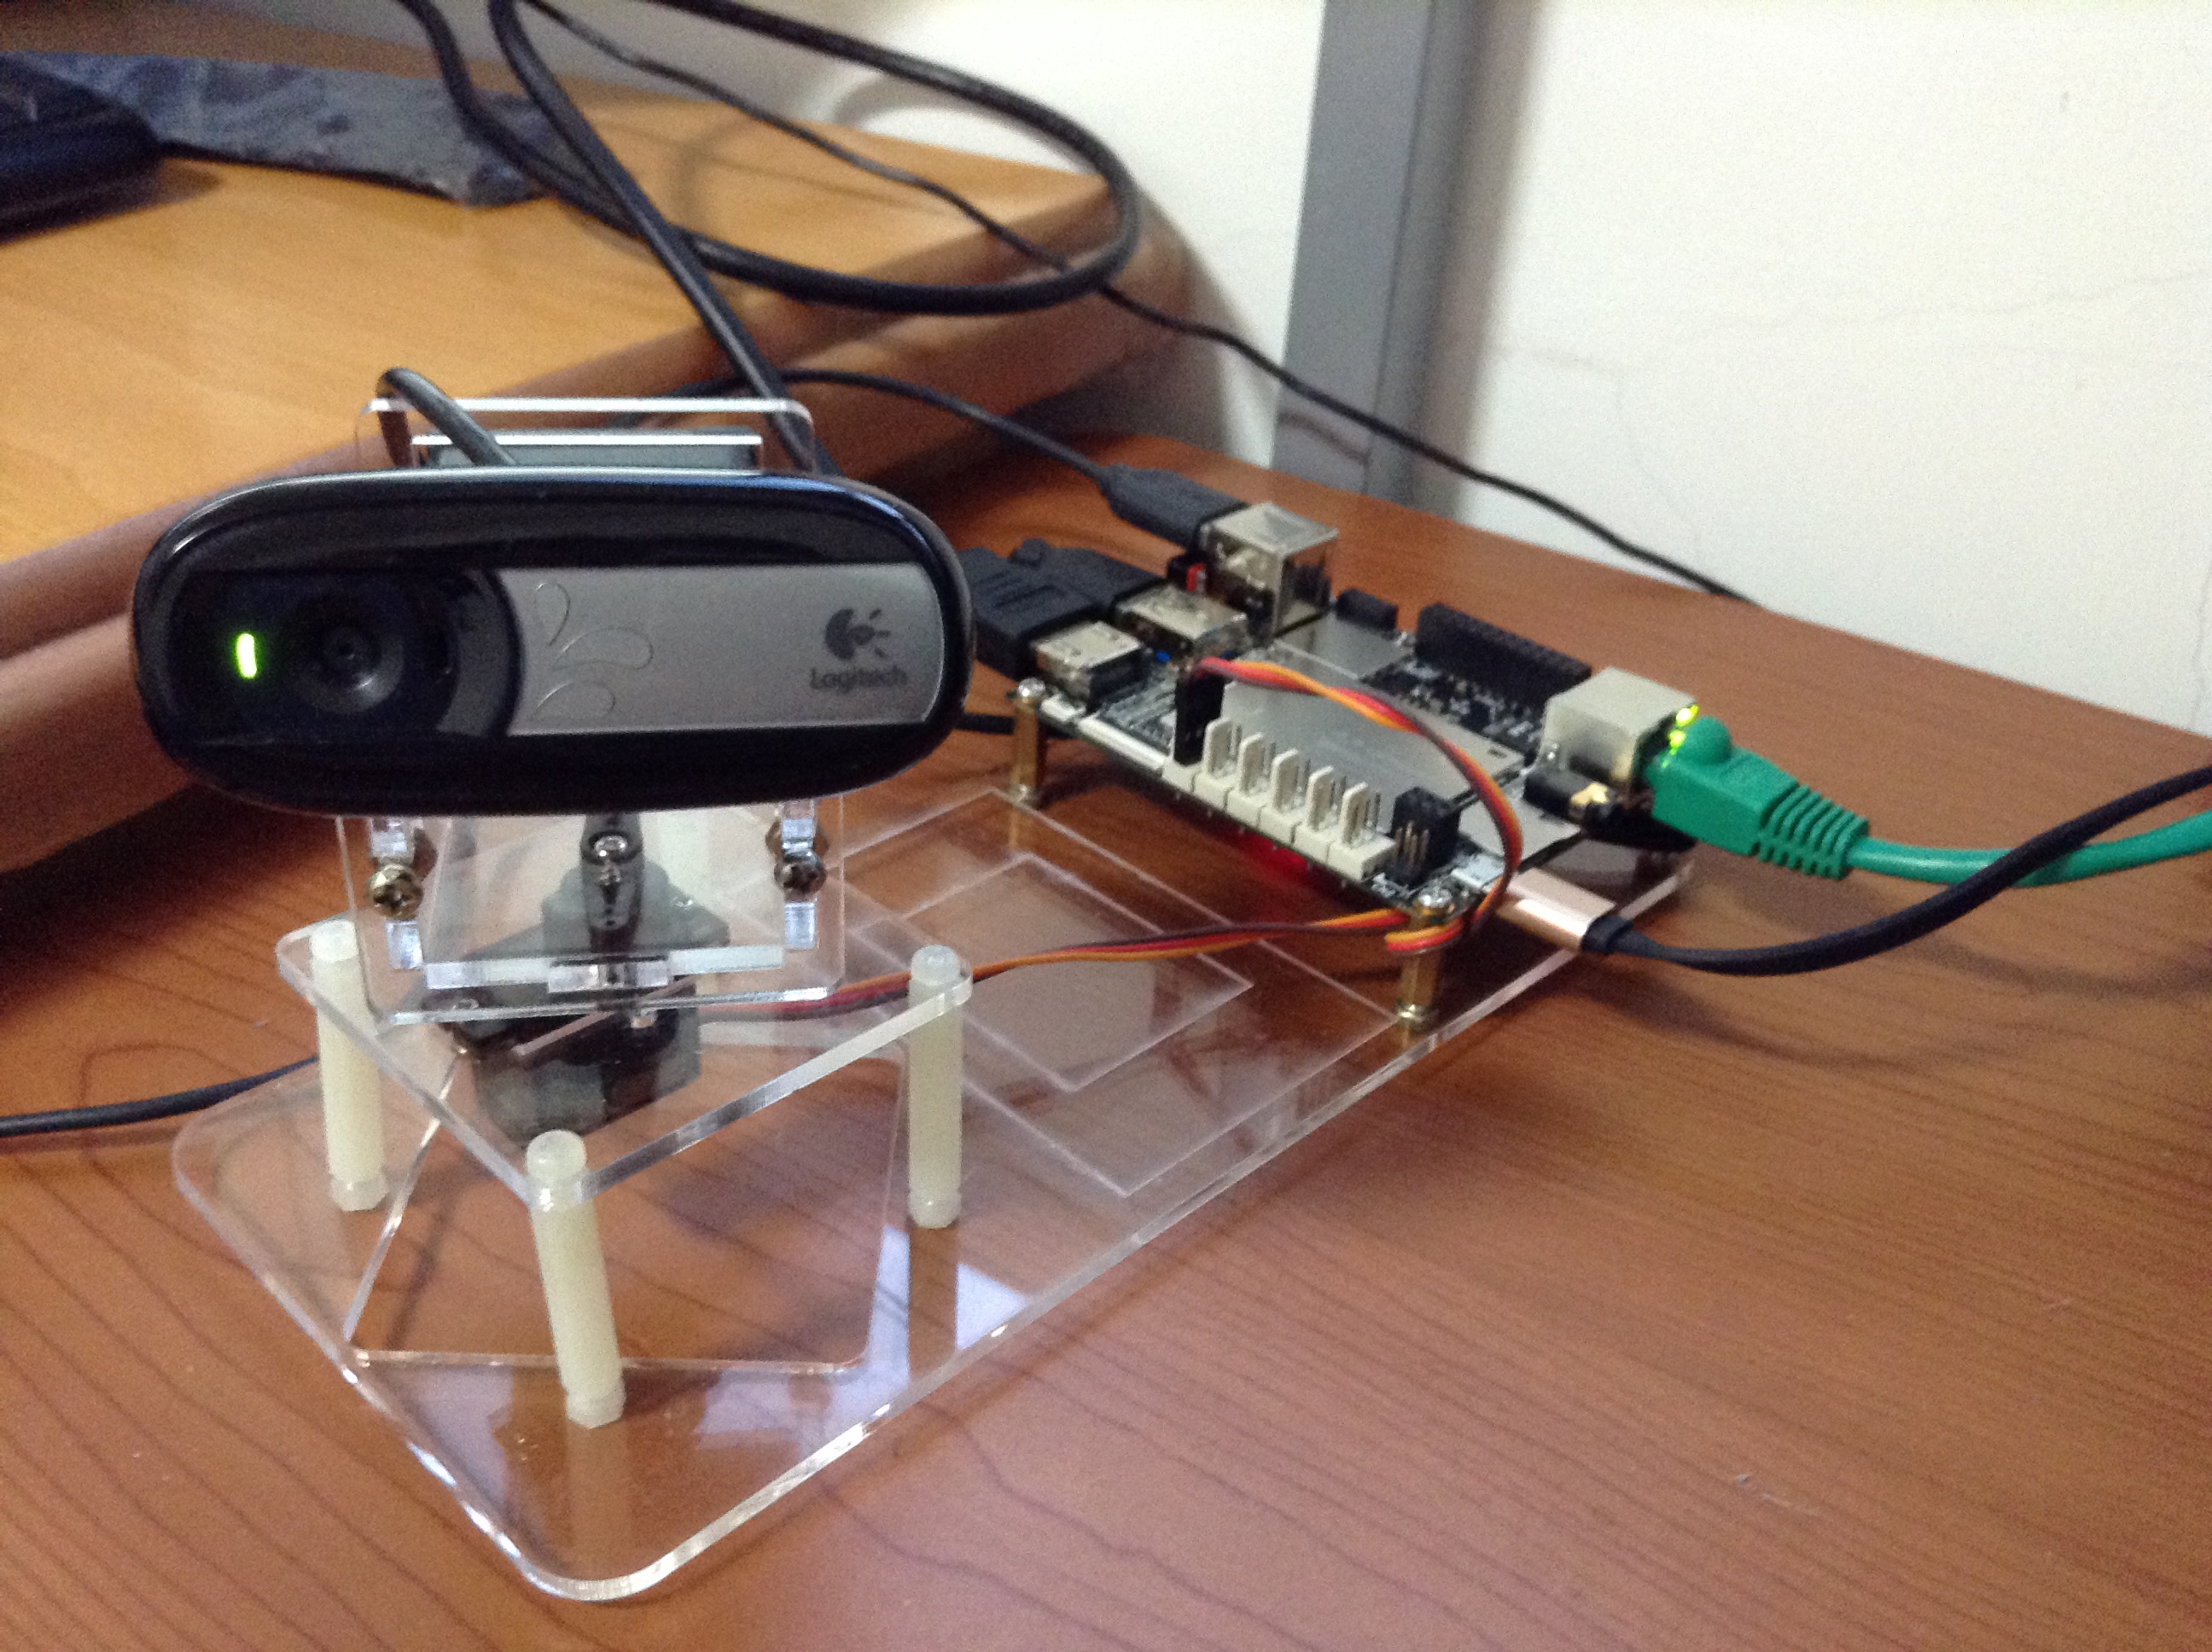
We use Logitech C270 webcam (or almost any other webcam with USB connector) in this project to recognize human faces. And to track the face position, we need a small rotation platform. As the picture shown below, we use a small servo motor(Tower Pro MG90) at the bottom to rotate the camera mounted on it. You can check on Thingiverse website for ready-to-use webcam/servo mount.
Notice that the servo signal wire is attached to Arduino Pin 9 on the LattePanda. Make sure you connect correctly with the brown ground pin facing outside as labeled on LattePanda.
Please launch Arduino IDE and download the following code to the Arduino Leonardo core of LattePanda (you have to specify the proper COM port, usually is COM4).
In this code, the Arduino chip of LattePanda will receive two diferent commands from the serial, if the command is 'a' or 'b', then it will turn the camera CCW or CW for 1 degree (this value can be modified according to your requirement).
Since we've connected the servo to LattePanda Arduino D9 pin, of course we have to specify that in your Arduino sketch (Line #9). If you want to switch the servo to another pin, remember to modify the pin number in this line "s.attach(9)" with the actual pin number. The upper limit (180) and lower (0) servo limit can be modified according to the physical setup.
//Arduino sketch
//waiting command from LattePanda (Python) to control servo
#include <Servo.h>
Servo s;
int degree = 90;
void setup()
{
    Serial.begin(115200);
    s.attach(9);
}
void loop()
{
    if(Serial.available())
    {
        int cmd = Serial.read();
        if(cmd == 'a')
        {
            degree++;
            if(degree >= 180)
                degree = 180;
            s.write(degree);
        }
        else if(cmd == 'b')
        {
            degree--;
            if(degree <= 0)   //lower
                degree = 0;
            s.write(degree);
        }
        else
            Serial.println("Press a/b to turn the camrea!");
    }
}
We have prepared the Python library and IDE, now let's finish the implementation of the face tracking.
Since we are going to detect human faces in this project, please download the existed model from the OpenCV github (https://github.com/opencv/opencv/tree/master/data/haarcascades), there are two xml files we need:
- haarcascade_frontalface_default.xml: for face detection
- haarcascade_eye.xml: for eye detection.
At first, we would call the function "cv2.VideoCapture(0)" to retrieve image data from the camera with the resolution 640x480. Next, we construct the serial connection (COM4 in line #9) to communicate with Arduino core, and use it to control servo angle.
The recognition function in the while loop is simply convert the raw image in each frame to gray-scale color, and then use the recognition model (face_cascade and eye_cascade) to find the most possible faces in this frame.
How to determine the face we want? The program will compute how many faces in the image and choose the biggest one.
In order to track the face, the program first compute the position of the face(position = x + w/2.0 in line#22), x is left-top coordinate of the rectangle which labels the face, and w is the rectangle width.
After LattePanda got the position of the face, it would compare it with the center of the image (line #24~27), and give the command to rotate the camera platform to compensate the difference.
Note that we have specified the center line is 320( derived by 640/2, and 640 is the resolution width of each image frame). So if you want to modify the resolution or use another webcam, don't forget to change this parameter.
import cv2
import numpy as np
import serial
face_cascade = cv2.CascadeClassifier('./haarcascade_frontalface_default.xml')
eye_cascade = cv2.CascadeClassifier('./haarcascade_eye.xml')
cap = cv2.VideoCapture(0)
cap.set(3, 640)
cap.set(4, 480)
ser = serial.Serial('COM4', 115200)
while True:
    _, img = cap.read()
    gray = cv2.cvtColor(img, cv2.COLOR_BGR2GRAY)
    faces = face_cascade.detectMultiScale(gray, 2, 5)
    if len(faces):
        (x, y, w, h) = max(faces, key=lambda face: face[2]*face[3])
        cv2.rectangle(img,(x,y),(x+w,y+h),(255,0,0),2)
        roi_gray = gray[y:y+h, x:x+w]
        roi_color = img[y:y+h, x:x+w]
        eyes = eye_cascade.detectMultiScale(roi_gray)
        for (ex,ey,ew,eh) in eyes:
            cv2.rectangle(roi_color,(ex,ey),(ex+ew,ey+eh),(0,255,0),2)
        position = x + w/2.0
        print(position)
        if position < 320:
            ser.write(b'a')
        else:
            ser.write(b'b')

    cv2.imshow('face', img)
    k = cv2.waitKey(5) & 0xFF
    if k == 27:
        break
cv2.destroyAllWindows()
Check the performance of this project, we show a picture with human face on a phone, and yo can see the webcam will try to align its center to the face. Enjoy~


Comments
Please log in or sign up to comment.