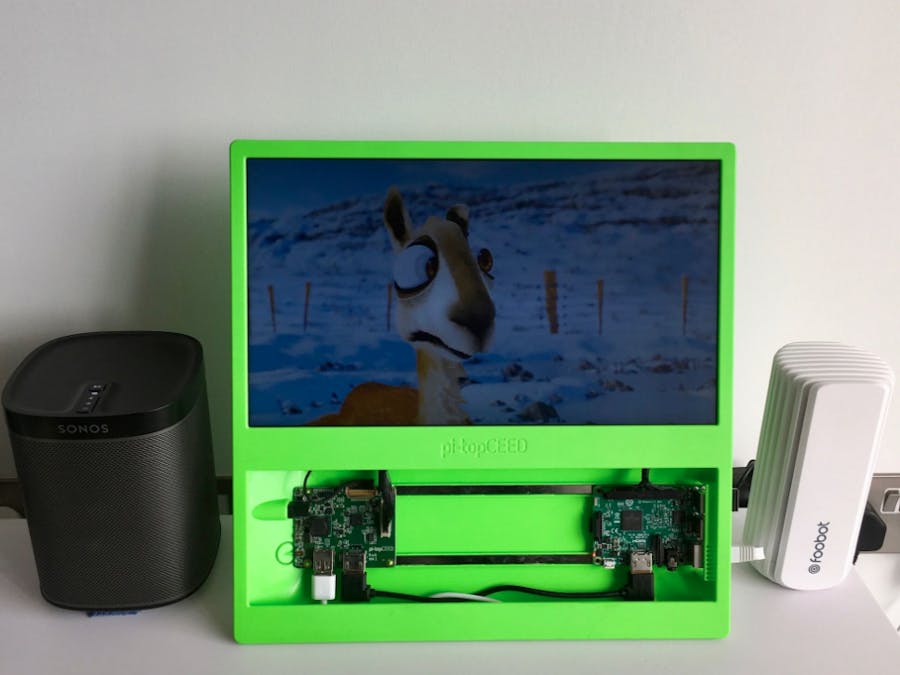
Screenly is the most popular digital signage platform for the Raspberry Pi. It powers more than 10,000 screens around the world for all kind of use cases, ranging from advertising in retail stores and public spaces, to dashboards on office walls, to screens in elevators.
In this tutorial, we will cover how to run Screenly Open Source Edition (OSE) on resin.io. Running Screenly OSE with resin.io enables you to remotely manage and update your Screenly OSE installation(s).
At the end of this tutorial, you will be able access both the device and web interface remotely through resin.io. This will also allow you to remotely update the application running on your device.
Please note that this experience is different from Screenly Pro. While you will still be able to manage all of your devices, you will not be able to manage the screen content from a single pane with Screenly OSE. For more details about the differences between Screenly OSE and Screenly Pro, see this page.
Before we get started, here’s what you’ll need:
- Any Raspberry Pi (ideally a Raspberry Pi 3 Model B for best performance, although anything down to the Zero W will also work just fine)
- A TV/monitor
- A resin.io account
- An internet connection (d’oh!)
- Basic knowledge of the terminal and Git
- Etcher.io for flashing resinOS to the SD card
Creating a resin.io account is straightforward. Once you have signed up, you need to create an application by following these instructions.
Once you have created your application, follow the instructions to add a device to the application. When complete, you should see your Raspberry Pi in the dashboard:
Now it’s time to deploy Screenly OSE.
To do this, we need to jump into a terminal and run a few commands. The steps below assume that you already have Git installed and are in the directory where you want to store the source code.
$ git clone https://github.com/Screenly/screenly-ose.git
$ cd screenly-ose
$ git remote add resin <username>@git.resin.io:<username>/<app name>.git
$ git push resin master
This last step will take some time to complete as it builds an image for you on resin.io’s servers. Once the image has been built, it will be pushed to resin’s Docker registry and subsequently pulled down onto your device.
Configure device settingsWith the device online, we need to make a minor change to the GPU memory of the device. This can be done within the resin.io dashboard. Simply navigate to "Fleet Configuration" in the dashboard and create a new configuration with the key name RESIN_HOST_CONFIG_gpu_mem and set the value to 192. If you later find out that you are having performance issues with video playback, you might need to increase this value.
Once you have your device up and running, you can access the admin interface of the device. To do so, you need to navigate to the device in the resin.io dashboard, and then click “Enable Public Device URL.” Once you’ve done so, you will be able to navigate to the device management interface by simply clicking “Open URL.”
There are some security considerations that you should keep in mind when running Screenly OSE. First, Screenly OSE has no authentication enabled by default. This means that anyone with access to the device on the local network (or who knows the obfuscated Public Device URL, if enabled) can manage content on the screen.
As such, it is recommended that you only put the device on a trusted network (such as a dedicated VLAN).
It is also recommended that you enable authentication as mentioned above to further improve security. You can do this either on a per-device basis (“Device Configuration”), or fleet-wide (“Fleet Configuration”). You just need to create two different keys:
MANAGEMENT_USERMANAGEMENT_PASSWORD
Do note, however, that the password is in plain text, so anyone with access to your resin.io account is able to see the credentials. Also, this will overwrite your authentication settings in screenly.conf, so you need to either put them by hand in the file or use this approach.
To update to the latest version, all you need to do is to run:
$ git pull
$ git push resin master
Please do note that in Screenly OSE, the master branch is the development branch. As such, it is frequently updated and may break at times. For production, you may want to switch to the production branch:
$ git pull
$ git checkout production
$ git push resin production:master
Build a project using Screenly OSE + resin.io? Blog about it and we’ll send you a swag pack with stickers, a Raspberry Pi 3, an SD card, and more!


Comments
Please log in or sign up to comment.