


This Guide is part of my upcoming book Prototyping with Lego, M5Stack and UIFLow Expected December 2022.
How to get started with the M5Stack Atom Display lite.Special thanks to wil1020 aka M5Core2Duo from the M5Stack Discord channel who go me started.
In this guide I will show you how to get started in using the M5Stack Atom Display lite unit.
For this guide I will Use the M5Stack Atom Display Lite
And the Waveshare 7" 1024X600 capacitive display
First we need to assemble the test frame as shown in previous guides.
Next we take the take two 3L friction pegs and insert as shown.
Now take a 1x3 Lift arm and place over the two 3L pegs.
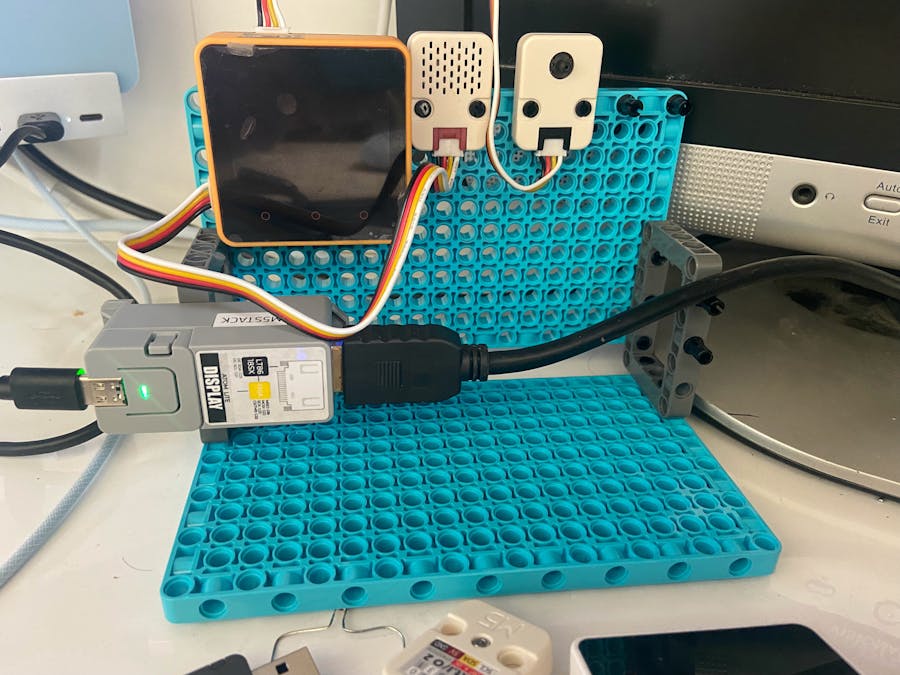
Place the Atom Display light onto the pegs and connect a USB lead through the Left hand side frame and the HDMI cable through the right hand side frame.
Next connect 4x 2U friction pegs to the base as shown.
To build the Screen mounting frame we first start with 4X 9U lift arms and 2X 11 U lift arms.
Next we add 24X 2U friction pegs.
Next add 4 L shaped lifters to the corners.
Add 2x 1x11U lift arms to connect the left and right sections.
Next and the perpendicular 1X3U lift arm with pegs.
Next the 1X6U half lift arms arm are added to hold the screen in position.
And the screen Frame to the bas and we are done (screen not shown as I don't have a 3D model for it.
In order to select the Atom Display light you need to click on the menu icon in the top far right to bring up the settings menu.
Select the Atom DisplayLite from the units by clicking on its icon and type in the 8 character API code needed for UIFlow to connect to the Atom Display Lite.
Click Ok and you will be returned back to the main screen and UIFlow will attempt to connect to the Atom Display Lite. In the above image the connection is shown as "disconnected" in red text because the Atom Display Lite was powered off at the time.
Adding Display Elements.In order to add display elements to be shown on the Waveshare 7" screen we need to open the "Screen Simulator" which can be found on the left above the picture of the Atom Display Lite.
At the top of this screen is the option to set the output resolution to the resolution of the screen in use. The Waveshare screen is 1024X600 but The closest available setting is 1280X720 and so I have to make sure not to put any elements in a position where they could end up off screen.
Add a label to the screen simulator, place it anywhere and then close the screen simulator.
When we return to the main screen, we will now find GUI blocks to control the label.
Add the "Set Label font" block to the program and set the size to Font_DeJaVu_40, Add the Label show block and type is some text.
You should end up with a program as follows:
Click on run and it shout appear on the screen.
This is just a basic Hello world guide and only covers one GUI function.
I will do a Part 2 when I can find the time to do more work on this.
Thank you for taking the time to read and please press the like button to show that you find my guides helpful.


Comments
Please log in or sign up to comment.