


Hardware components | ||||||
 |
| × | 1 | |||
| × | 1 | ||||
| × | 1 | ||||
Software apps and online services | ||||||
| ||||||
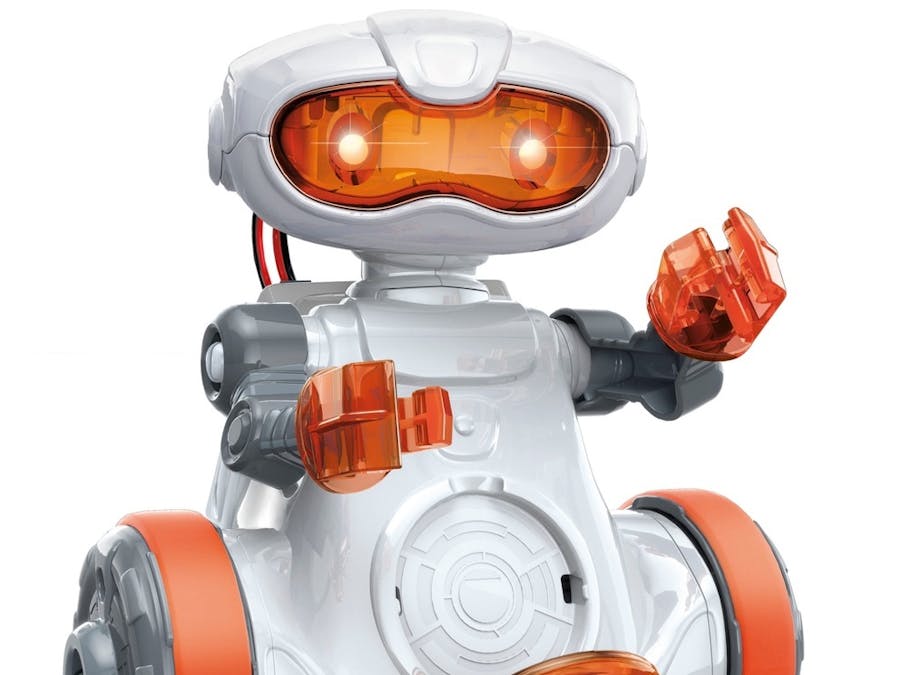
New Brains for Mio
#25ProjectofChristmas
I found the Clementoni Mio robot going cheap in a shop and wondered what I could do with it. I took him home started building it and found the gap in the back for the PCB was almost the same size as the M5Stack Core2.
Reaching into my parts bin I found my core2 already had the Goplus2 module stiff fitted from the railway guide. I fished inside Mio to retrieve the motor cables and found that it had the same JST cables used on the Goplus2 motor output (what are the chances of that!)
I plug the motors in, powered up the M5Stack Core2, connected to UIFlow and ran this code,
and Mio started driving around in a circle on the spot. This is no big issue as I have covered fixing this in the M5.A.R.S guide found here but, if you haven't read that then here is the fix.
You don't need to rewire anything, all we do is change it in code. Change the 127 to -127 on one of the motors and Mio start to drive forward!
INSERT YOUTUBE SHORT VIDEO HERE!
If Mio drives backwards not forwards, just change which value is -127 and which is 127.
The motors do not have encoders built in and so we need to do some estimation to movement distances just like I did in the M5.A.R.S guide found here.
Now that we have a basic understanding of how the motors act, we can make a remote using the remote+ functions.
Clicking on the Remote+ block will change the wok area to look like this:
Click on the joystick icon and drag two into the M5Remote area:
UIFlow will add two sets of blocks to the work area but you may need to resize and scroll around the work area to find the blocks:
Next add GoPlus2 motor blocks to these blocks and add the Joystick_x_value blocks to the motor blocks:
Now add a Show QR code block to the start block:
And that's the test program done however, before it can be used we need to change some setting for the joysticks.
Click on the Joystick to bring up the settings. Change the X Min and Y min to -127 and X Max and Y Man to 127.
Close the dialog and press the play button to soft send the code to the M5Stack Core2. The Core2 will show a QR code on the screen that when a phone is waved over, will load a link to server side of the programming.
When you click on the link, the joystick will appear on the screen:
And you will able to remotely control Mio using a mobile phone!
There is loads more we can do with Mio and M5Stack but time is running short and so until next time, please enjoy.


Comments
Please log in or sign up to comment.