


Hardware components | ||||||
 |
| × | 1 | |||
| × | 1 | ||||
 |
| × | 1 | |||
 |
| × | 1 | |||
Software apps and online services | ||||||
 |
| |||||
Hand tools and fabrication machines | ||||||
 |
| |||||
In this project you will learn how to build your own DIY Arduino Uno ATtiny programmer. It is a very simple project that any one can do! It will allow you to program your ATtiny85 microcontroller using your Arduino Uno and the Arduino IDE.
Figure 1 is a picture of the PCB that can be manufactured at PCBWay.
I have included all of the Gerber files that will allow you to get your own PCB manufactured. Once you have received your PCB you will need to solder all the parts into place.(you can use the silk screen on the PCB and the schematic to help you)
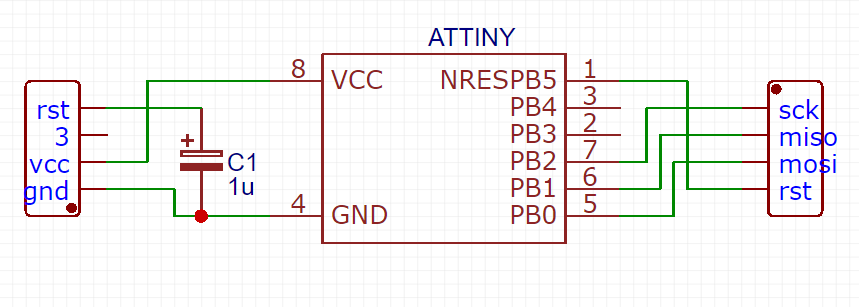
If you don't want to make a shield you can simply use a breadboard and use wires to connect the pins of the ATtiny to the suitable pins on the Arduino. You can use the schematic below to help.
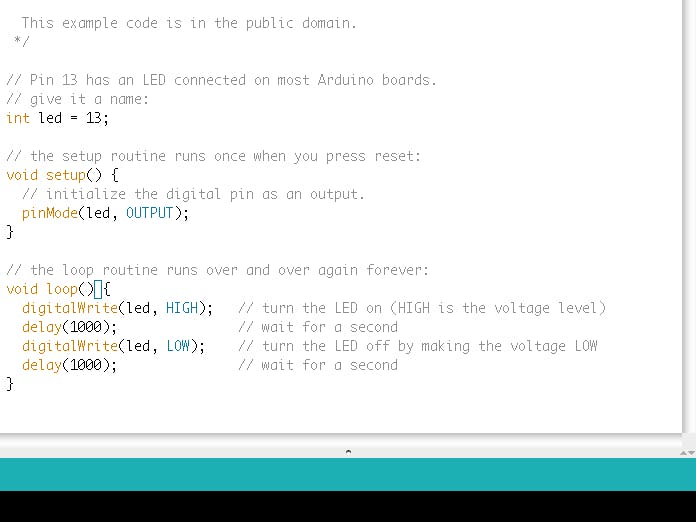
To program your ATtiny using the Arduino Uno ,you will need to change some settings in the Arduino IDE.
Click on the tools tab at the top of the Arduino IDE and navigate down to programmer and change it to 'Arduino as ISP.'
Then change the board to the ATtiny you are wanting to program(you may need to download or import these boards using the board manager) You will then need to change the voltage and frequency to suit the microcontroller you want to program.
Then simply compile your code and upload it to the microcontroller. You will then need to change the voltage and frequency to suit the microcontroller you want to program
AcknowledgementI thank PCBWay for the partnership.
WebsiteCheck out more of my other projects on my website.


Comments
Please log in or sign up to comment.