


Hardware components | ||||||
 |
| × | 1 | |||
 |
| × | 1 | |||
| × | 1 | ||||
| × | 1 | ||||
 |
| × | 2 | |||
 |
| × | 1 | |||
 |
| × | 1 | |||
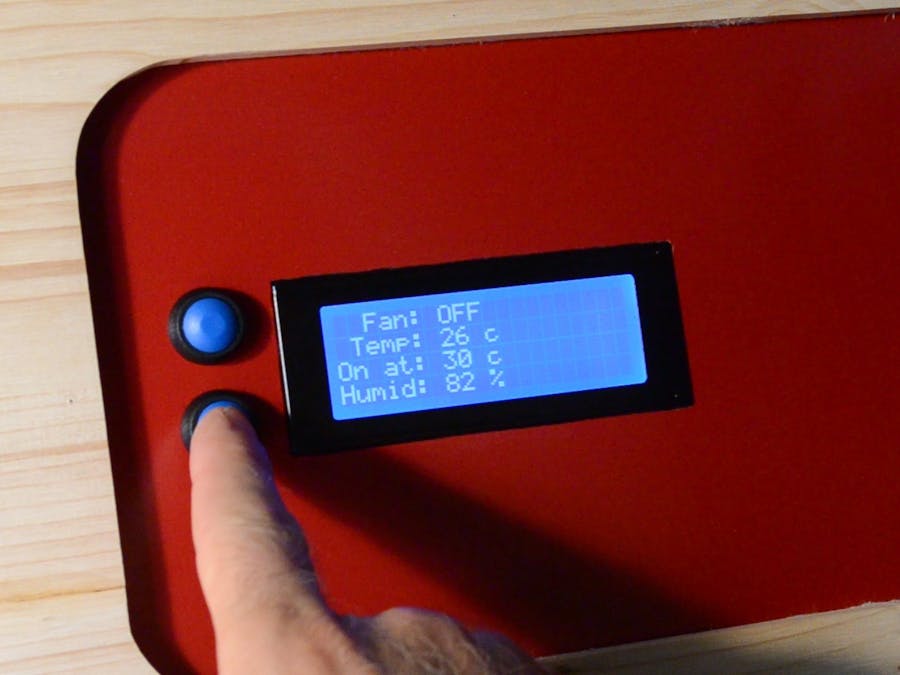
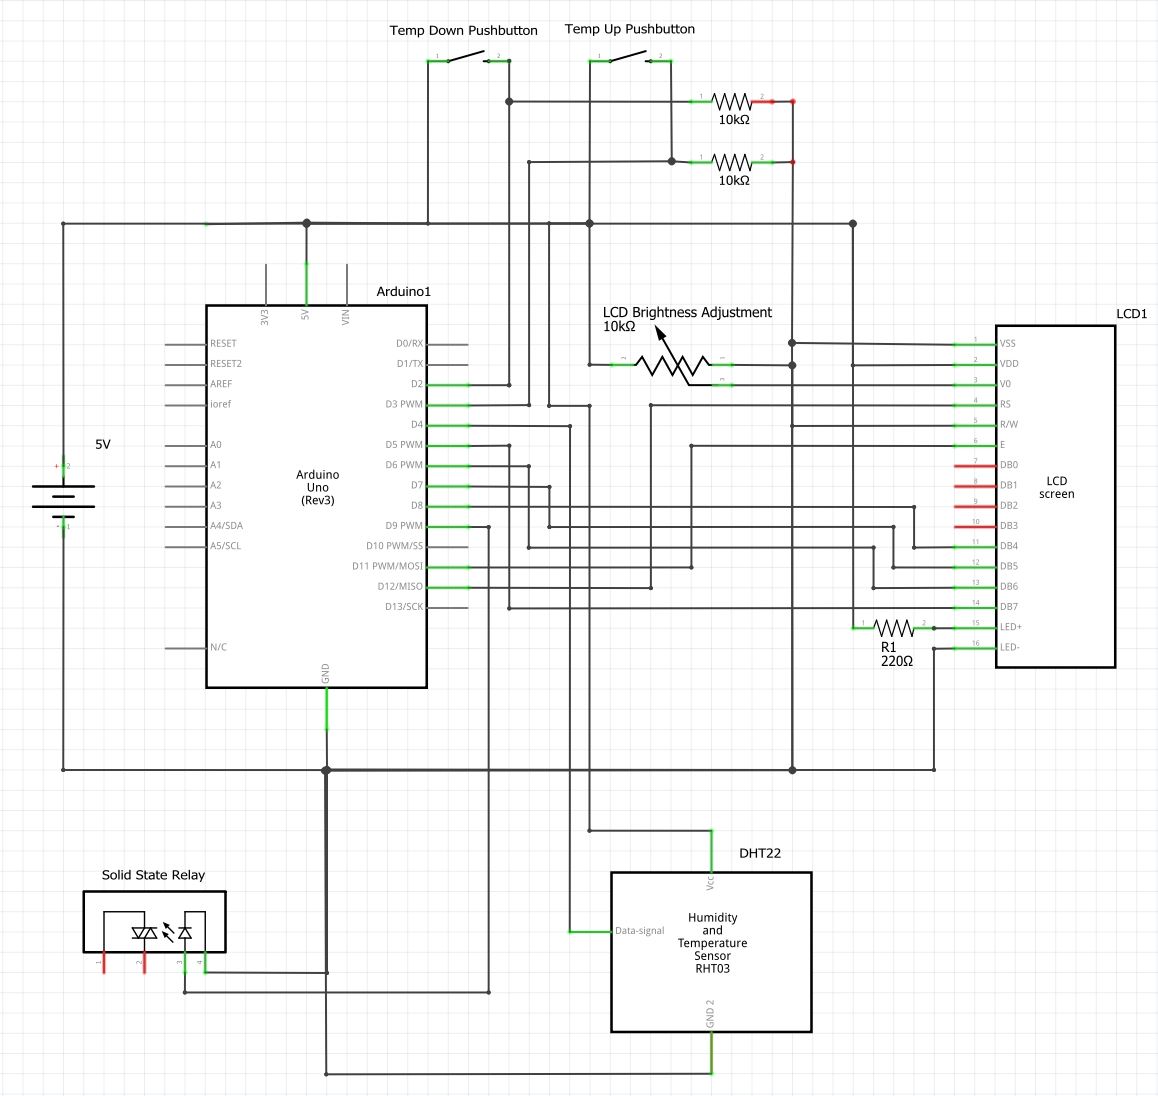
This device allows me to configure at what temperature I want to automatically turn on a 230 VAC ventilation fan. It uses a solid state relay so is silent in operation and more durable than using a mechanical relay.
Another notable feature is that, once the temperature is below the threshold at which the fan should turn on, it will wait 60 seconds before turning the fan off. This avoids the fan being turned on and off repeatedly when the temperature fluctuates right at the threshold of when the fan should be turned on.
To illustrate, let's assume we configure the temperature at which the fan should be turned on at 27 degrees Celsius and it is now 26 degrees. When it gets hotter and the temperature turns to 27 degrees, the fan will turn on. As long as the temperature is 27 degrees or higher, the fan will remain on. Once the temperature turns to 26 degrees, the device will start a 60 second countdown timer whilst still keeping the fan on. If during the countdown the temperature fluctuates back to 27 degrees or higher, it will abort the countdown and keep the fan on. On the other hand, if the temperature remains at 26 for the full 60 second countdown, then the fan will be turned off at the end of the countdown.
When the Arduino first starts up it is configured to turn the fan on at 27 degrees Celsius. This can be changed to a higher or lower temperature by pressing Temperature Up/Down push buttons and the change will be reflected in the LCD display.
Note that in place of the 230 VAC ventilation fan another electrical appliance could be controlled, as long as its current consumption is below the maximum that the solid state relay is rated to handle. Note also that the code can easily be changed to control the appliance based on a relative humidity threshold in addition to, or instead of, the temperature.
WARNING: Working with AC power is dangerous so you should know what you are doing. Seek the expert help of a certified electrician if you don't know, or proceed at your own risk!
MotivationSome time ago I built a driving simulation capsule/enclosure. It had a 230 VAC ventilation fan in it with a rocker switch in the dashboard to control it. Due to the fact that there was a 230 VAC wire going to the rocker switch on the dashboard alongside USB and video cables, anytime I switched the fan on or off an electrical spike temporarily disconnected the USB devices and also affected the video signal to the screen.
This project solved this issue with the use of a solid state relay which has been placed in the power compartment of the simulator, away from USB and video cables. Now there is no 230 VAC cable going to the dashboard either and instead there is a 12 VDC cable to power the Arduino and a 5 VDC power and trigger line going to the solid state relay, neither of which affect the USB or video signals.
I also thought it would be nice to not have to manually turn the fan on and off while driving, so this and being able to see the temperature and humidity on the LCD display is really nice!
The following video shows how the fan controller has been integrated into the driving simulator and a demo of the features explained above.
Have a great day!


Comments
Please log in or sign up to comment.