For those tying this, I have released an alexa skill and photon library that does what this write up does in about 6 lines of code, making this old method obsolete. Try it out: https://github.com/JeremyProffitt/EchoPhotonBridge And look for the Alexa Skill "Particle Smart Home Bridge" in the skills store.
Enjoy!
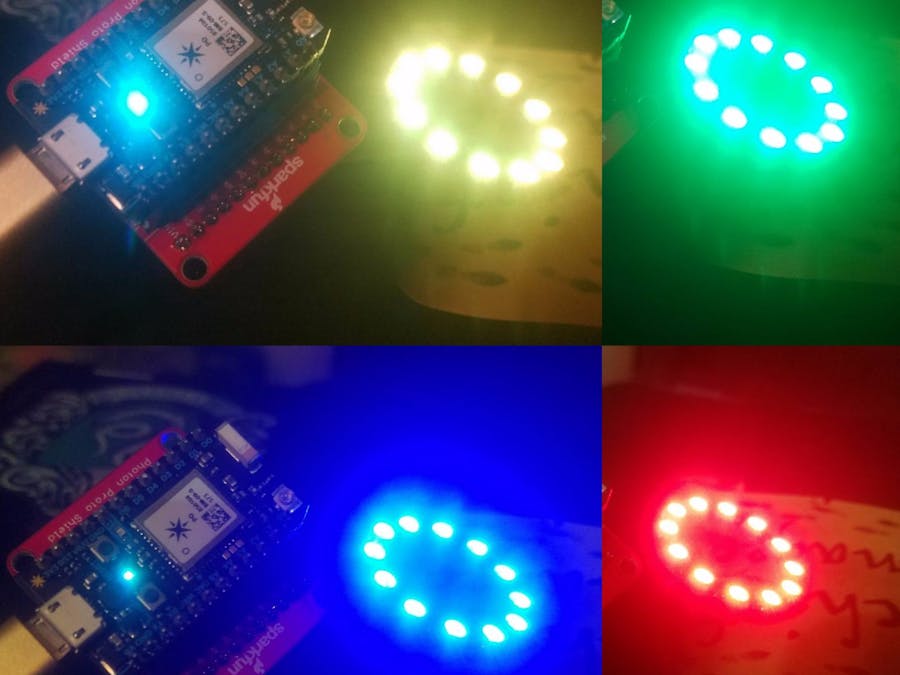
Good Day! Well, Amazon released color support for home automation on April 7th and this is my implementation. Having worked with FastLED before in prior projects, I wanted this in my Photon!
This is a really easy setup, the Photon hooks up using pin 6 to the data in on the WS2812 LEDs, of course, apply power and ground to the LEDs as well - that's the entire hardware setup.
How this worksThere are a few issues I ran into getting all of this to work:
- I'm C# Programmer, and this is my first Python Script - if you have ideas on how to make it better, please contact me, I'm interested.
- The FastLED Library won't work with firmware 0.6.1, you have to use the beta firmware 0.6.2.rc.2
- Alexa sends color values in Hue (0 to 360), Saturation (0 to 1), Brightness/Value (0 to 1) format using a Spectrum Pallet, while FastLED defaults to a Rainbow Pallet using values of 0 to 255 for Hue, Saturation and Brightness/Value. So I convert these values in the Lamda script prior to sending them to the Photon. This keeps everything as integers.
- Alexa supports light level percentages (dimmer) to support this we mix the Brightness/Value and the light level percentage together to come up with a true brightness level combining the two.
- Not all WS2812/NeoPixels are wired the same, some wire up red, green and blue differently. The FastLED.addLEDs line has a provision to change this order, and you'll see 5 commented lines in the update Lights function - use these 5 lines to show red green and blue which you can use to configure the LED (RGB Calibration - https://github.com/FastLED/FastLED/wiki/Rgb-calibration).
But be aware, I have tons of projects and two jobs, so while I'll try to help and get back to you, it might take a day or two.
Are you for hire?Yep. But I'm a professional, so expect professional pricing.
Set up the Alexa Smart Home SkillSetting up the Lamda and skill is the hardest part of this tutorial, however, if you methodically follow the below two tutorials and make the two changes I list here, you will come through in flying colors. If something doesn't work at the end, I recommend going through each step again, I know I missed something the first time through. Should you have problems with the links, I created PDF files of the web pages and added them to the CAD Drawings section of the tutorial.
When going through the "Steps to Create a Smart Home Skill", you will use the "HOWTO Add OAuth to your Alexa Home Skill in 10 Minutes" to set up the oAuth portions. Also, you'll need to make the following two changes:
- Use Python 3.6 and not Python 2.7 as the language
- Use the code from this tutorial and now the Python code in the "Steps to Create a Smart Home Skill"
Steps to Create a Smart Home Skill https://developer.amazon.com/public/solutions/alexa/alexa-skills-kit/docs/steps-to-create-a-smart-home-skill
How to Add OAuth to your Alexa Smart Home Skill in 10 Minutes https://www.whizzy.org/2016/12/howto-add-oauth-to-your-alexa-smart-home-skill-in-10-minutes/
Setup the Particle IO PhotonFor your Photon, you'll need to follow Particle's instructions to set up wifi on your particle, then goto the Web IDE and start on the code tab by ending in the name of a new project. Remember to hit save (the folder on the left) after entering in your app name.
Next, goto the Library tab on the left, and type in FastLED and click on FastLED from the list.
Next, click include in project.
Next, click on the name of the application you created 3 steps ago.
Next, you need to click on device so we can set the firmware version. Also, while you're in here, click the spot in front of your device to select it as the one you are going to program.
Now choose firmware 0.6.2-rc.2 (prerelease). You can try firmwares newer than this as well, but this firmware is what works currently.
Now copy and past the code from this tutorial and program your photon.
Setup the PhotonSetting up the photon is cake, connect the LED Power to V In, connect the Ground to Ground and connect the LED Data In to pin D6. Connect the Photo to a usb power cable or supply 5v to V In/Gnd. Done.


Comments
Please log in or sign up to comment.