


Taking photos of your project is one of the most important parts of documenting your build. Photos provide enhanced clarity when describing how to assemble your creation as well as show off the finished project. Follow these tips to take your project photography to the next level.
Each photo is paired with a message below it demonstrating what to do and what not to do when taking project photos.
Step One: Setting Up the Lighting/Exposure- Don't have an underexposed photo. If your scene is too dark add more light or try opening the aperture on your camera. You can also increase the exposure in various photo editing programs, but always try to add more light first. You get the most detail in your photo when the scene is already properly lit.
- Don't introduce glare on your subject. If your subject is very reflective, such as this PCB, you may want to consider indirect lighting. An easy way to do this is to place a white sheet over your light source.
- Do use flashlights, when necessary. If you don't have special lighting fixtures for photography, flashlights can provide a good supplemental light source in a pinch. Avoid using only one flashlight thought, as their focused beams can produce harsh shadows on your subject. Use them to light up parts of your image that are already in shadow.
Every good photo starts with a good background. Try to pick one that is subtle and understated so as not to distract from the subject you're trying to photograph.
- Don't have a background that's too busy. See how the background in the above photo distracts the viewer from the subject?
- Do select a subtle background that accentuates the subject. The wood texture isn't too distracting in this photo and it draws your eyes towards the purple of the PCB.
- Don't include too much of the background in the photo. Cropping your photo does wonders to convey your message.
- Don't have your object off-center in the photo frame
- Do try different angles, if you have a reason to do so. Most often an overhead shot is the best choice. However, sometimes different angles can accentuate various parts of your subject, or reduce glare on shiny surfaces.
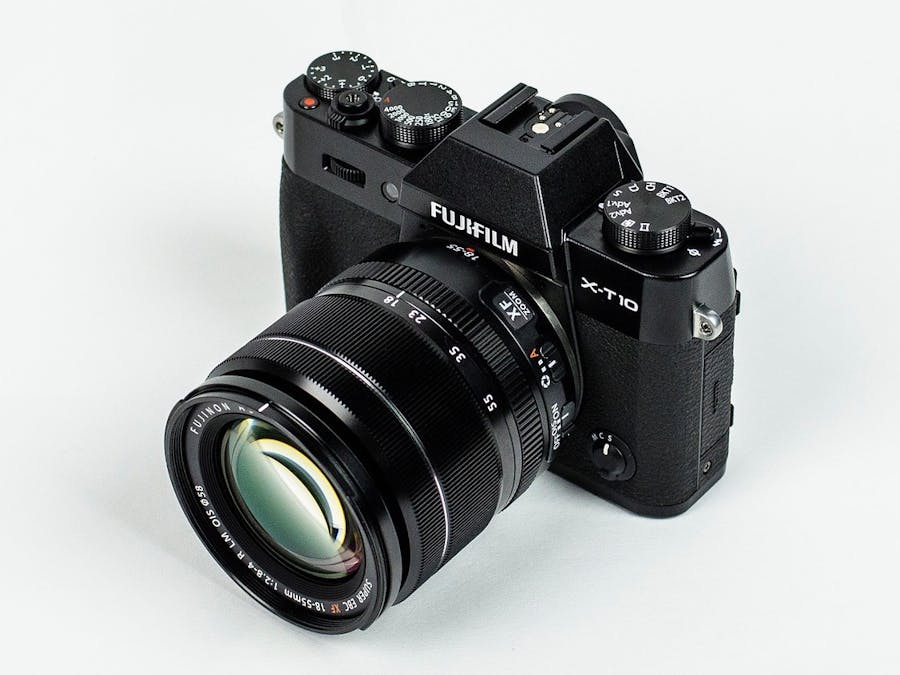
The main message for this section is to use a DSLR whenever possible. If configured correctly, images taken on your DSLR will be better than a cellphone camera or a point and shoot almost 100% of the time. In addition, DSLRs have a wider range of lenses available, meaning they can better adapt to different shots that you need to take.
- Do be wary of cellphone cameras. Most high-end cellphones like the iPhone 7 pictured above have excellent cameras, but they are not always the best for close-up photos. In addition, their small sensors can't take in very much light. If you're shooting general shots where there is ample lighting a cell phone is likely sufficient.
- Do use a DSLR, if possible. If you don't own one see if a friend or family member has one that you can borrow.
- Do use depth of field whenever possible. Depth of field is great for glamor shots of the finished device. You can even use lab equipment as a backdrop, such as this oscilloscope. This style of shot isn't great for the intermediate steps as the background can be distracting. Depth of field is easiest on a camera with a large variable focal length, such as a DSLR's zoom lens.
- Don't be afraid of macro lenses. These allow you to capture extremely fine details that normal optics wouldn't be able to. Macro lenses are especially useful when photographing small electronic devices or parts. You can purchase a macro lens for your DSLR or you can buy clip-on macro lenses for your cellphone.
One important thing to remember is to take tons of photos. As long as you're not using a film camera, photos are free. There have been many instances in which I wished that I had taken a photo of something - don't be forced to waste your time having to go back and shoot something again.
Additionally, it can sometimes be helpful to just build one copy of your device without worrying about photographing it. If possible, try ordering 2 times the number of parts your project requires. Build it once to get the rhythm down, then build it again and document everything with your camera.

Comments
Please log in or sign up to comment.