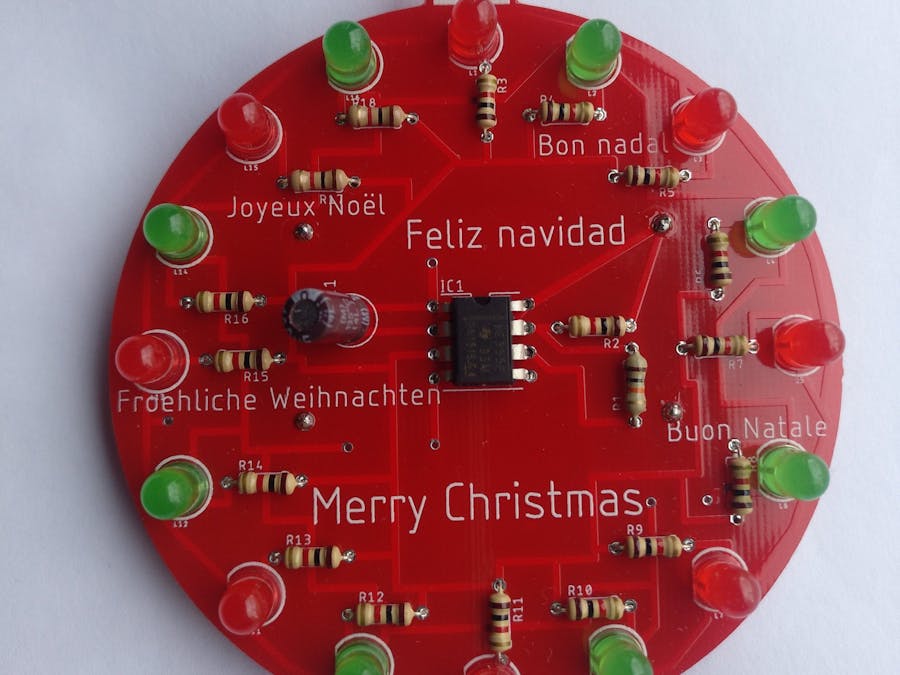
This is a how to solder kit for beginners to encourage children to learn how to solder and the result can be hung on your Christmas tree as an ornament.
I made it because I want to share my experiences with soldering and I thought this simple kit would be the perfect starter for those children and parents who want to enter this amazing world and with this kit, you can learn to solder plus the result will make the perfect Christmas tree decoration!
In order to create this project, you need to order the board from PCBWay with the link provided. Once you have the board, there are only a few and easy components to gather:
- 1 x Timer 555 IC
- 1 x 10K Resistor
- 17 x 1K Resistor
- 1 x 100uF Capacitor
- 8 x 5mm Red LED
- 8 x 5MM Green LED
- 2 x 2025 Coin Cell Holder
Then, to solder the components in the board, just follow this:
1. Solder theIC in place. Follow the PCB picture
2. Solder the10K (Brown, black, orange and gold) resistor named R1
3. Solder the1K (Brown, black, red and gold) resistors named R2 to R18
4. Solder theRed LEDs in place following the names. L1, L3, L5, L7, L9, L11, L13, L15
5. Solder theGreen LEDs in place following the names: L2, L4, L6, L8, L10, L12, L14, L16
6. Solder thecapacitor. Long leg is positive, short leg is negative. Follow the PCB picture
7. Turn theboard around and cut all the legs
8. Solder the two cell holders as the image shows.
9. Put twocoin cell batteries 2025 and enjoy!
Congratulations! Now you can hang it in your Christmas tree
Note: This board can be purchased as a kit with all the parts you need to make your own in my Tindie store: https://www.tindie.com/products/Alexisgm/led-christmas-tree-decoration-kit/


Comments
Please log in or sign up to comment.