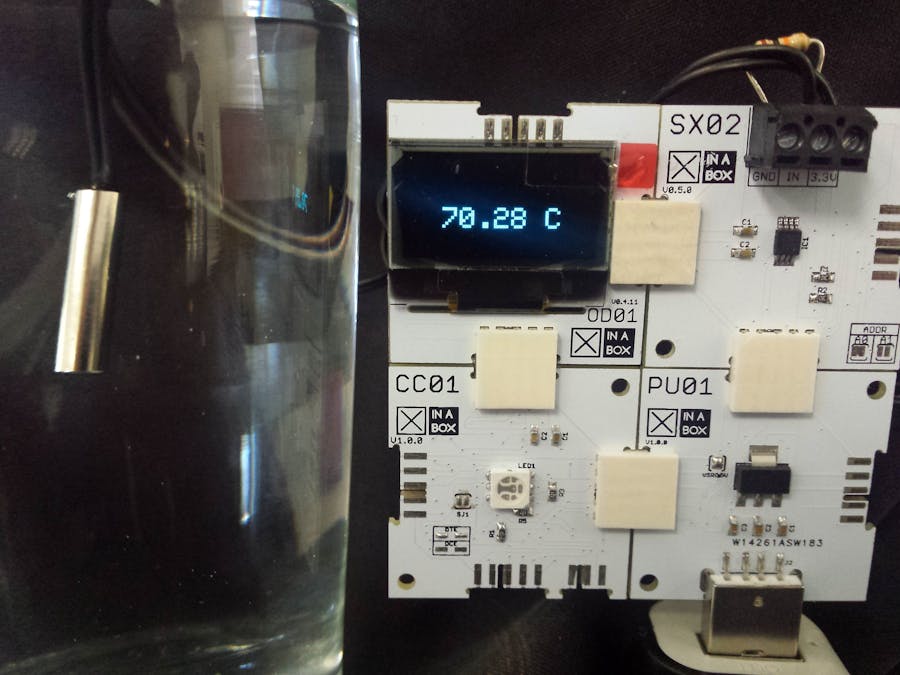
I wanted to measure the temperature of a liquid by creating a simple thermometer. By using XinaBox ☒CHIPs I could accomplish this with relative simplicity. I used the SX02 analogue input ☒CHIP which accepts 0 - 3.3V, the CC01 ☒CHIP based off the ATmega328P and the OD01 OLED display ☒CHIP to view my temperature results.
You will need the following libraries and software:
- xSX0X- Analogue input sensor library
- xOD01 - OLED display library
- Arduino IDE - Development environment
Click here to see how to install the libraries.
Once you've installed the Arduino IDE, open it up and select the "Arduino Pro or Pro Mini" as the board to upload your program to. Also make sure the ATmega328P (5V, 16MHz) processor is selected. See image below.
Click the programmer ☒CHIP, IP01, and the ATmega328P based CC01 ☒CHIP together using XC10 bus connectors as shown below. In order to upload to the CC01 you'll need to place the switches in the 'A' and 'DCE' positions respectively.
Next, take your 10kΩ resistor and screw one end in the terminal marked "IN" and the other end in the ground terminal, "GND", on the SX02. Take the leads on the thermistor probe and screw one end in Vcc, "3.3V", and the other end in the "IN" terminal. See the graphic below.
Now combine OD01 and SX02 with CC01 by simply clicking them together using XC10 bus connectos. See below. The silver element in the image is the thermistor probe.
Insert the unit into the USB port on your computer. Download or copy and paste the code below into your Arduino IDE. Compile and upload the code to your board. Once uploaded your program should start running. If you probe is at room temperature conditions, you should observe ±25°C on the OLED display as shown below.
Remove the unit from your computer. Disassemble the unit and reassemble it using PU01 instead of IP01. Now take your 5V USB portable power supply such as a power bank or similar and insert the new assembly into it. You now have your own cool portable thermometer with good accuracy. See the cover image to see it in operation. I measured hot water in a glass. The below images shows your complete unit.
This project took under 10min to assemble and another 20min to program. the only passive component required was a resistor. The ☒CHIPs just click together making it very convenient.


Comments
Please log in or sign up to comment.