


Hardware components | ||||||
 |
| × | 1 | |||
This post will walk you through the 3 methods of SSHing into the C.H.I.P. without using any external Display Screen. This is helpful if you don’t have the HDMI/VGA add on modules for the CHIP or don’t have an old TV that takes in those oldie RCA composite video signals.
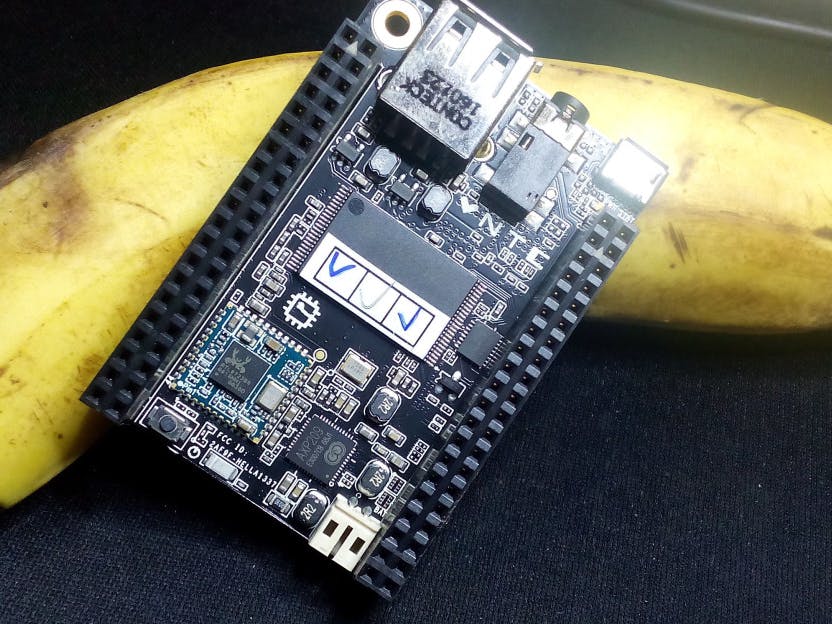
After waiting for more than 6 months, the C.H.I.P. finally found a place next to a Banana in my home:
The first thing to do when you get something is to power it on and see the funky lights that come up to make sure it’s not DoA (Dead on Arrival). And then, take a pic and Tweet it out to show off to the world.
And many months later, the C.H.I.P is finally home! Thanks @nextthingco 🔬🔌💜 pic.twitter.com/mBedWqdihd — Syed Anwaarullah (@Anwaarullah) November 23, 2016 https://twitter.com/Anwaarullah/status/801489685235146752
Once done, now figure out how to get started with it.
It’s easier if we have the HDMI/VGA add-on module for the CHIP that’ll allow us to simply hook up the CHIP to a display unit and get started with a K/B and Mouse. I didn’t buy one, so I’m now worrying how do I get started with. Turns out, the CHIP and the PC can be directly connected to each other through a simple Micro USB Cable and tinkered with.
An extract from http://docs.getchip.com/chip.html#headless-chip that outlines these three methods:
Headless CHIP One of the most amazing features of CHIP is that it’s insanely simple to use it as small, wireless computer. Low power requirements, battery-powered with charge management, and both WiFi and Bluetooth connectivity makes CHIP easy to run as a headless, autonomous machine. Of course, you’ll still want to access it and control it without a monitor or keyboard. You can control CHIP with another computer and a serial or network connection. Here’s how you do this. Begin If you want to use CHIP without a monitor or keyboard attached, there’s a few ways to do this: 1. Serial connection between a computer and CHIP with a micro-USB cable (USB OTG). 2. Serial connection between a computer and CHIP with USB to UART cable Secure Shell (SSH) over wireless or wired Ethernet.
OK, all the info for getting started with any of the 3 methods is there in the link above. Why do we even need this post?
Except… Method 1 won’t work on my PC!
C.H.I.P. doesn’t show up as a recognized COM Port on my Windows 10 PC.
So Method 1 from the official docs won’t work for us (at least for now). Let’s move onto the 2nd Method.
Method 2:Use a USB-Serial Console/Debug cable, hook it up and SSH.
Now, we can simply open up Putty and enter our COM Port of the USB-Serial Cable to login into the C.H.I.Ps console:
Yay!
Now, while you’re inside, you can go and setup the CHIP to connect to your WiFi network so that you can SSH into it.
Method 3:Edit the interfaces file and add creds for the local WiFi:
You can now reboot, wait for a min and SSH into the CHIP directly through it’s IP or hostname:
All good! End of Story!
Nope, method 1 (USB – PC) didn’t work, so let’s make it work! I found an excellent tip by lordhex on the community forums here: https://bbs.nextthing.co/t/putty-connection-step-by-step-for-windows/1636/11 and I did just that to get this method working.
I made the CHIP install itself against this driver, and boy, it finally showed up as a COM port!
Make sure you have disabled the Driver Install from Unknown Sources restriction on Windows 10 (to do this, hit Shift and restart PC, and you’ll find that option there).
I’ve uploaded the Driver File that I crafted so that you can simply download and use when the CHIP shows up as a Composite device instead of showing up as a COM port.
Download from here. Happy C.H.I.P.ping!


Comments
Please log in or sign up to comment.