


Hardware components | ||||||
_ztBMuBhMHo.jpg?auto=compress%2Cformat&w=48&h=48&fit=fill&bg=ffffff) |
| × | 1 | |||
Software apps and online services | ||||||
 |
| |||||
| ||||||
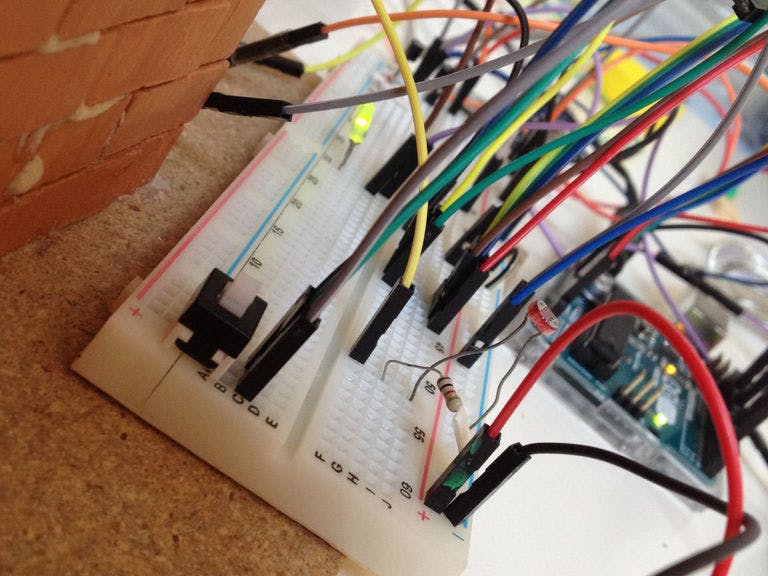
I created a house with a light that graually turn on a light if it is dark and an alarm connected to the door the squeeze and send email if someone enter the house!
Step 1: Make the circuitUse my Fritzing file to copy the circuit I realized. You will need:
- LED
- buzz
- bulb
You can add a potenziometer (for buzz volume) and everything you'd like! Upload the casa.ino file into your board!
Step 2: Set the lightOn my file is already done!
Link a bulb lamp to a transistor and the transistor with one of your Arduino's pin. Create a circuit with a 2K resistence and a fotoresistence, this is useful to read the voltage in the connection of two resistence.
Done! The lamp turns on in the dark! I did analogRead from fotoresistence and then analogWrite to transistor!
Step 3: Set the alarmDownload Blynk app! (http://www.blynk.cc/)
Create a circuit with a push button, and a contact sensor for the door: when the door is closed digitalRead(button) should be 0! Create an email widget on the app! It's done! My code sends an email when the door's open!


Comments
Please log in or sign up to comment.