Background:
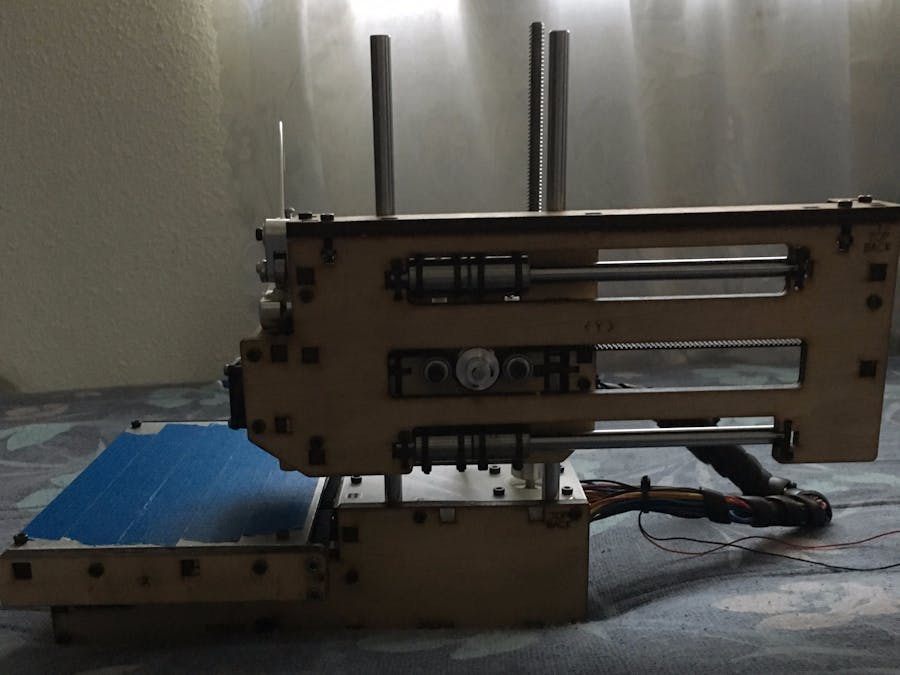
I have the Printrbot Model 1405 which served me 1.5 year before the Printrboard died on me. As a result, I have a 3D printer collecting dust. Therefore, I decided to make a project using the FRDM-K82F and see how this compare to the Arduino Mega that is popular among DIY 3D Printer.
Introduction:
In this tutorial, I will be showing you how to use the NXP FRDM-K82F in order to control any 3D Printer and still have enough room on the board to add upgrades or expansion. This will be a two piece part project, the first part will be getting the FRDM-K82F to control the 3D Printer. The second part of the project will involve the NXP Hexiwear, in which it notify the user when the printing is finished. The last step, which may come later in the future, will be getting the nrf24l01 module connected to the FRDM-K82F and communicating back and forth to the PC or in this case, a Raspberry Pi.
Caution: I am not responsible for the damage of your 3D Printer in any way or form. Proceed at your own risk.
Unboxing the FRDM-K82F:
This is truly the first time I have seen such a nice packaging. It has a professional look and seems like NXP truly value their products. Not only that, but this box also contains information on it, making the box a little valuable in case you need to store the FRDM-K82F or just looking to see where it was assemble or what the model is.
This is the Freedom Board that you will receive out of the box. It comes with a USB connector to connect the board and a manual on using the Freedom Board. It also provide a website to find demos, software, and tools to get this Freedom Board working. Last but not least, this board goes well with the box with it's orange color. Truly a nice box to accompany the FRDM-K82F.
Setup:
3D Printer Project Part 1:
Step 1:
Unboxing:
It seems that NXP has put a lot of effort in the packaging to make it look professional. To be honest, I do like this since it makes everything look nice and exciting to open.
The Hexiwear is easy to operate, however it may take a learning curve since it isn't like a smart watch. Also, it seems that it is limited, so hopefully something cool can be done with the features it gives.
Can't really argue against NXP packaging since it just looks so clean and well protected. It seems that NXP really cares about their product and the way it is presented to the consumer.
Last but not least, you can't forget the micro-USB, however, I do recommend you getting a much longer cable, especially those with desktop as the cable is too short for those desktop towers. However, if you're using desktop that lays underneath the monitor, it still works, same with laptop user as well.
Setup:
3D Printer Project Part 2:


Comments