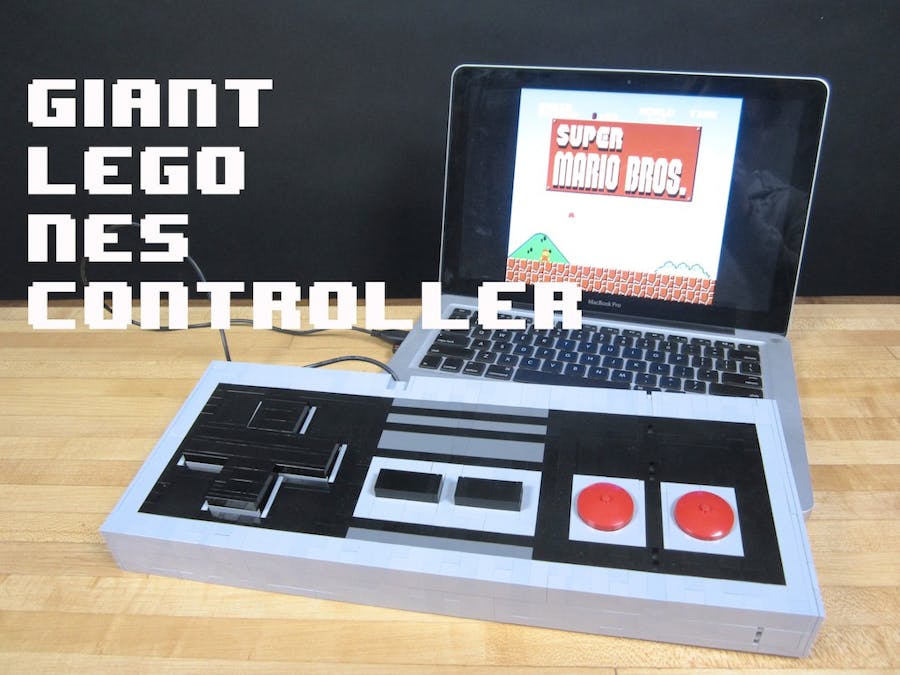
We created a working USB NES controller out of about $130 worth of LEGOs and Crazy Circuits parts. If thats not your thing, we also made a smaller hand held version as well. We designed this project as an eye-catcher for trade shows and educational events.
At the heart of this project is our open source, LEGO compatible, Crazy Circuits system. You can visit our GitHub Repo and make your own or get them from us. In a nutshell, they're specialized PCBs that pop onto LEGOs but they also work well with conductive thread, conductive inks and paints, and even alligator clips or paperclips.
Shameless plug we do have a Kickstarter going on right now for it. Help us get them manufactured in the USA. http://bit.ly/CzyCts
DetailsCrazy Circuits
We designed an open source system of parts that naturally work with LEGO. Why? LEGO is plain awesome and everyone has some around. We wanted people to be able to create projects easily, especially newbies. Our "go to" for connecting stuff together is Conductive Nylon Tape. It'll take a beating and hold together.
Since we designed these with nice big conductive holes you can easily use the Crazy Circuits parts for e-textiles/ conductive sewing. We wanted to give a wider range of parts than what is currently out there.
We've also had great success using conductive inks and paints. Bare Conductive paint works great as an input with our Touch Board. We found some small rare earth magnets that fit PERFECTLY into our LEGO sized holes, which then allows us to use Circuit Scribe conductive ink with all our parts.
If you want to create your own Crazy Circuits parts you can, all the information is in our GitHub Repo. We used OSH Park to make up all our prototype parts, including the ones in they write up.
If you like this project you can also back our Kickstarter campaign. It'll help us do a run of parts. We're making them nearby in Chicago to ensure parts fit onto LEGO every time.
Build Guide Video
Controller
The "brains" of this project is our Crazy Touch Board. We have it coded so that it shows up as a generic USB keyboard. The code is easy enough to change which pins are seen as what keyboard keys. You can even do key command combos of you so fancy.
The Touch Board is based off the Teensy LC development board. It uses pretty standard Arduino code, though you'll have to install some extra software to get the Arduino IDE to talk to it.
Buttons
Inside the giant LEGO shell are 8 buttons. We went with larger 12mm push buttons on the LEGO version. The smaller version uses standard sized 6mm button, although with a very tall plastic nub on them. Everything is wired up with Nylon Conductive Tape.
LEGO
You'll need to download the free LEGO Digital Designer to get a full list of parts. It's a handy tool for any LEGO fan.
We spent around $130 on LEGO parts for this. BrickOwl.com became our home for a couple of days.
Smaller Version
We needed a more "hand held" sized version for the average person to make. This uses the same software but is entirely on an 8x16 sized LEGO plate. We used 1x3 sized Crazy Circuits push buttons (6mm sized), though we did use buttons with really tall plastic nubs.
A laser cut enclosure houses everything. We used natural wood hinges for the buttons. So far they've not broken.
Emulation
We won't go into it, but finding NES emulation and ROMs takes about 30 seconds of google searching. Emulators are 100% legal, however ROMs are not. We own an original copy of Super Mario Brothers so we feel we're in the clear for having a ROM of it.
Crazy Circuits GitHub CrazyCircuits.com
Build instructionsStep 1
To make things really easy, we just put together a build guide video.
FilesNES_CONTROLLER_FINAL.lxf: LEGO Digital Designer File. Get a full list of LEGO parts from this.
Teensy_NES_Controller.ino: The code to run on the board. Easily variables to change the keyboard output type.
Wooden Controller Wiring.png: Smaller Version. Use 1x3 sized push buttons.
LEGO Controller Wood v11.svg: Laser Cut Files for the smaller version.


Comments
Please log in or sign up to comment.