Like the previous example, this project draws directly from the Xilinx Zynq UltraScale+ MPSoC Embedded Design Tutorial UG1209, except that this one is adapted to the Ultra96-V2. It is highly recommended that the user refers to this document as well.
If you haven't already created the ZU+ Hardware Platform for Ultra96-V2 or completed the Hello World from ARM A53, go back to these tutorials and complete them first.
https://www.hackster.io/BryanF/ultra96-v2-vivado-2020-2-basic-hardware-platform-6b32b8
https://www.hackster.io/BryanF/ultra96-v2-vitis-2020-2-hello-world-from-arm-a53-2d952a
In this example, you will learn how to run a simple “Hello World” software application for the Arm Cortex-R5F processor in JTAG mode using System Debugger in the Vitis IDE.
The application for Cortex-R5F needs a domain for cortexr5_0. You will create it in the Ultra96_Basic platform and reuse it for the new application. You will create the Cortex-R5F application with the updated Ultra96_Basic platform.
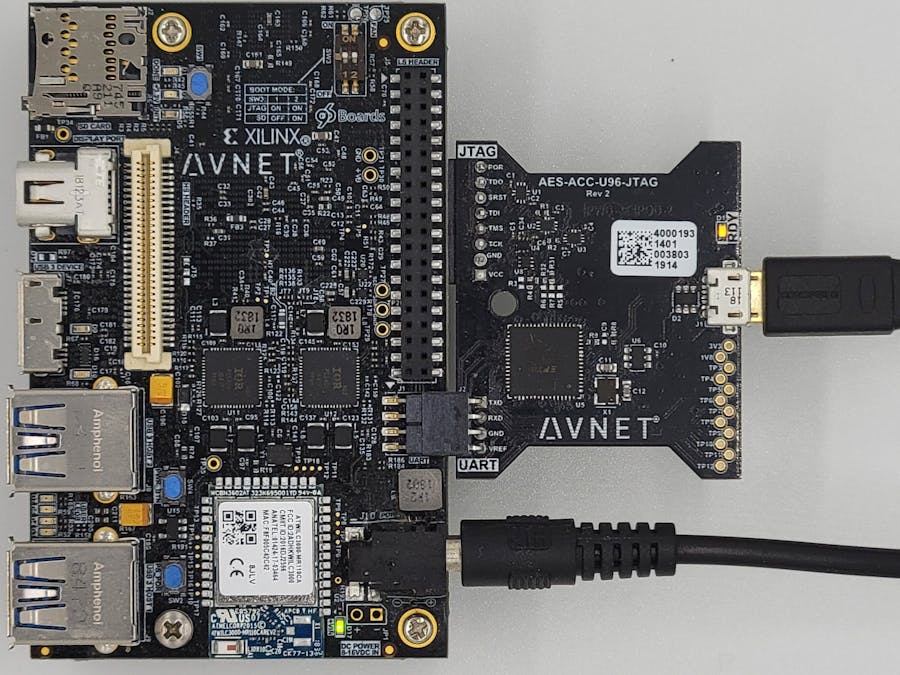
The hardware setup and serial console connection is the same as the Hello World from ARM A53.
Input and Output Files
- Input: Ultra96_Basic platform with standalone domain on Arm Cortex-A53
- Output: Ultra96_Basic platform with standalone domain on Arm Cortex-A53 and Cortex-R5F processors
When this tutorial is complete, you will be able to:
- Create a standalone (bare metal) BSP for the Cortex-R5 Processor
- Add a new R5 application based on a Xilinx-provided template in Vitis
- Run the application on the Ultra96-V2 hardware
The software used to test this reference design is:
- VirtualBox Ubuntu 18.04.1 Virtual Machine
- Xilinx Vitis 2020.2
- USB-JTAG device driver
- Terminal software, such as GtkTerm
The hardware setup used to test this reference design includes:
- Host PC
- Ultra96-V2
- 96Boards 4A Power Supply
- Ultra96 JTAG/UART Pod
- Micro-USB cable
In this step, you will prepare for the next example design: running a “Hello World” application on Arm Cortex-R5. The first step is to create a standalone BSP domain for cortexr5_0 by performing the following steps:
- Double-click platform.spr. under the Ultra96_Basic_Platform in the Explorer tab. The platform opens in the Explorer view.
- Click the green Plus symbol in the top-right corner to add a domain.
- Create a domain with the following settings, then click OK.
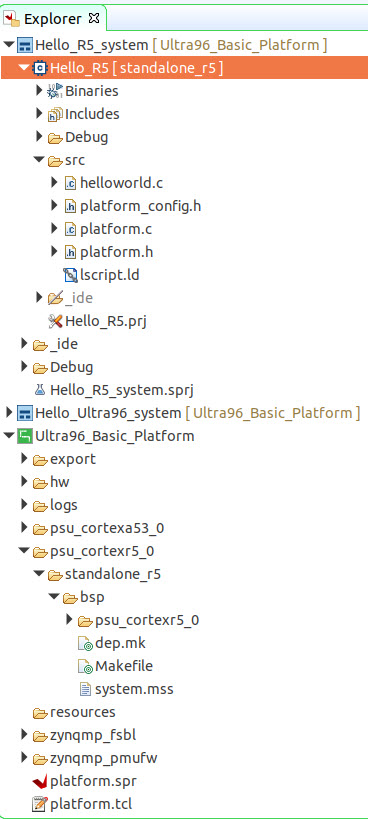
- The Vitis IDE creates a new domain and standalone_r5 appears under the Ultra96_Basic platform.
What Just Happened?
The Ultra96_Basic_Platform platform is, by default, assigned the default domain for psu_cortexa53_0. You created a new domain for cortexr5_0 in this platform.
Experiment 2: Modify R5 BSP for Stdin/Stdout- With the Board Support Package selected, click the Modify BSP Settings button.
- Select standalone. Change stdin and stdout both to psu_uart_1. Click OK
- Select File → New → Application Project. The Create New Application Project wizard welcome screen opens.
- Click Next.
- In the Select platform from repository tab, select the Ultra96_Basic_Platform. Click Next>.
- Type in
Hello_R5for the Application project name. This should automatically set the System project name toHello_R5_system. For the Target processor, click on psu_cortexr5_0. Click Next>.
- The domain should be set to standalone_r5. Click Next>.
Select the Hello World template. Click Finish.The Vitis IDE creates the **Hello_R5_system** project in the Explorer view. **Hello_R5** sits inside **Hello_R5_system**.
- To ensure we see something different than we saw with the A53, open the
helloworld.csource file for the Hello_R5 application.
- Edit the text on Line 57 to say “Hello World from R5” and then save and close the file.
- Select Hello_R5_system and click the hammer icon in the toolbar to build the system project.
- Set up the hardware as in https://www.hackster.io/BryanF/ultra96-v2-vitis-2020-2-hello-world-from-arm-a53-2d952a
- Push the PWR BTN to turn on the Ultra96-V2
- Open GtkTerm (serial console), connected to the Ultra96 JTAG/UART Pod.
- Right-click Hello_R5 and select Run as → Launch on Hardware (Single Application Debug).
- If you see a Conflict, click Yes to clear the conflict.
The Serial Console should display the message, "Hello World from R5."
You have now run an application using the R5 processor!
If you'd like to continue learning, try the next tutorial:
Develop and run Memory and Peripheral Test applications


Comments
Please log in or sign up to comment.