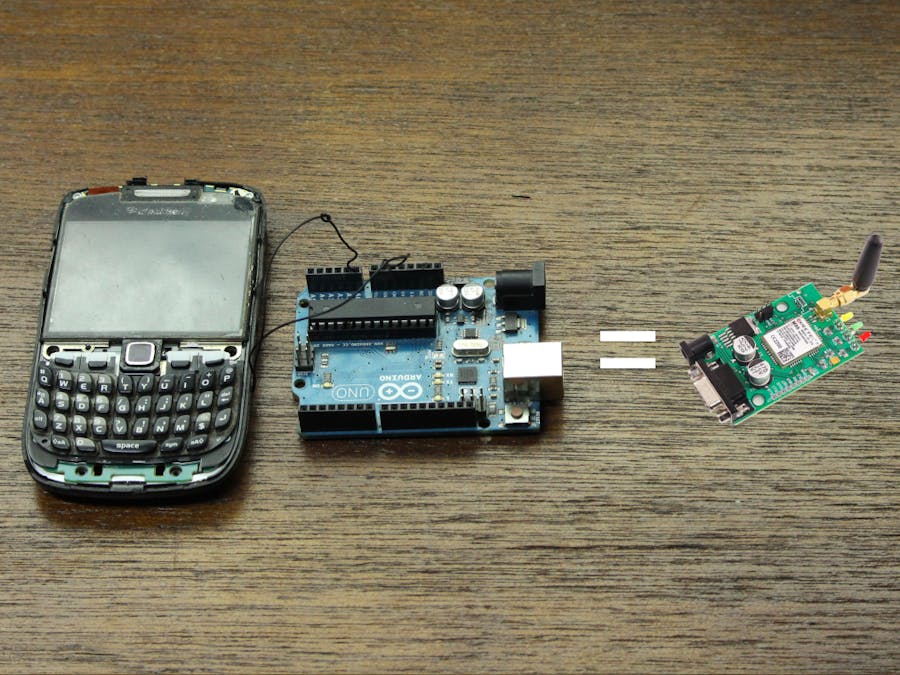
So recently I've been doing a lot of wireless projects, mostly based around a Bluetooth module but since then I've wanted to move on and start making my projects SMS or phone call controlled which is almost just as easy with the help of a GSM module, however, a problem occurred... They're expensive! And so that got me thinking a phone is just a GSM module with more features and I've got a few phones just lying around in my draw, lets just use one of those as a GSM module and that's what we are going to be looking at in this project.
Step 1: The Idea Behind It
So actually salvaging the GSM module from a phone is very hard to do and would take a lot of time and skill so in this project we are going to be taking a slightly different approach.
Whenever a phone receives an SMS or Phone call it either lights up, buzzes or makes a sound. Now knowing this we can take advantage of these features with an Arduino, we will do this by tapping into the phones rumble motor which is used to make it vibrate and then use an Arduino to read data and see when the motor is supplied power thus allowing the Arduino to see went the phone receives an SMS or phone call.
This, of course, isn't as good as having a real GSM module as you can see what data is coming through or be able to send data back but it is a cheap option if you have a bunch of phones just lying around collecting dust.
Step 2: Parts ListSo this is a pretty simple project so we won't be needing many parts, all we need is the following:
- An Arduino Uno (Here)
- Any sort of old phone (I'm using an old blackberry)
- Some LEDs
- A Simcard
Now with the way I've set it up the phone it will only be making an LED blink when it receives an SMS, I've done this just to get the point across, I hope to use this in a future project to control the lighting in my room.
Step 3: Taking the Phone ApartOkay so the goal of this step is to take the phone apart to the point where we can access the rumble motor, now this is different for every phone but for the most part, you can just google the part number of the phone to see where the rumble motor is.
Once you've found it we are going to need to solder two wires to each terminal of the rumble motor. Now, this can be tricky as on most phones use tiny surface-mount components, the key is just to use minimal amounts of solder and very small wires. Once the wires are soldered on we need to connect them to a multimeter for two reasons, firstly we want to see what kind of voltage the phone is supplying and secondly is to figure out which wire is negative and which is positive. I found on my blackberry curve the phone supplied about 1.5 Volts to the motor which will great with the Arduino.
Step 4: The Wiring DiagramAgain the wiring is pretty simple all we need to do is connect everything as follows.
The ground pin on the motor gets connected to the ground pin on the Arduino then the positive pin on the motor gets connected to A0 on the Arduino and then lastly the cathode (-) of the LED gets connected to ground on the Arduino and the Anode (+) gets connected to pin 7.
With that done we can upload the code.
Step 5: The CodeAgain the code is also really simple and pretty easy to understand.
In the void setup, we are saying that we say that pin 7 is going to act as an output as this will be our LED pin, then down in the void loop, we say that sensorValue is the analog value of pin A0 which is then used in an if statement.
This if statement states that if the sensorValue is above 50 to turn on pin 7 which is the LED pin and send back "Rumble On" to the serial monitor and if the sensorValue is below 50 to keep the LED off and send back "Rumble Off" to the serial monitor.
Open the code in the Arduino IDE, upload it to your board and give it a test.
Step 6: The ResultSo now with everything done lets take a look at what everything does, when we send the phone an SMS it sends the signal to the rumble motor which then sends the signal to the Arduino, turning on the LED and sending the Rumble On to the serial monitor.
Now I made this project because I plan to use it in my future project which is making an SMS controlled light for my room but you could really use this anywhere, for example, we could use it in the wireless Arduino controlled blinds from a past project or even the wireless Arduino door lock.
As always if you have any questions ill be happy to answer them and thanks for checking out my project!


_ztBMuBhMHo.jpg?auto=compress%2Cformat&w=48&h=48&fit=fill&bg=ffffff)


Comments