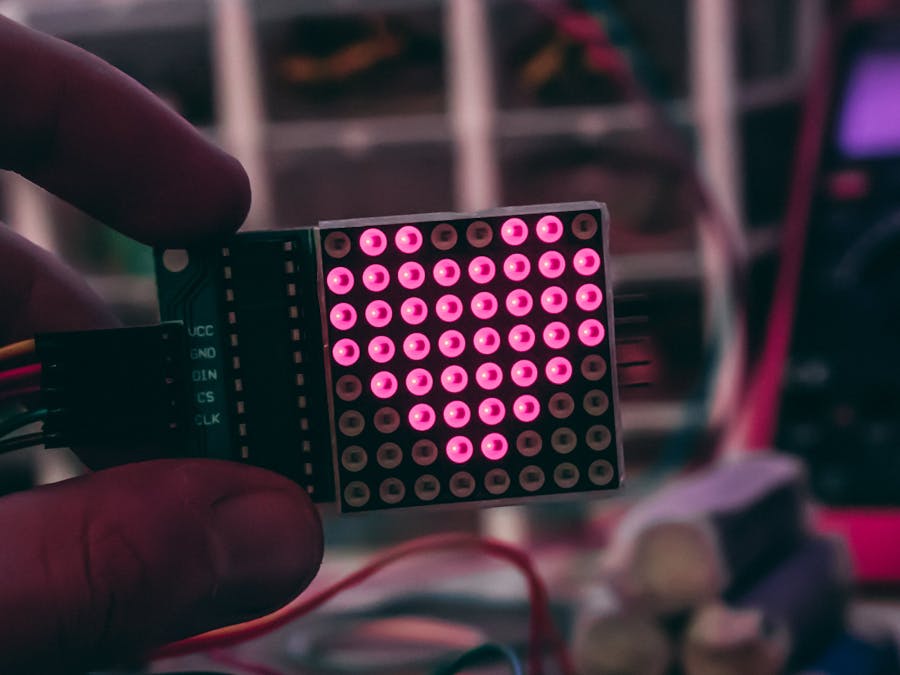
what's up guys, in this video, we will working with the 8×8 LED Matrix module and displaying simple text or logos on the LED Matrix.
full tutorial on my youtube channel
What is dot matrix display ?A dot-matrix display is an electronic digital display device that displays information on machines, clocks and watches, public transport departure indicators and many other devices requiring a simple alphanumeric (and/or graphic) display device of limited resolution.
Subscribe to my youtube channel
Follow me on instagram
Features :- 8x8 RED common cathod dot matrix
- Operating Voltage: DC 4.7V~5.3V
- Operating Current: 320mA
- Max Operating Current: 2A
- Operating Temperature: 0~50 Degree
- 16 holes in total, hole diameter: 3mm
- Module with input and output interfaces
- Dimension: 12.8 x 3.2 x 1.3 cm
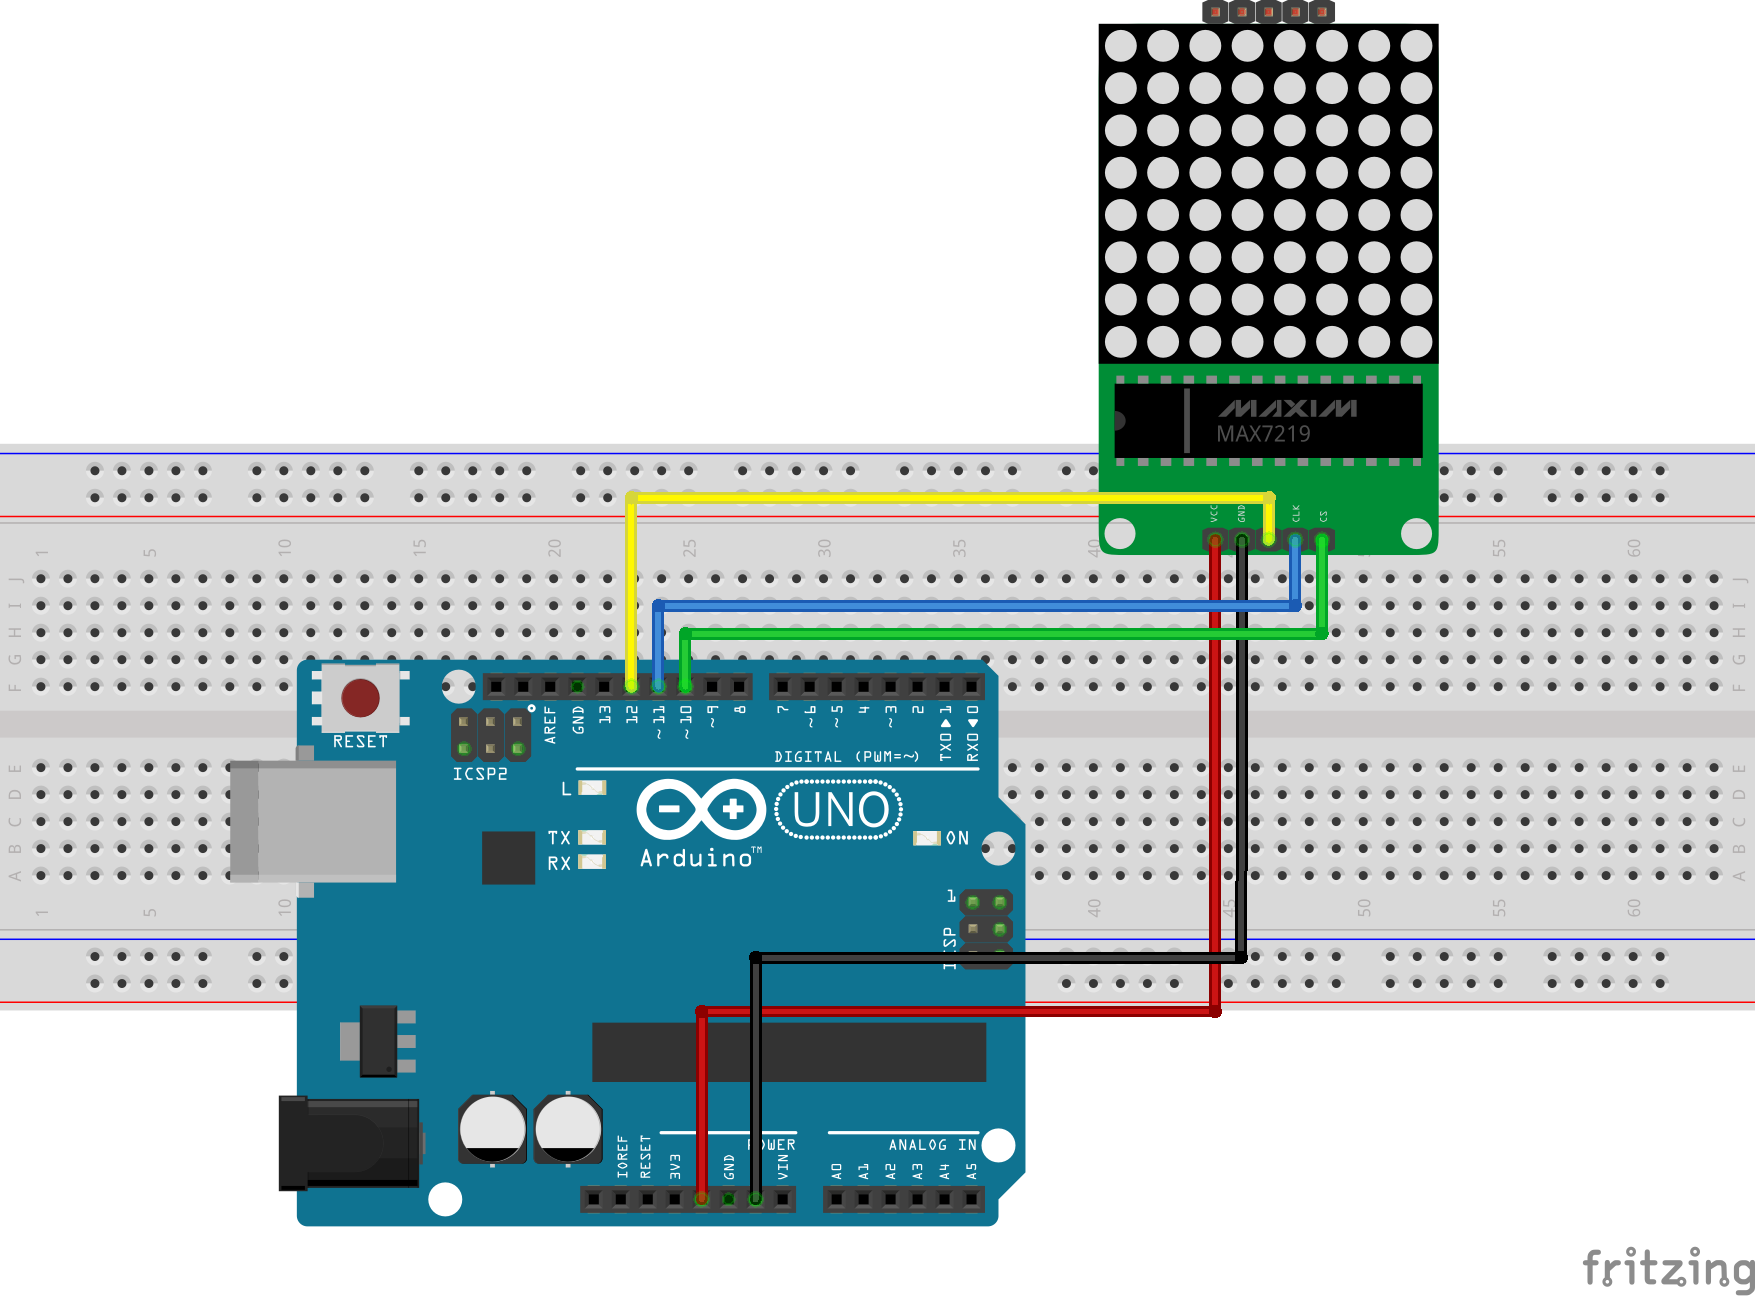
Pin Input Output
1------VCC (5V)-----VCC
2------GND-------- GND
3------Din----------Dout
4------CS-----------CS
5------CLK---------CLK
This 8x8 serial dot matrix LED module (HCOPTO0014) allows you to experiment with dot matrix LED's without all the complicated wiring. The module makes use of the MAX7219 serial matrix LED driver which handles all the complicated stuff such as multiplexing the LEDs and driving them at the correct currents. What's more, the modules can be daisy-chained to make larger LED displays whilst still only requiring 3 digital control pins. The PCB has no overhang on the sides of the matrix module so modules can be positioned side by side with no gaps to make one continuous display.
Subscribe to my youtube channel
Follow me on instagram


Comments
Please log in or sign up to comment.