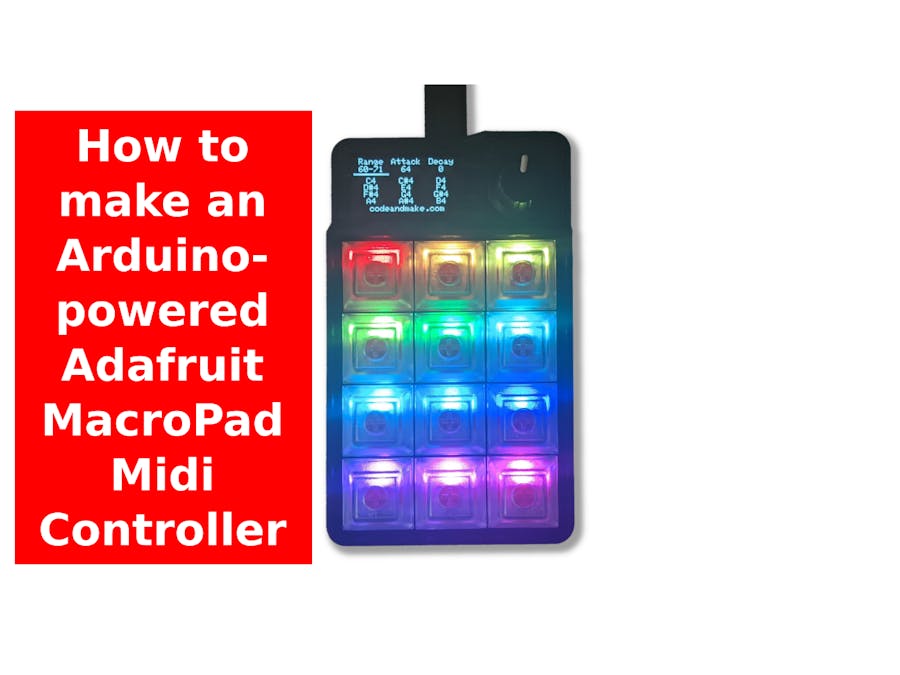
In this tutorial, I explain how you can turn an Adafruit MacroPad RP2040 into a MIDI controller using Arduino code.
This MIDI controller can be used to send or receive MIDI messages.
PartsThe following is used in this tutorial:
Alternatively, the parts can be purchased individually:
- Adafruit MACROPAD RP2040 Bare Bones
- Kailh Mechanical Key Switches
- Clear Keycaps for MX Compatible Switches
- Adafruit MacroPad RP2040 Enclosure
The 3D printed case shown in this tutorial is Adafruit Macropad Case by nlapenn.
CodeYou must upload the code (.ino) to your Adafruit MacroPad RP2040 but, before you can do that, you must install and configure the Arduino IDE.
Arduino IDEIf you haven't already, install the Arduino IDE.
Please see our tutorial for installing the Arduino IDE in Ubuntu. The steps will be similar for other operating systems.
Philhower RP2040 Board ManagerBefore the Arduino IDE to can upload to the Adafruit MacroPad RP2040, you must add support for the hardware via the Board Manager:
- In the Arduino IDE, open the Preferences dialog. You can access it via: 'File > Preferences'.
- Add the following URL to the list of 'Additional Board Manager URLs':
https://github.com/earlephilhower/arduino-pico/releases/download/global/package_rp2040_index.jsonNote: If you have other board manager URLs listed, the URLs must be comma separated.
- Click OK to close the Preferences dialog.
- Open the Board Manager. You can access it via: 'Tools > Board > Boards Manager...'.
- Search for 'RP2040'.
- Find 'Raspberry Pi Pico/RP2040', click Install and wait for the installation to complete.
Once support for the board has been added to the Arduino IDE, it is time to select it:
- In the Arduino IDE, select: 'Tools > Board > Raspberry Pi Pico/RP2040 > Adafruit MacroPad RP2040'.
- If a serial port is listed, select it under: 'Tools > Port'.
Note: A port will not appear if the board is in manual bootload mode. That's ok, as it does not use the serial port for the actual upload. The board should exit manual bootload mode once code has been uploaded. After code has been uploaded, a serial port should appear in Arduino IDE and you should then select it.
DependenciesThe code for this project has several dependencies on other libraries. I recommend installing the dependencies through the Arduino IDE's Library Manager, which can be accessed via: 'Tools > Manage Libraries...'. Simply search for the following libraries and install them:
- Adafruit BusIO - required by Adafruit SH110X library
- Adafruit GFX Library - required by Adafruit SH110X library
- Adafruit SH110XAdafruit BusIO - required by Adafruit SH110X libraryAdafruit GFX Library - required by Adafruit SH110X library
- MIDI Library
- RotaryEncoder
To compile this project, you must use the 'Adafruit TinyUSB' USB stack.
This can be selected via: 'Tools > USB Sack > Adafruit TinyUSB'.
The codeUse the Arduino IDE to upload the following code to your Adafruit MacroPad RP2040:
Download or View on GitHub Gist
Simply open the file in Arduino IDE and click the Upload button (or select 'Sketch > Upload').
Using the controllerThe controls work as follows:
- Pressing and releasing the 12 keys sends
note onandnote offMIDI messages. - Turning the rotary encoder adjusts the selection option.
- Pressing the rotary encoder selects the next option.
The options are as follows:
- Range - This determines the range of notes represented by the 12 keys.
- Attack - This sets the
velocityused for thenote onMIDI message (sent when one of the 12 keys is pressed) - Decay - This sets the
velocityused for thenote offMIDI message (sent when one of the 12 keys is released)
The controller should work with most digital audio workstation (DAW) applications. For example LMMS, which is free, open source and cross-platform.
To view raw MIDI output from the controller or to send raw MIDI messages to it, you can use a MIDI monitor. These tools can sometimes be found in MIDI software pacakages, or as stand alone tools. These tools are available for free on most platforms. midisnoop is one such tool for Ubuntu.
Using the controller as an 'input'When your software is configured to use the controller as an 'input', keys will illuminate white while a key is pressed and it will send a note on MIDI message.
When a key is released, it will send a note off MIDI message and the key will return to its original colour.
When your software is configured to use the controller as an 'output', keys will illuminate white when it receives note on MIDI message, providing the note falls within the currently selected 'Range'.
When it receives a note off MIDI message, the corresponding key will return to its original colour.
Here's a couple of example MIDI message that you can send to the device.
These are in hexadecimal notation.
Note on90 3C 40Meaning:
90- Note On3C- Note: 60 (C4)40- Velocity: 64
80 3C 0Meaning:
80- Note Off3C- Note: 60 (C4)0- Velocity: 0
The 3D printed case shown in this tutorial is Adafruit Macropad Case by nlapenn.
Adafruit Macropad Case is licensed under the CC BY license by nlapenn.
LicenseThe "Arduino-powered Adafruit MacroPad RP2040 Midi Controller" code (.ino) is licensed under The MIT License by Code and Make.


_5nDfPFfu24.png?auto=compress%2Cformat&w=48&h=48&fit=fill&bg=ffffff)


Comments
Please log in or sign up to comment.