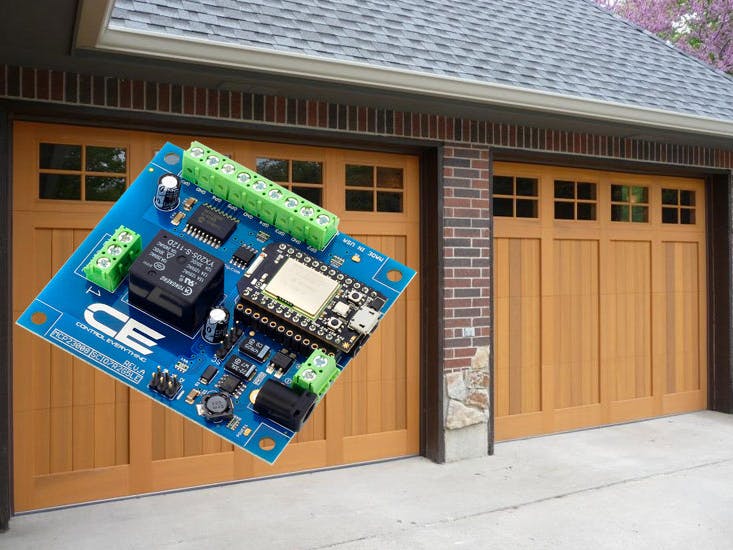
In this article we will use a free Android application to put a Widget on the home screen. This widget will be used to send an HTTP Post request to Particle's server which will trigger a function on the controller to turn the on board relay on for 300 ms and them back off. This pulse of the relay will be used to operate the garage door opener.
Step 1: Setup your Particle Photon and AccountInstall the Particle Photon module into the 1 channel relay controller if it is not already.
Apply a regulated 12VDC power source to the 2.1mm barrel connector or power supply input screw terminals.
Follow instructions here to setup your Particle Photon module for your WiFi network and associate it with your Particle Account so we can interface with it and flash in firmware.
Step 2: Flash some FirmwareGo to Particle's WEB IDE(build)
Click the Target Icon on the left and make sure your Particle Photon module is connected and selected here. Click on the Libraries Icon on the left, then search Community Libraries for NCD1Relay. Make sure the CloudControl.cpp tab is selected, then click the Use this Example button. Now click the devices icon on the left(looks like a target) and make sure your controller is online and selected. Now click the Flash button on the left(looks like a lightning bolt) to flash the firmware into your controller.
After the module is flashed with this firmware and reboots you are ready to start sending control commands to the controller.
The complete source for this firmware is available on our GitHub repo.
Step 3: Install Android widget app and gather required information.Install the free Android HTTP Request Widget app from the google play store on your Android device.
Go back to Particle's WEB IDE(build)
We need to get some rather length text to your phone. I find it easiest to use a computer to navigate the build IDE, gather the required text, and then send an email to the phone where you can access this text to copy and paste it into the required fields in the HTTP Request Widget app.
On the build IDE click on the settings cog in the bottom left of the window. Here you can see your Particle account access token. Copy that and post it into a newly created email message to your phone but don't send it yet.
Now click on the device icon on the build IDE to list out your devices. Click the drop down arrow to the right of the device you just flashed the firmware into and it will display that device's ID. Copy that ID and put it into a new line on the email you are sending to your phone. Again, do not send it yet.
In that email paste this text into a new line in the email:
api.particle.io/v1/devices/
Now send that email to your Android device.
Step 4: Create a home screen widget on AndroidAfter you have installed the HTTP Request Widget app click and hold on your home screen where you would like to place the widget button. Now click on Widgets. Scroll until you find HTTPRequestWidget 1x1 then click and hold, now place the widget where you would like it placed on your home screen.
After the widget is placed you will be prompted to enter some information for the widget. Enter some gibberish in the url line for now. We will delete it and replace it with the correct information in a second. Then click the check box at the top.
Open your email on the Android device and open the email message you sent to yourself. Highlight and copy the api.particle.... text. Now go to your app drawer and open the Edit Widget app. Here you will see a list. Click on your newly created button. Delete whatever is in the url line and paste in the api.particle.... text you copied. Then click the checkbox.
Open that email again and copy the device ID from there. Open the Edit Widget app again and paste the device ID to the end of the URL line. It should now read:
api.particle.io/v1/devices/device id you pasted in At the end of all this enter /controlRelay so it now reads api.particle.io/v1/devices/device id you pasted in/controlRelay Click the drop down to the left of the URL field and make sure that is set to https:// NOT http:// Now click that check box at the top again.
Open that email again and copy the access token you sent to yourself. Open the Edit Widget app again. Scroll down until you see HTTP Type and change that to POST. Now click the plus button to the right of that to enter a new key value pair. Enter arg for the key and momentary as the value. Now click that plus again to add another key value pair. Enter access_token as the key and paste in the access token you copied from your email as the value.
At this point you can add an image for the widget if you would like by clicking the Button with image/icon radio button in the app and browsing for a photo on your android device.
I also recommend checking the Feedback via Toast box at the bottom of the app so you can get some feedback when clicking the widget button on your device. This can help with troubleshooting and lets you know if everything went ok if you are using it remotely.
Finally click that checkbox in the upper right corner of the app one last time.
The widget should now work. Make sure your board is powered up and click it to find out.
Step 5: Wire it up to whatever you want to control(Garage Door)Warning: It should be noted here that you will not be able to see the status of the garage door through the Android device. If you operate the door remotely without being within view of the door you do so at your own risk. We only recommend operating the door if you can physically see it.
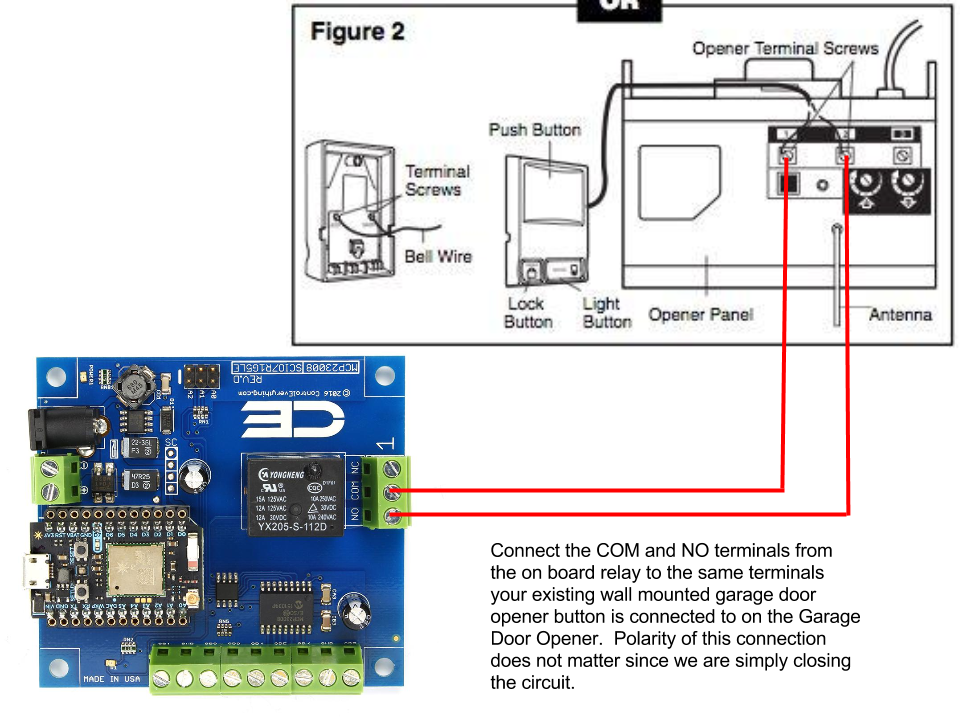
Your garage door opener should have 2 contacts which operation buttons are usually connected to. Connect the COM and NO terminals on the relay controller to these connections. In this way turning on the relay will close the contacts on the opener causing it to open or close.


Comments
Please log in or sign up to comment.