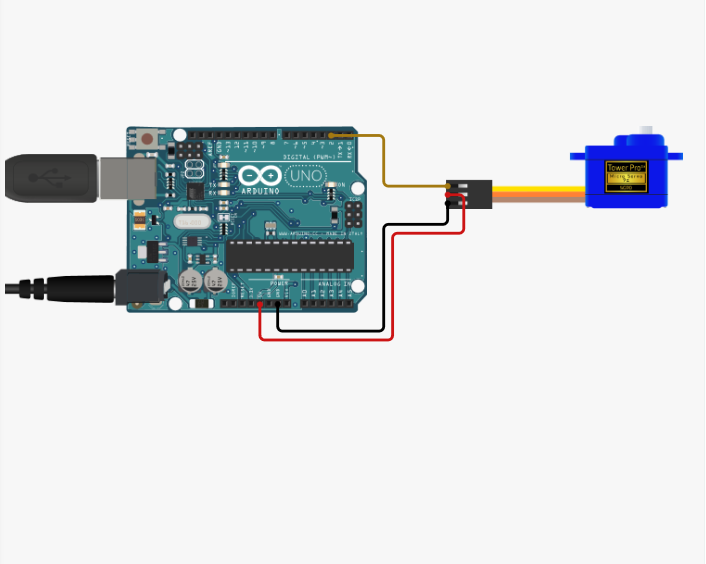
This is an easy project for beginners that will teach you how to control servos. This project will only need few supplies. I used an Arduino PWR shield to control my servos in an easier way but you can just just a regular Uno board too. The brown input on a servo is the ground which will be connected to the - on the breadboard (the - is connected to a GND pin on Uno. The red input is the power input which is connected to the + on the breadboard (the + pin is connected to the 5v or 3.3v). Finally the orange input, which is connected directly to the board to 2, while the other servo is connected to 3.
Click on this link and go to `Wire` section for wiring diagrams.
Disregard `Code` section.
https://www.circuito.io/static/reply/index.html?solutionId=5c846136fe404e0030bc8086&solutionPath=storage.circuito.io


_ztBMuBhMHo.jpg?auto=compress%2Cformat&w=48&h=48&fit=fill&bg=ffffff)


Comments
Please log in or sign up to comment.