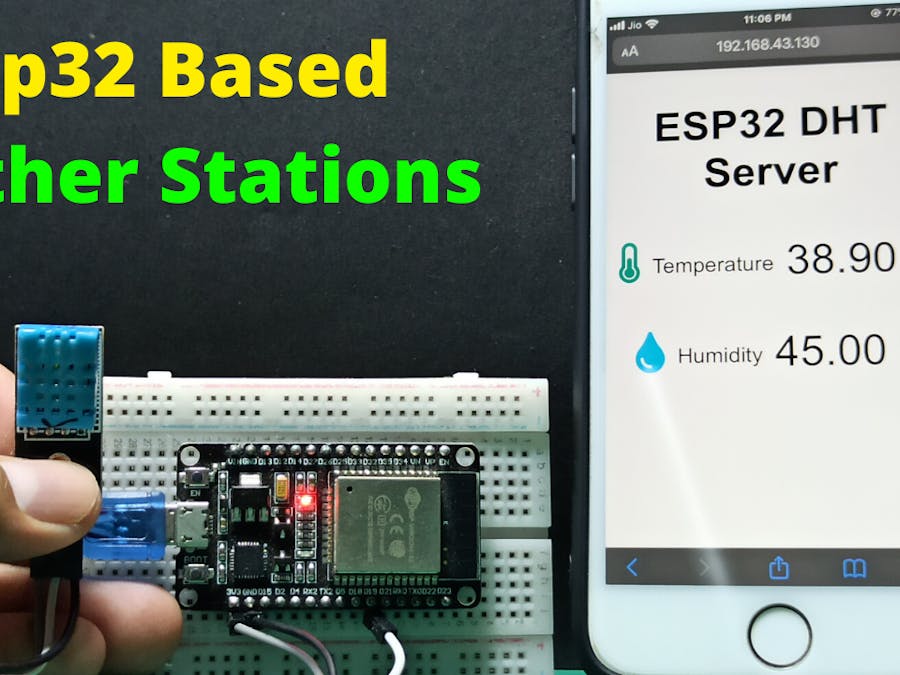
In this project, you’ll learn how to build an asynchronous ESP32 web server with the DHT11 that displays temperature and humidity using Arduino IDE.
The web server we’ll build updates the readings automatically without the need to refresh the web page.
With this project you’ll learn:
- How to read temperature and humidity from DHT sensors;
- Build an asynchronous web server using the ESPAsyncWebServer library;
- Update the sensor readings automatically without the need to refresh the web page.
For a more in-depth explanation on how to use the DHT22 and DHT11 temperature and humidity sensors with the ESP32, read our complete guide: ESP32 with DHT11/DHT22 Temperature and Humidity Sensor using Arduino IDE
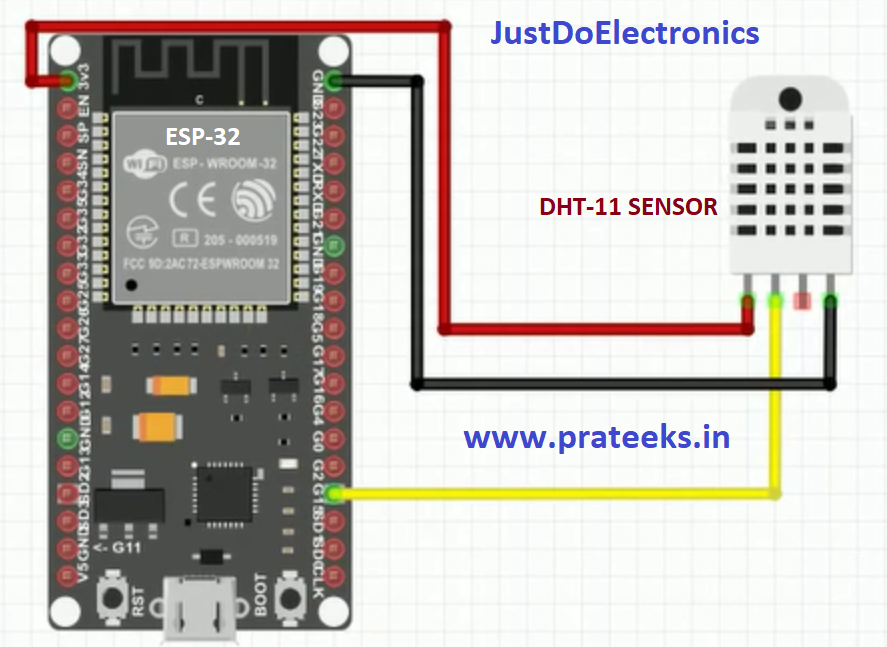
Before proceeding to the web server, you need to wire the DHT11 or DHT22 sensor to the ESP32 as shown in the following schematic diagram.
In this case, we’re connecting the data pin to GPIO 27, but you can connect it to any other digital pin. You can use this schematic diagram for both DHT11 and DHT22 sensors.
(This schematic uses the ESP32 DEVKIT V1 module version with 36 GPIOs – if you’re using another model, please check the pinout for the board you’re using.)
Note: if you’re using a module with a DHT sensor, it normally comes with only three pins. The pins should be labeled so that you know how to wire them. Additionally, many of these modules already come with an internal pull up resistor, so you don’t need to add one to the circuit.
Installing LibrariesYou need to install a couple of libraries for this project:
- The DHT and the Adafruit Unified Sensor Driver libraries to read from the DHT sensor.
- ESPAsyncWebServer and Async TCP libraries to build the asynchronous web server.
Follow the next instructions to install those libraries:
Installing the DHT Sensor Library
To read from the DHT sensor using Arduino IDE, you need to install the DHT sensor library. Follow the next steps to install the library.
- Click here to download the DHT Sensor library. You should have a.zip folder in your Downloads folder
- Unzip the.zip folder and you should get DHT-sensor-library-master folder
- Rename your folder from DHT-sensor-library-master to DHT_sensor
- Move the DHT_sensor folder to your Arduino IDE installation libraries folder
- Finally, re-open your Arduino IDE
Installing the Adafruit Unified Sensor Driver
You also need to install the Adafruit Unified Sensor Driver library to work with the DHT sensor. Follow the next steps to install the library.
- Click here to download the Adafruit Unified Sensor library. You should have a.zip folder in your Downloads folder
- Unzip the.zip folder and you should get Adafruit_sensor-master folder
- Rename your folder from Adafruit_sensor-master to Adafruit_sensor
- Move the Adafruit_sensor folder to your Arduino IDE installation libraries folder
- Finally, re-open your Arduino IDE
Installing the ESPAsyncWebServer library
Follow the next steps to install the ESPAsyncWebServer library:
- Click here to download the ESPAsyncWebServer library. You should have a.zip folder in your Downloads folder
- Unzip the.zip folder and you should get ESPAsyncWebServer-master folder
- Rename your folder from ESPAsyncWebServer-master to ESPAsyncWebServer
- Move the ESPAsyncWebServer folder to your Arduino IDE installation libraries folder
Installing the Async TCP Library for ESP32
The ESPAsyncWebServer library requires the AsyncTCP library to work. Follow the next steps to install that library:
- Click here to download the AsyncTCP library. You should have a.zip folder in your Downloads folder
- Unzip the.zip folder and you should get AsyncTCP-master folder
- Rename your folder from AsyncTCP-master to AsyncTCP
- Move the AsyncTCP folder to your Arduino IDE installation libraries folder
- Finally, re-open your Arduino IDE
Nextdfm Software
NextDFM is a PCB problem detector and engineering tool by NextPCB, one of the most professional PCB manufacturers in the world based in China. NextDFM is a simple software which can be learnt easily by a non regular PCB designer also. The UI created by them is very simple and PCB design analysis can be done in just a few clicks.
Help you quickly familiarize DFM design specifications and production needs to determine whether there are any manufacturing constraints


Comments
Please log in or sign up to comment.