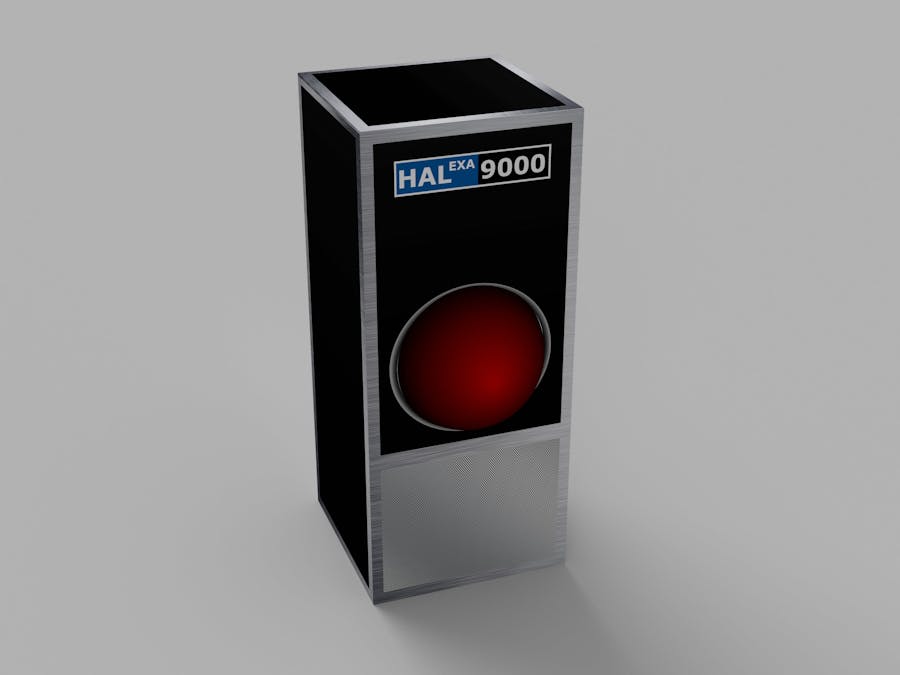
Putting Alexa on your Raspberry Pi is a complicated process. Luckily, the team at amazon has put together an incredibly detailed guide with step by step instructions to take you from start to finish. Due to the quality of their write up I saw no reason to make my own. You can follow the instructions here. The guide will continue assuming you have done so and will consist only of changes made to the files downloaded in that guide.
Sound bitesReplicating the voice of HAL is impossible in practice without a voice actor, so I opted for the next best thing. While Alexa will still have the same voice there are a few sound bites we can change. They are located in
alexa-avs-raspberry-pi-master.zip\alexa-avs-raspberry-pi-master\samples\javaclient\src\main\resources\res
.
By replacing them with our own files we can change what is played when certain event occur. To replace them download sound bites from this site, move them into the folder and rename them to correspond with the sound they should replace. In my browser I was able to right click sounds and use "Save target as..." to download them. The sounds will need to be run through a .wav to .mp3 converter before you can use them.
Do not change start.mp3. I kept this the same because changing it would result in a longer delay before you could dictate your command to Alexa.
Sound Number | New File Name
2 | error.mp3
32 | alarm.mp3
18 | stop.mp3
Building the caseTo build your case print and cut out the pieces from the PDF. On the piece labeled HALEXA 9000 cut out also along the red line. Glue this to the front of your box. Cut a hole in this same shape into the box. The other pieces are the sides, top and bottom, and are interchangeable. Put them on, making sure to leave a flap for access in the back of the box. I used a ziplock box which was the perfect size and already has a flap on the back.
If your speaker has a bright red LED on it (the one I linked does) you can skip adding your own LED and just point the speaker towards the eye to illuminate it. To make the "eye" light up glue stick the LED through the box so that it is just into the dome. Connect the negative lead to negative on the Pi and the positive to 3.3V (if you're using a superbright LED or a larger one you can connect it to 5V) using the jumper cables. To figure out what pins are GND, 3.3V and 5V use the diagram I attached.
As an additional touch you can add a gradient from the bottom of the dome towards the center. Doing so will give it a more movie like look. You can achieve this using a sharpie or other black marker.
Finished ProductThe final result is Alexa running on your Raspberry Pi with a few HAL effects for under $80.


Comments