


_ztBMuBhMHo.jpg?auto=compress%2Cformat&w=48&h=48&fit=fill&bg=ffffff)


In the era of IoT, do you still own any serial device?
For me? Yes, I do. I have a Pan-tilt camera which only supports RS485 interface, and I am not gonna throw it away any time soon. There are tons of serial devices over there in the real world, not to mention that most of industrial devices still use serial interfaces. Serial communication is simple, cost-efficient, reliable, and can come to the rescue whenever you need to get the console access to the device.
But, we are living in the era of IoT! Isn't it great if we can add network capability to those serial devices, so that we are able to access them from wherever we want.
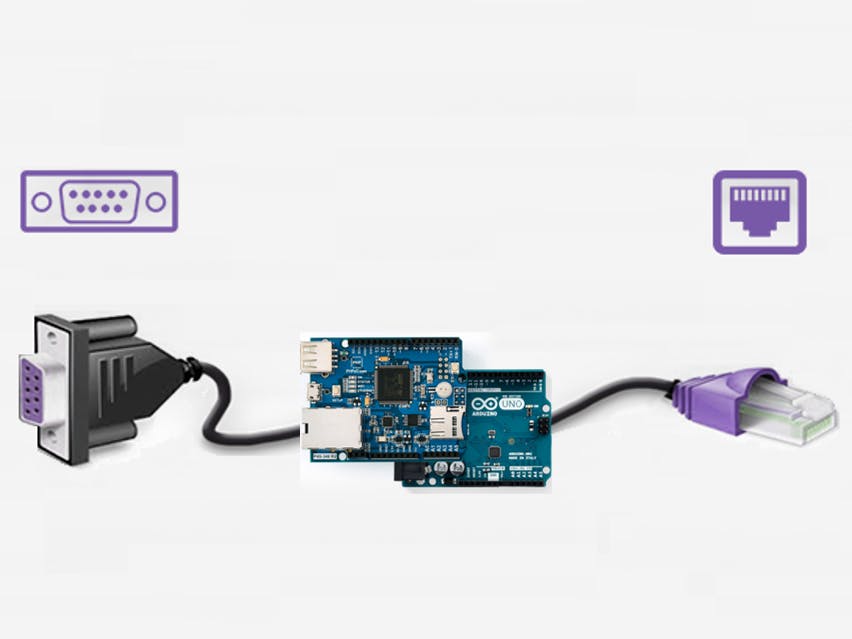
Here I will show you how I made a simple Ethernet to RS232 converter by using Arduino Uno and PHPoC Shield. TCP data that bypasses Ethernet connection can be transformed into serial data, and vice versa.
I use a Smart RS232 Board for serial interface. Along with a PHPoC Shield 2, they are stacked on an Arduino Uno.
Each Smart RS232 Board has an RS-232 port, and is addressed by ID, which can set by manually setting DIP switches. For example, in this project, the board is addressed as 1.
A PHPoC shield supports both Wi-Fi and Ethernet connectivity, but you can only choose either of them for network connection. In my project, I set up an Ethernet connection for PHPoC Shield.
With a small change in hardware setup, this can become a Wi-Fi/Ethernet to RS232/RS422/RS485 converter. Maybe with more effort, you can even make a Wi-Fi/Ethernet Serial gateway, since an Arduino board can carry up to 14 smart expansion boards, and by combining with a PHPoC shield, it can support up to 4 TCP connections simultaneously.
In my project, Arduino board with PHPoC shield works as a TCP client. That means, it can connect to a TCP server via Ethernet network. Well, TBH, you can just call my project "TCP to Serial converter" as well.
Arduino code does the straightforward work: read the incoming data from serial, then forward it to TCP server, as well as read incoming data from TCP server and send it to serial.
You can take a look at the screenshot below for the demonstration:
Learn more about Arduino for Beginners


Comments
Please log in or sign up to comment.