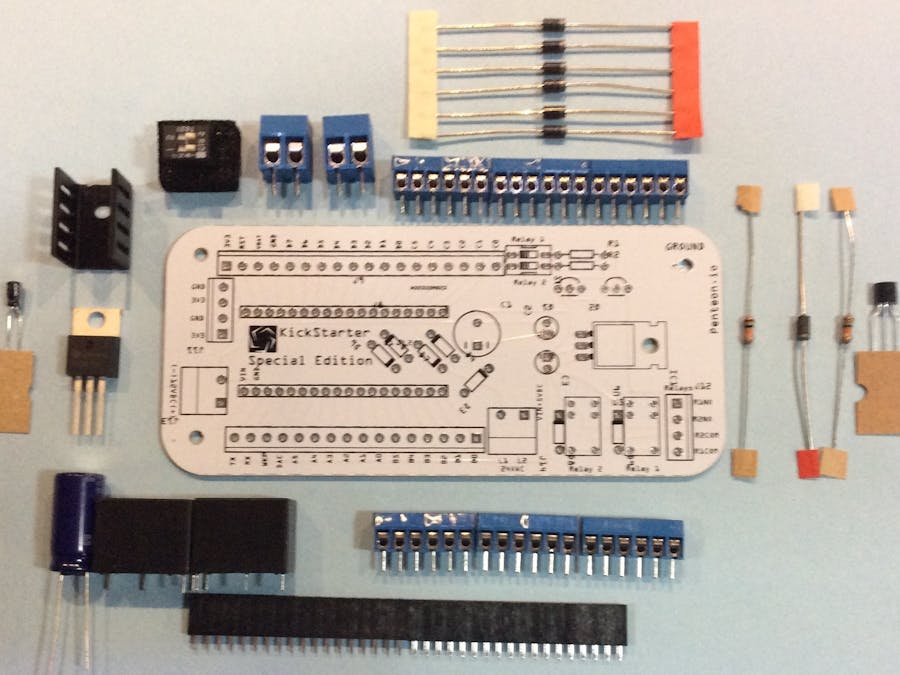
So the shields that I developed are:
- The Particle Screw Shield (my prototype was debuted in a previous project)
- The Particle Power Shield which I will demonstrate in this project over the next few days.
The basic premise of this shield is that you can have an input of 24 volts AC and an input of 12 volts DC both converted to 5 volts DC for the Particle Photon and Electron.
- The third shield is for the Particle Pi. I developed this shield with proper labels, so there is no guessing.
All these shield are available from me either through Amazon or a cheaper way to get one is through my Kick starter Campaign (which is closing in 9 days).
https://www.kickstarter.com/projects/1216894359/practicle-iot-shields?Soldering
Okay, the following are directions on how to solder the Power shield together. I left out the relays for now, but you get the idea.
- Place the first part in the board. It's best to work from the inside out.
- Bend the leads over so you can solder the piece without it falling out.
Steps 2-10
- Next, the diodes. Pay close attention to the directional marks, insert and solder.
- Trim wires with side cutters and temporarily bolt your heat sink to the board with a voltage regulator, to keep things lined up and in place.
- Place the female header pins in the holes, and tape it all in place so it doesn't move and the pins are kept aligned.
- Solder the inner pins in place.
- Put the rest of the Screw Connectors in the board, and solder.
- This next step should be the most important: Meter out your connections to ensure you don't burn your Particle out!
The Junction Box I showcased in another project.


Comments
Please log in or sign up to comment.