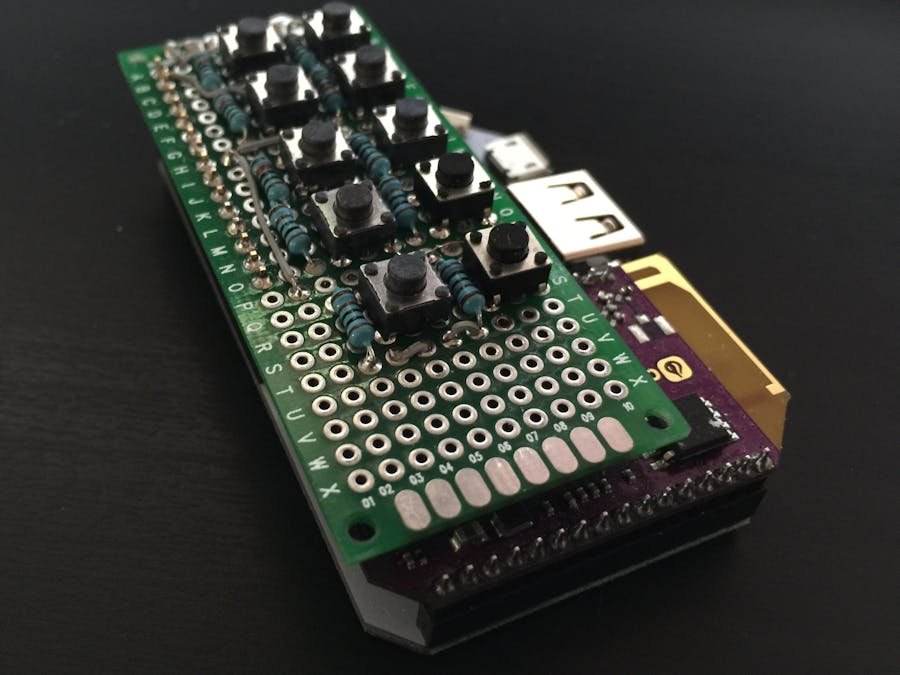
Using the Onion Omega, the Omega Power Dock Extension, and a series of buttons, the Omega_mote allows you to activate http commands that you can choose. This allows you to control anything that is connected to the internet.
This project is ultimately an expansion of existing projects that are around the house. Currently I have a Raspberry Pi that is a control hub for IR devices and RF switches. This control hub hosts a rest API that can take commands as http
post requests. This is nice, because any device (i.e. my phone) can post to the control hub and end up controlling the device. This was originally really nice, and still is, but having been in use now for a year or so, I have found that I rely on this system more and more. So, I wanted to build a free standing remote that could be used anywhere in the house and still communicate with the control hub. Hence, the omega_mote.
omega_mote is a Node.js application that utilizes a few different classes.
The omega_mote contains a gpio wrapper (customGPIO) written in JavaScript that interacts with the /sys/class/gpio path and files. These files allow you to change the direction of the gpio, read the value, set the value, lock and unlock the pin, and close the pin.
There is a config.json file that defines the user buttons and the address to http post to.
The omega_mote main class loads the configuration file, and controls the customGPIO class. Using the configuration file the omega_mote initializes the gpio pins specified and listens on those pins, when a change is detected, the omega_mote performs an http post to the address that is specified in the config file.
- Detect double clicks on buttons as that would effectively double the number of buttons you had.
- Config file could specify high or low pin.
Step 1
Get your Omega and Power Dock (or Expansion Dock) and run through the setup procedure here
Step 2
Install Node.js:
opkg update opkg install nodejs
Step 3
Install Git:
opkg update opkg install git git-http
Step 4
Clone the Omega_Mote repo:
git clone https://github.com/JimJamUrCode/omega_mote.git
Step 5
Follow the wiring instructions here. Yes I know it has an Arduino in the picture, but the Omega has all the same pins, so wire your circuit as such.
Step 6
Now that your button is setup we need to setup the configuration file to reflect the pin that you setup the button on. Lets say you connected your button to GPIO pin 26. Then you would modify the configuration file in omega_mote/config.json to look like this:
{
  "buttons": [
    {
      "gpiopin": 26,
      "postAddress": "YOUR_POST_ADDRESS_HERE"
    }
  ]
}
Step 7
Get to the root directory of the Omega_Mote project and run the node app:
node omegamote.js
Step 8
Note: You will also need to modify the omega_mote.js file. You need to change the "remoteHost" variable to match the local ip address of the device you are trying to post to. The variable "postAddress" inside of your config file should NOT include the "remoteHost" portion (Domain/IP) of a post address.


Comments
Please log in or sign up to comment.