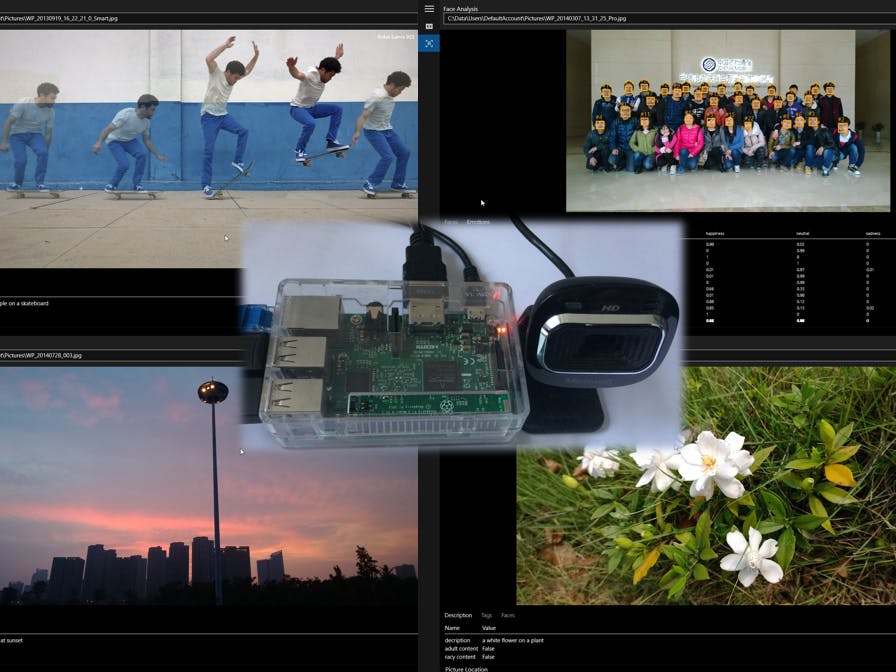
Version 2 is completed. And the camera based real-time Cognitive Service is available now. Reader can plug Camera in the USB port of your RPi and have a try.
IntroductionWith the rapid development in the field of Artificial Intelligence(AI), a variety of cutting-edge technologies are created to meet the needs of AI user scenarios. Microsoft Cognitive Services are designed to democratize AI by packaging it into discrete components that are easy for developers to use in their own projects. Especially, for Web and Universal Windows Platform (UWP) developers, they can consume these algorithms through standard REST calls over the Internet to the Cognitive Services APIs. Now, Microsoft has provided five different kinds of Cognitive Services, including Vision, Speech, Language, Knowledge and Search. Readers can refer to the https://azure.microsoft.com/en-us/services/cognitive-services/?v=18.06 for detail information. In this tutorial, we will walk through Vision service on Windows 10 IoT Core by UWP App. Furthermore, thanks to sherlockchou86@Github, this project is designed based on his work ComputerVision.
What you’ll need:
- Windows 10 IoT Core device (RPi, Minnow Board Max, or Dragon Board)
- Network Access
- Mouse connected to your IoT device
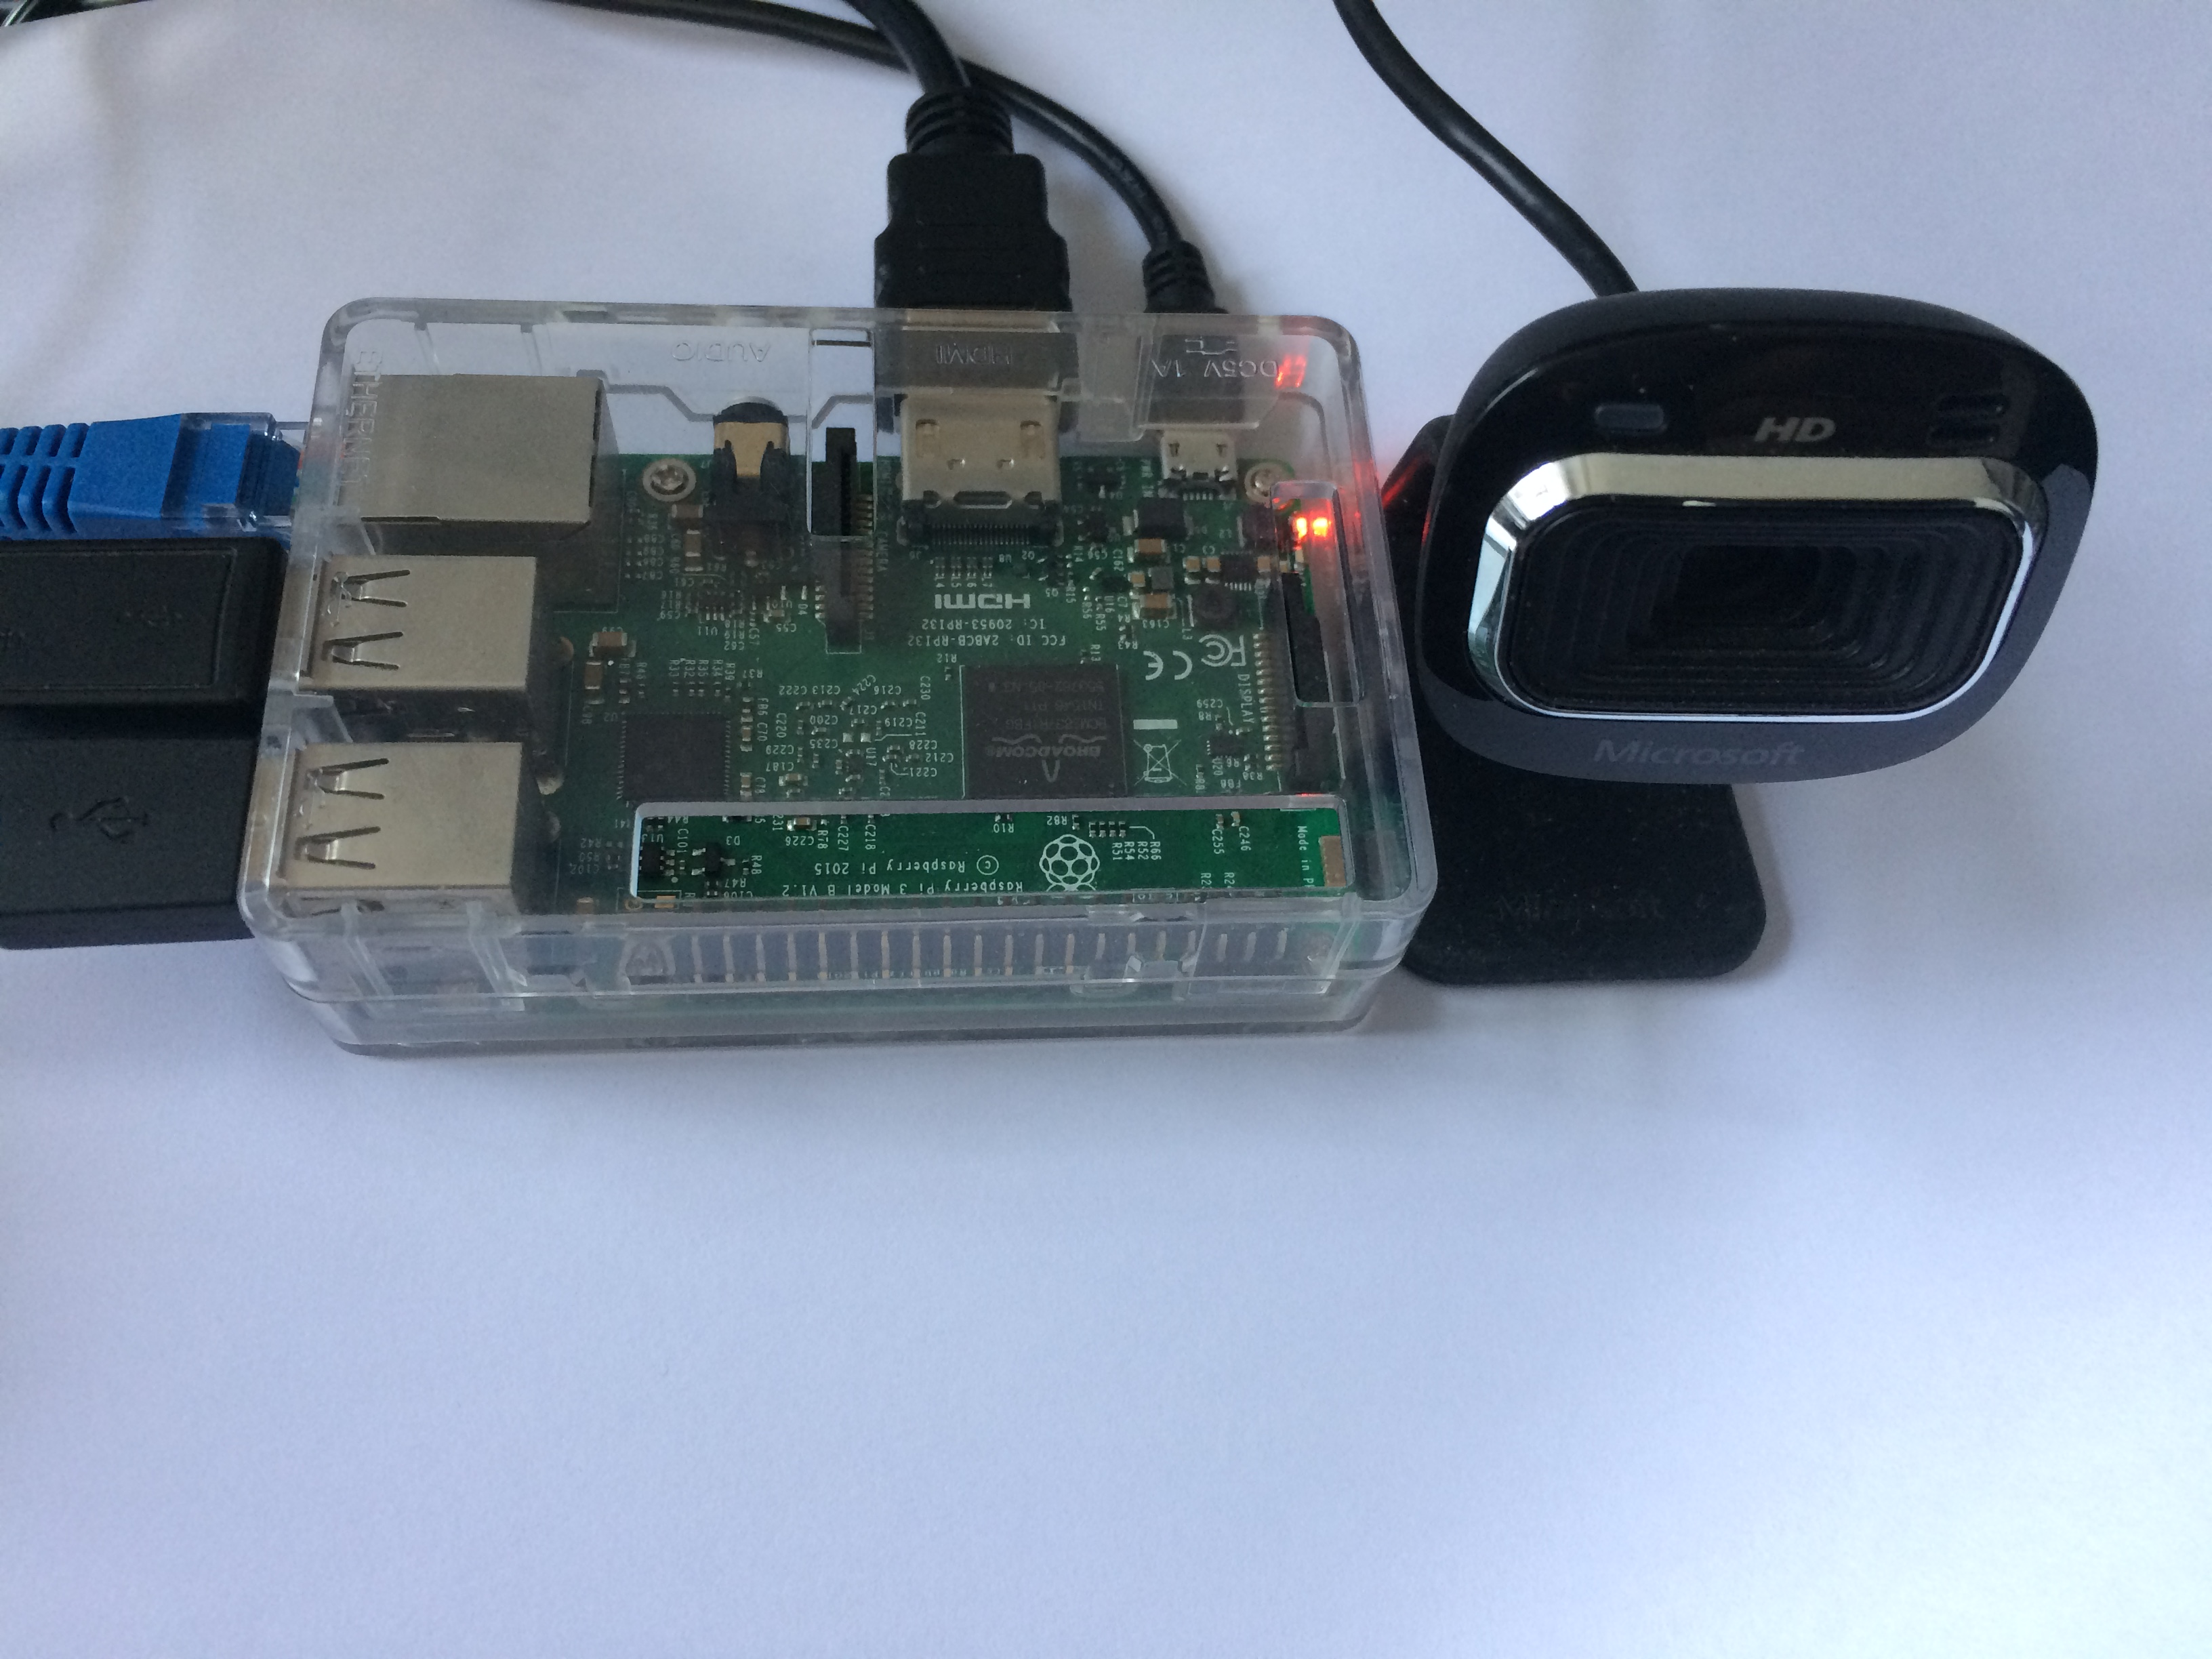
- Microsoft LifeCam HD-3000
- Removable storage (Optional)
For this part, we will create Vision Services that we used on Azure Portal. Login https://portal.azure.com with your username and password. Click “Create a resource”, in the Search bar, input “Computer Vision API”. Then, Click “Create” to start a creation process, input your Computer Vision name, Location, Pricing tier (F0 is enough for this project) and resource group. After the resource is created, go to your Computer Vision API page, click Keys under Resource management, copy Key 1 to your local document for further use. See picture below.
Next, you will create your “Emotion API” and “Face API” just as “Computer Vision API” above. Remember to copy the API Keys to your local document for further use.
Step 2: Deploy and Run UWP Application on Windows 10 IoT Core deviceIn this section, we can download the project from github: https://github.com/shijiong/RPiCognitiveService. Please make sure that you install Visual Studio 2017 and Windows Software Development Kit (SDK) version 16299 for Windows 10. Then, copy and paste your “Computer Vision API”, “Emotion API” and “Face API” that you get in Step 1 to “FacePage.xaml.cs” (in line 38 and 39) and “PhotoPage.xaml.cs” (in line 35) as follows.
If you want this app running on RPi or Dragon Board, choose ARM and Remote Machine (For Minnow Board MAX, please choose x64), input the IP address of the device, press Debug button. After the deployment, we can see the app running on device as follows.
So, now let’s jump to step 3 for further tests.
Step 3: Cognitive Services for Local ResourcesIn order to test the Cognitive Services for local resources, we may copy some pictures to the Windows 10 IoT Core device. One convenient way to achieve this is using Windows Device Portal. Open your Edge, or Chrome on the Desktop PC, which is connected in the same local network with Windows 10 IoT Core device. Then input the IP address+8080 port in the address bar. Input user name and password (the default user name and password are “administrator” and “p@ssw0rd”). For more information, readers can refer to the official page on https://docs.microsoft.com/zh-cn/windows/iot-core/manage-your-device/deviceportal. Click Apps->File explorer, choose Picture folder as follows.
Then we can choose local pictures and upload them to the IoT Device.
After this step, you can see that there are some pictures that you can use for our Cognitive Service App.
Note: please make sure that you remember the path of your pictures. You can also upload to other folders, such as Documents, Music and so on.
Then, switch back to the UWP app running on IoT Device. Click Photo Analysis menu, you will get Photo Analysis page as follows.
Click Browser button on the right corner, double click Pictures folder, the pictures that you uploaded above will show as follows.
Choose one picture then double click or click “select” button, the Photo Analysis will start. If the network is OK, then the results will show on the screen in a few seconds as follows.
So, we know that in Photo Analysis page, the descriptions tags, and faces will be given.
Now, let’s test the Face Page. First, click Face menu. Then click Browser button on the right corner, double click Pictures folder, the pictures that you uploaded above will show. Choose one picture then double click or click “select” button, the Face Analysis will start. If the network is OK, then the results will show on the screen in a few seconds as follows.
So, we know that in Face Analysis page, the faces and emotions will be given.
Note: please make sure that your upload pictures are JPEG, PNG or BMP format resources. Here we only support three kinds of pictures.
Step 4: Cognitive Services for Removable ResourcesAs we designed above, the pictures can be located in local IoT device as well as Removable devices, such as USB flash disk.
Firstly, copy the jpg, png or bmp picture files to the USB flash disk. Then, Choose Removable Storage in the Photo Analysis page or Face Analysis page as follows.
OK, then Photo Analysis or Face Analysis will begin. If the network is OK, then the results will show on the screen in a few seconds as follows.
In this tutorial, we have designed a UWP Cognitive Services app running on Windows 10 IoT Core device. And then give the demonstrations of Cognitive Services API generation, UWP deployment and test results for local resource/removable resource. Hope this will be useful for those who need Cognitive Services on Windows 10 IoT Core device. I will move on to add Camera based Cognitive Services in the near future.
Updated InfoVersion 2 is completed. And the camera based real-time Cognitive Service is available now. Reader can plug Camera in the USB port and try. See picture as follows.


Comments
Please log in or sign up to comment.