Download and print Vector File of Piano from Bare Conductive on card stock
Step 2 Cut StencilCut out the piano portion so that you are able to use the remaining paper as a reusable stencil.
I didn't have painters tape so I improvised and used the sticky side of a post it to minimize tearing had I used regular tape, duct tape, etc.
The pain can be slightly thick and difficult to work with so I diluted the paint. I also used a flat paintbrush. Optional: To dilute the ink and make it manageable I added 2-3 drops of water to about a tablespoon of paint in a separate container.
Sometimes the stencil just doesn't stay in place like you would hope, but it's not a big deal. All that you need to do is cut/scrape away at any touching "keys" to make sure your Midi Piano works as it should.
Now that you have your piano painted wait about 10-15 minutes to make sure its dry. You can now use white paint to paint over any sections the paint ran over a bit. White out works too!
Step 7 Download- Download the Arduino IDE (Do not Update Libraries! if asked in a pop up)
There is an issue with Updating the libraries and the board not compiling properly. This is a known issue and they are working on patching this =)
- Download Touchboard Plug-in
As of June 30 the bare conductive board will not compile properly with updated libraries. So you may have to delete these files if you are getting an sdfat util error:
"SdFat" and "SFEMP3Shield" libraries in the Documents>Arduino> Libraries
If you have to delete these files download the Touch Board Plug-in again.
Step 9 Connecting the BoardIn order to use the Midi function on the board you must solder or use Conductive Ink to join the 2 pads labeled "midi" in 2 sections of the board. I opted for the paint option and placed a small dot of Bare Conductive Ink to join the 2 pads in each location.
- Connect the Touch Board and open up the Arduino IDE
- Open File>Sketchbook>Midi_Piano
- Click the circle check mark to compile
- Click the circle Arrow to upload sketch to the board
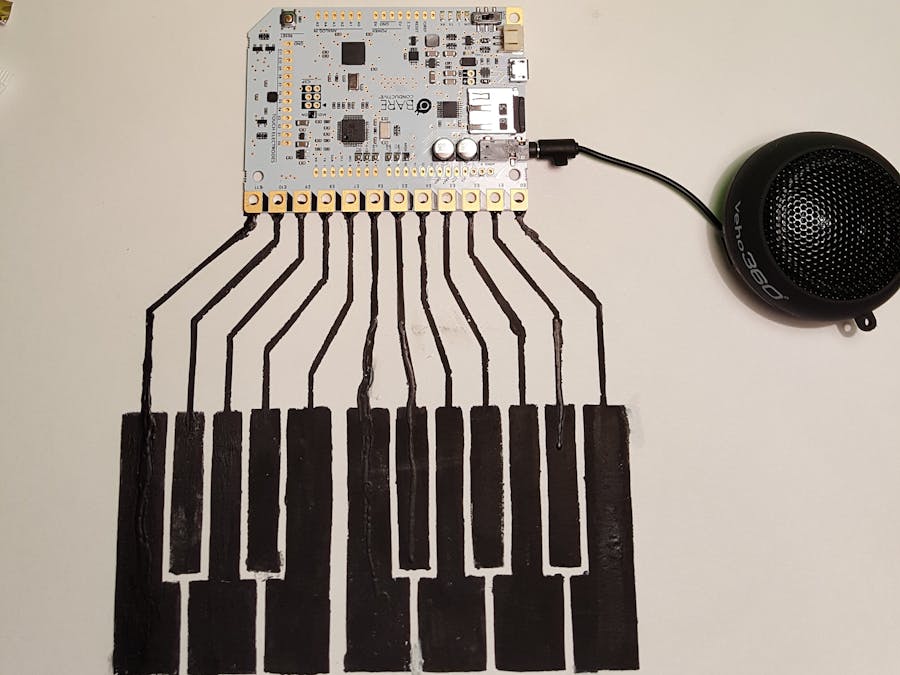
Place the board on the Midi Piano, making sure that each pad makes good contact with the painted piano. The reset button must be pressed after connecting anything new to the board in this case it's the painted piano keys. After the board resets you are ready to play music on your Midi Piano! Don't forget to add a speaker via an AUX cord attached to the board.


Comments
Please log in or sign up to comment.