After downloading the IDE from https://www.arduino.cc/en/Main/Software install it and open it.
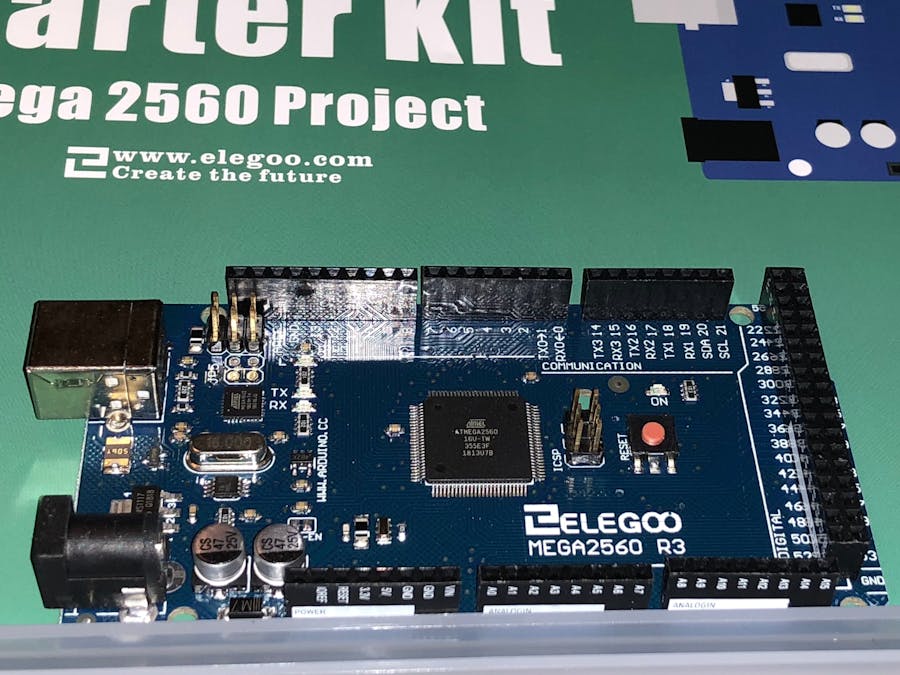
First, you'll need to plug your Arduino device (I'm using the Mega 2560 R3) into your computer (I'm using a Macbook Pro)
To make sure it is connected:
- Look at the top of your screen under "Tools"
- Select tools and scroll down to "Port:"
- If your device is plugged into your computer, it should show up in the list of ports. Select it
- On the main screen of the IDE, in the upper right corner there will be what looks like a magnifying glass
- When you hover over it with your cursor, "Serial Monitor" will pop up. Click on it
Now that we confirmed that the Arduino is connected, let's set up the blink sketch.
- Go up to file
- Select "File" -> "Examples" -> "01.Basics" -> "Blink"
- Look over your sketch when it pops up in a new window
The next step is to upload the sketch. If you're uploading your own custom sketch or if you modified the blink example, I recommend selecting the 'Verify' button which is a circular button on the upper left with a check-mark inside of it. This will confirm that your code compiles correctly.
The standard Arduino 2560 comes with the blink sketch preloaded, blinking the light on and off in 1 second intervals. This means that if we re-upload the blink example using the Arduino IDE we won't see a difference because the example also blinks the light in 1 second intervals.
Let's change the interval to be delay(500); which will delay the actions for 500 milliseconds or half of a second.
First, on your IDE you will see this.
To further illustrate how quickly you can upload new sketches (when they are small like this), let's change the interval to be delay(100); which will delay the actions for 100 milliseconds or 1/10th of a second.
Once we upload this new sketch, we will be able to see the difference in the blink speed. (See below)
Now that we've set up our Arduino, modified a sketch, and uploaded it to the Arduino you can see how easy it is to quickly prototype ideas and run them on your Arduino.
Special thanks to Elegoo for this board.
You can find more of their products here:


Comments
Please log in or sign up to comment.