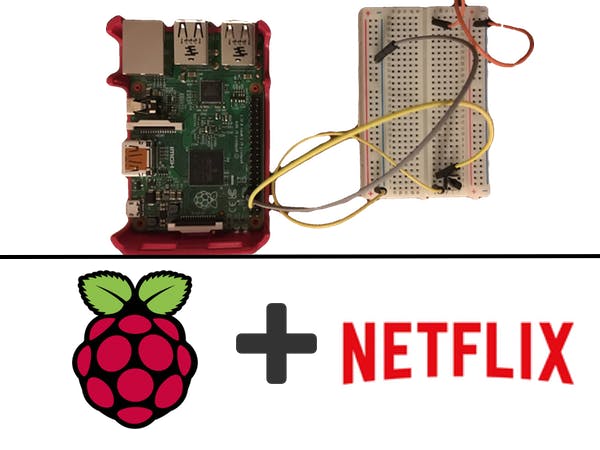
About this project:
Sometimes when you're watching Netflix on your TV using your computer and you're just to lazy to stand up and pause it. This is your solution! Just press on the button next to you and it will pause (/ start) the movie.
Step 1: Setup AWS IoT:First click create a resource and then click "Create a thing"
Now click "Create"
Then Click on the "thing" you created and select "Connect a device"
Select "NodeJS" on the next page and click "Generate certificate and policy"
Save those files and click "Confirm and start connecting".
Now we can start connecting our Raspberry Pi to the AWS IoT service
Step 2: Connect your Raspberry Pi to the AWS IoT ServiceFirst boot up your Raspberry Pi (I assume that you've setup your Raspberry Pi and connected it to your wifi network, if not here's a good guide https://learn.adafruit.com/adafruits-raspberry-pi-lesson-2-first-time-configuration/overview)
Now we need to install the AWS CLI by typing:
sudo pip install awscli
To set it up we first need to do the following (source: Amazon):
1. Open the IAM console.
2. In the navigation pane, choose Users.
3. Choose your IAM user name (not the check box).
4. Choose the Security Credentials tab and then choose Create Access Key.
5. To see your access key, choose Show User Security Credentials. Your credentials will look something like this:
Access Key ID: AKIAIOSFODNN7EXAMPLE
Secret Access Key: wJalrXUtnFEMI/K7MDENG/bPxRfiCYEXAMPLEKEY
6. Choose Download Credentials, and store the keys in a secure location.
Now run:
sudo aws configure
And fill in those Credentials
Then we need to install NodeJS, we can do this by running the following commands:
sudo dpkg -i node_latest_armhf.deb
wget http://node-arm.herokuapp.com/node_latest_armhf.deb
Now check if NodeJS was correctly installed by running:
node -v
This should return the current version
Now we can install the AWS IoT package by running:
npm install aws-iot-device-sdk
Lastly, we need to install one other package
npm install shelljs
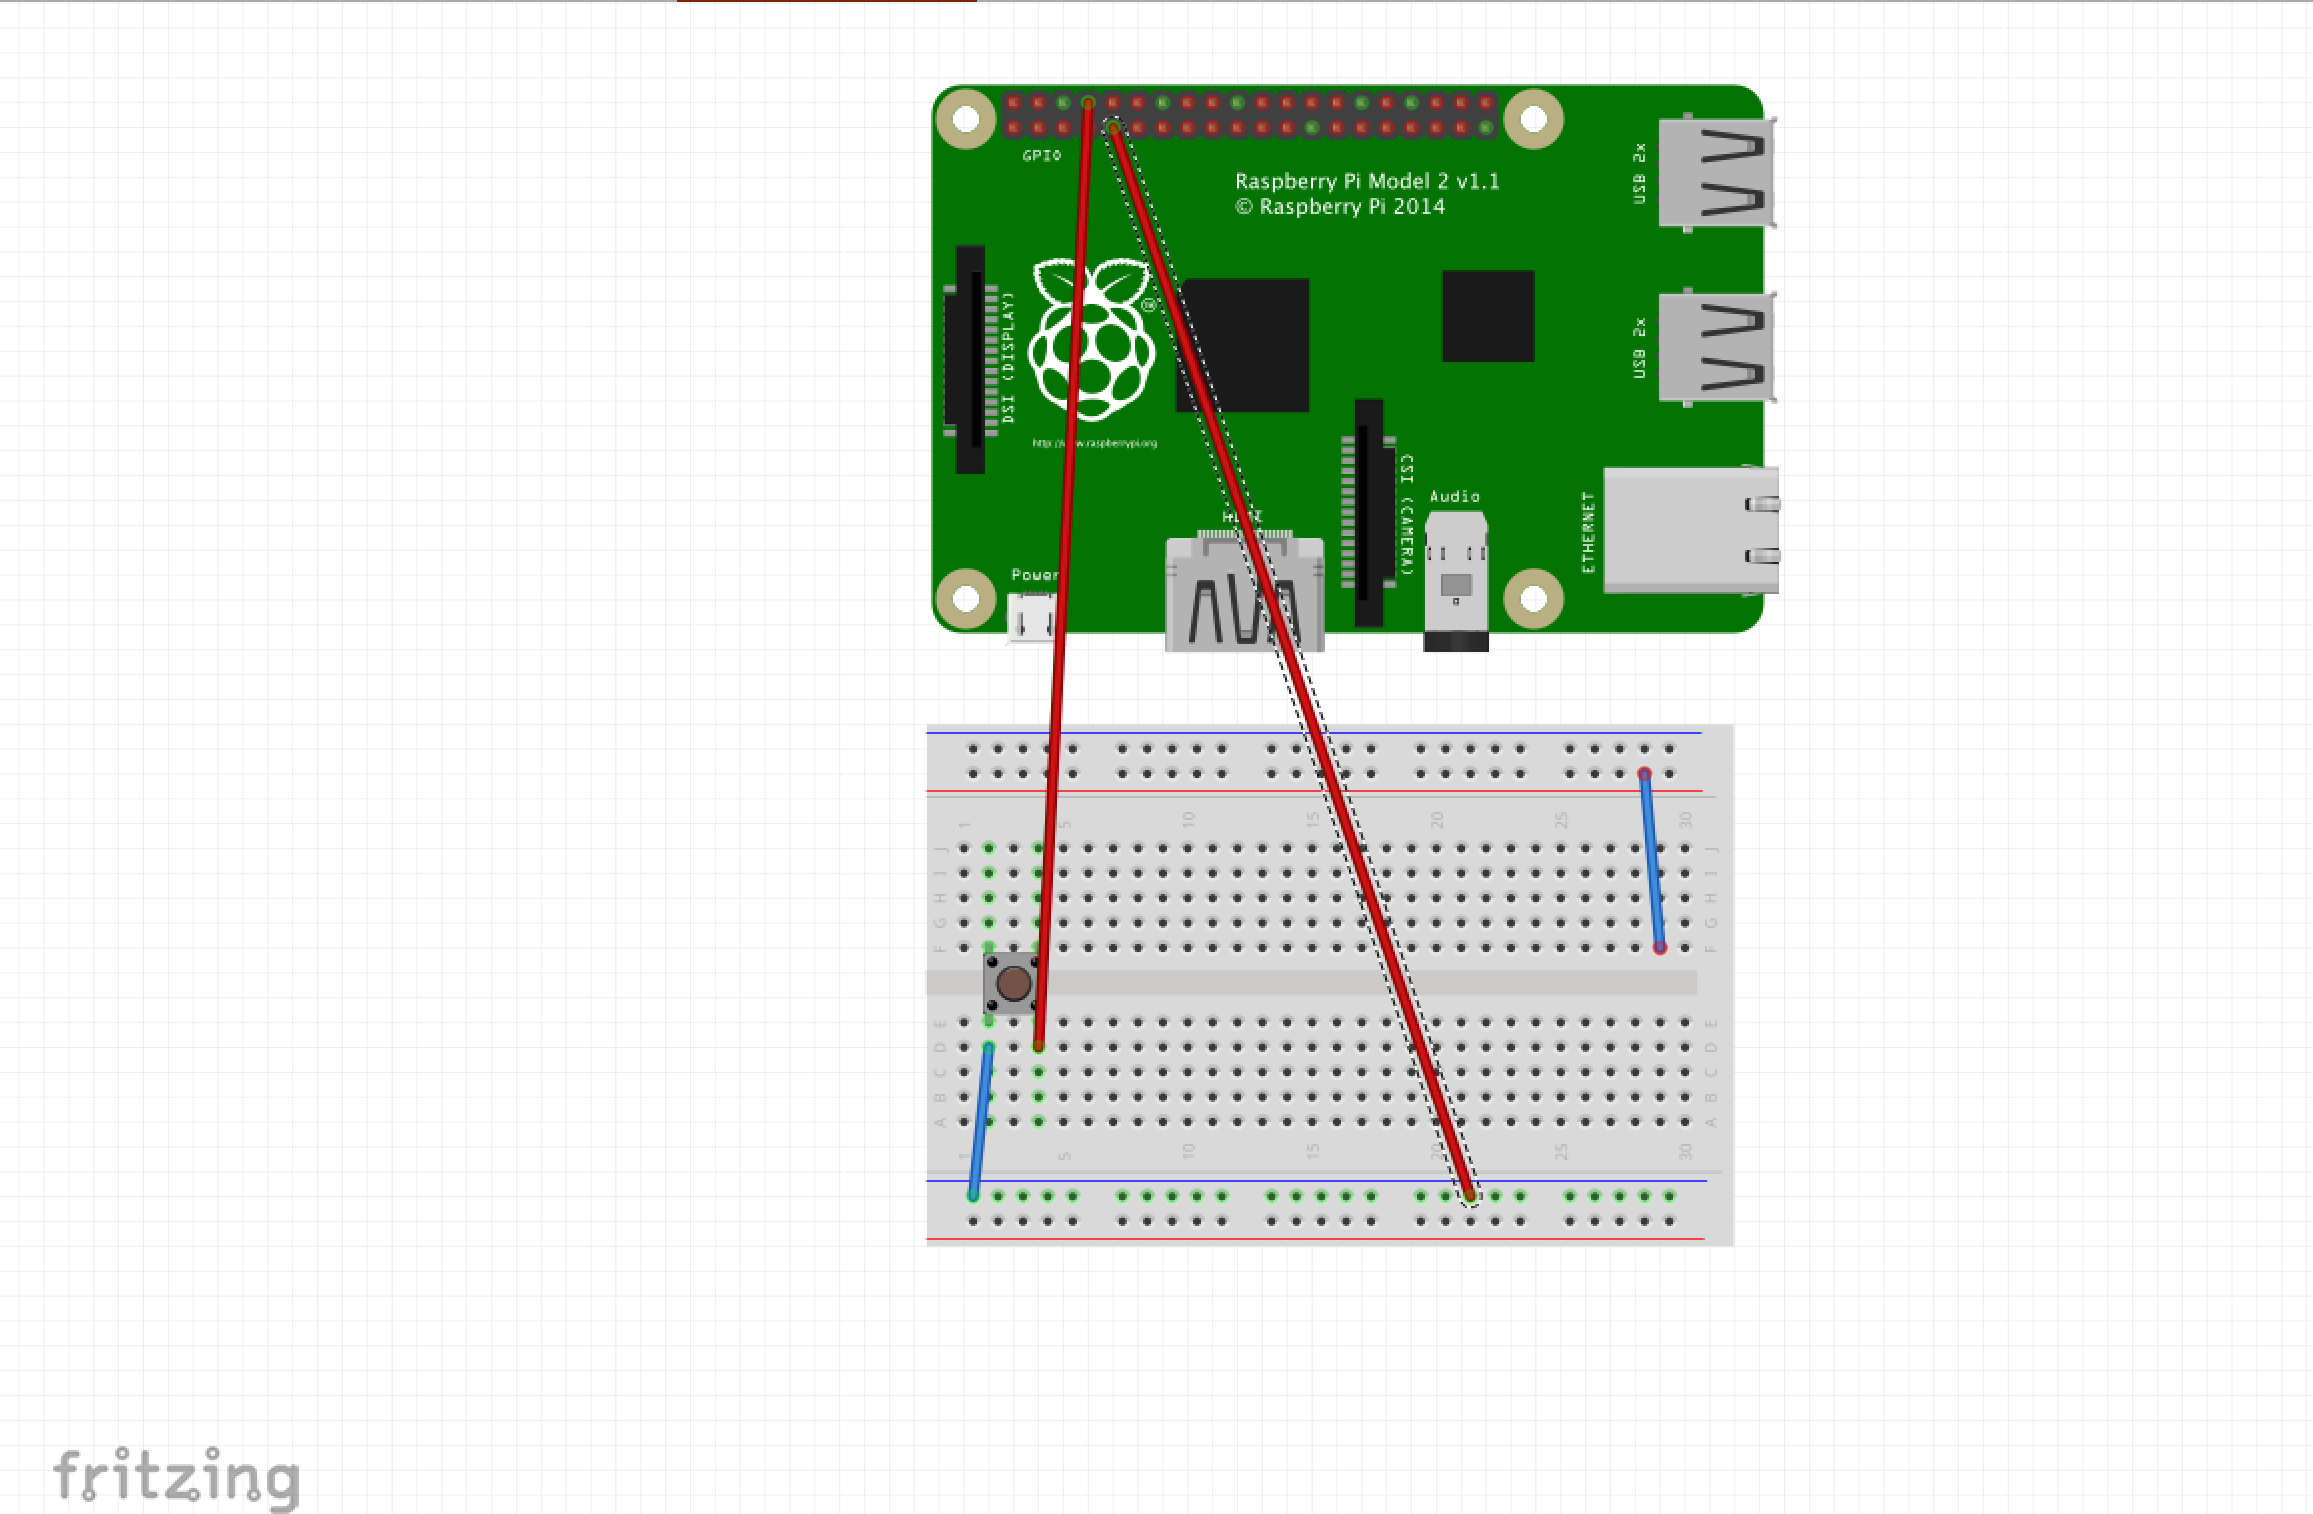
Now we need to setup our button:
Now copy&paste the scripts in the attachments called ButtonOnRaspberryPi.js and ButtonTest.py to the Raspberry Pi and fill in the following pieces of code:
var thingShadows = awsIot.thingShadow({
//To connect to the AWS IoT service
  keyPath: '/Path/to/AWS/Key',
  certPath: '/Path/to/AWS/certificate',
  caPath: '/Path/to/the/root-CA.crt',
  clientId: myThingName,
  region: 'Your Region'
});
var myThingName = 'Whatever_you_want';
Now run the script and check if there are no errors (if you encounter problems, you can leave those in the comments)
Step 3: Setup your ComputerThe steps to setup your computer are very similar to the steps to setup the Raspberry Pi
First you need to install python from https://www.python.org/downloads/, then install pip by following this guide: https://pip.pypa.io/en/stable/installing/
Now run the command:
sudo pip install awscli
and set it up the same way you did before
Now download nodejs from https://nodejs.org/en/download/ and set it up
Now we can install the AWS IoT package by running:
npm install aws-iot-device-sdk
Now install two other packages we need by running:
npm install shelljs
and
npm install robotjs
Now you can download and run the script "NetflixOnComputer.js".
To work, you will need to run the script on the Raspberry Pi and the script on the computer at the same time.
Congratulations! You've finished your Raspberry Pi Button
Notes:
- Sometimes it takes some time to process the button press. In the worst case, it can take up to 10 seconds to click pause on the computer
- If you didn't understand something or you got unexpected error messages etc. please leave a command
- Have fun!


_3u05Tpwasz.png?auto=compress%2Cformat&w=40&h=40&fit=fillmax&bg=fff&dpr=2)
Comments
Please log in or sign up to comment.