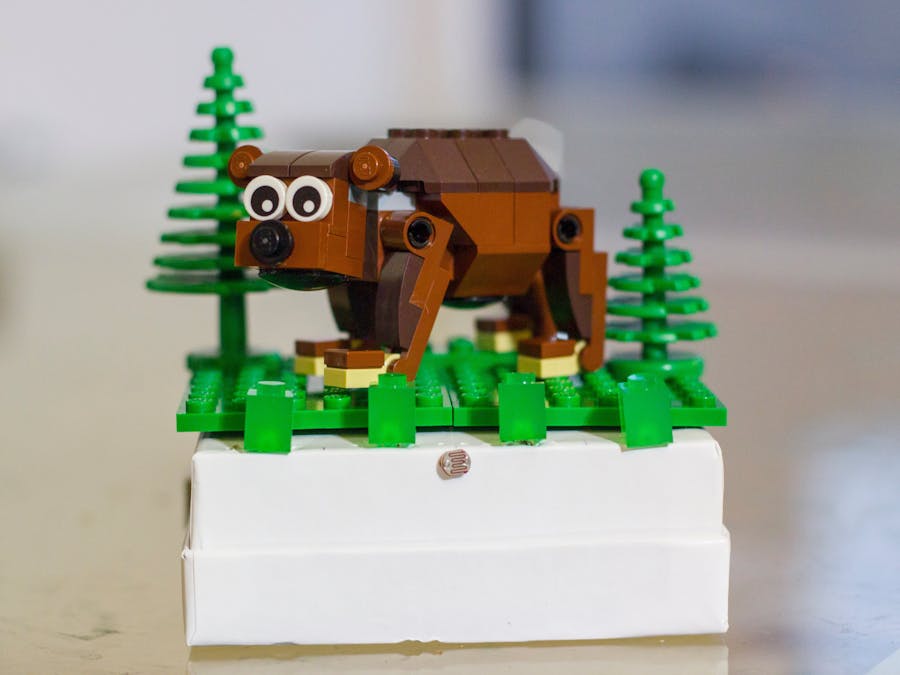
This project is a quick night light using Lunchbox Electronics PTH LED Bricks to show off some of your favorite LEGOs and requires no soldering! Let's get started.
The HardwareFor a box to hold the night light, I used a jewelry box from Michael's, they're super cheap and easy to modify. They also come in lots of different colors so you can customize yours!
To allow for the LEDs and photoresistor to sit snugly on top of the box, you need to poke holes in the box for their legs to fit through. I found that a thumbtack does the job perfectly. Make sure to measure and make faint marks to ensure that everything is spaced correctly!
Next, you'll need to attach the breadboard to the underside of the lid using the adhesive backing. Try to center it as much as possible as the LED legs on each end only barely reach the edges of the board.
Plug in the LED legs each in it's own column and make note of which one is longer and which one is shorter. The longer leg is positive and the shorter leg is negative.
To make sure the Arduino knows how dark it is, we need to add in the photoresistor. Since it's sensing light it will need to stay away from the LEDs but still be in an open area. I found that the front of the box worked the best.
This photoresistor needs a resistor in series with it to allow the Arduino to tell what is light and what is dark. I used a 1k Ohm resistor. Place this resistor in line with your photoresistor and straddling the two halves of the breadboard.
Each LED also needs it's own resistor, and since I used entirely green LEDs I used 100 Ohm resistors to achieve a comfortable brightness. Use jumper wires between these resistors to attach all the shorter legs of the LEDs together as shown in the picture below.
To make sure any metal bits do not touch each other, put the Arduino and breadboard on opposite sides of the box. Next, cut out holes in the box for the Arduino plugs to stick out. The board can be powered by USB or a DC plug.
Finally, we need to attach the Arduino using jumper wires. The diagram below shows which connections go where.
To make sure everything is working as it should, grab the Arduino code from the GitHub and upload it to the board. Screenshots of uploading the code are shown below.
This software uses two variables to figure out when to be off and when to be on: the HIGHBOUND and the LOWBOUND. These might look like random numbers, but actually they are what the Arduino sees when it is grabbing information from the photoresistor. If you experience problems with the lights turning on or off when they shouldn't, open up the serial monitor and see what numbers you are getting then fiddle with the boundaries to your liking.
Stick on your favorite LEGO kit and show it off!
Happy night-lighting!


_ztBMuBhMHo.jpg?auto=compress%2Cformat&w=48&h=48&fit=fill&bg=ffffff)


_3u05Tpwasz.png?auto=compress%2Cformat&w=40&h=40&fit=fillmax&bg=fff&dpr=2)
Comments
Please log in or sign up to comment.