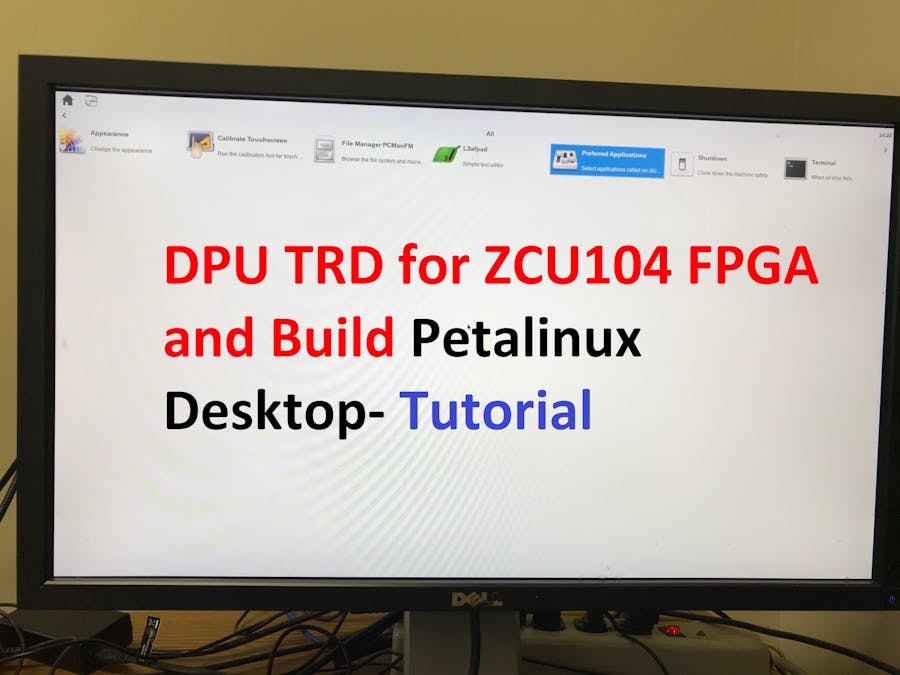
This is Machine Learning (ML) acceleration tutorial on FPGA. We have created this article with some helpful insights on how to create the VIVADO IP design, Petalinux BOOT.BIN and how to test the BOOT file on FPGA.
In this tutorial we are going to share about "how to build BOOT.BIN with Petalinux and how to include the Desktop GUI on that BOOT.BIN".
We hope that you already have reviewed our previous articles on "how to create DPU TRD for ZCU104 FPGA": DPU 2.0 TRD with ZCU104 and DPU 3.0 TRD for ZCU104. These two tutorial is on how Deep Learning Processing Unit (DPU) IP based TRD could be build and how to create the BOOT.BIN with Petalinux Tool.
For having the Desktop on the Petalinux Build you have to configure the Rootfs after the "petalinux-config" command.
Note:We assume that you already build the VIVADO Design of DPU TRD as mentioned at DPU 3.0 TRD for ZCU104 and you have exported the design (including Bitstream) from VIVADO. And we also hope you are familiar with Petalinux Development flow for DPU TRD, if not you can review Example Design of PG338, Xilinx.
Here are the detail steps for this process:
1. First create the petalinux project and do "petalinux-config" as needed: Follow PG338 DPU IP product guide for detail petalinux command's or write us at info@logictronix.com for FREE support.
2. Now enter "petalinux-config -c rootfs", you will get the menu while performing this!
3. Now you have to enable each item listed below (Note: Do not enable the dev or dbg packages.). We reference these steps from "DPU Integration Guide of Xilinx".
Petalinux Package Groups ->- matchbox
- opencv
- v4lutils
- x11
- autostart
- libs->libmali-xlnx->libmali-xlnx
4. Now you can check the "device tree of petalinux", is it as the block design you have? If then,
5. Do the "petalinux-build", it will take some time depend on your Computer/Machine and it also need internet while building. After build completes you can do "cd images/linux" and create the BOOT.BIN as stated on PG338 or DPU Integration Tutorial.
6. As from the the PG338 you can get idea of "files needed to copy on the SD card and how to setup the ZCU104 FPGA board". You will need Display Port monitor connected with ZCU104 FPGA for this test.
7. When ZCU104 Board is booted you will get desktop as here:
After you get the Desktop you can implement the Machine Learning applications on it more easily than the Command Mode of DPU TRD.
Now you can test the "resnet50" or Yolov3 application on DPU TRD or any other given "samples" on it.
Our email: info@logictronix.com
Thank you for reading this article!


![LogicTronix [FPGA Design + Machine Learning Company]](https://hackster.imgix.net/uploads/attachments/1123066/_SyVIfEqFUU.blob?auto=compress%2Cformat&w=40&h=40&fit=min&dpr=2)


![LogicTronix [FPGA Design + Machine Learning Company]](https://hackster.imgix.net/uploads/attachments/1123066/_SyVIfEqFUU.blob?auto=compress%2Cformat&w=60&h=60&fit=min&dpr=2)


Comments
Please log in or sign up to comment.