


Hardware components | ||||||
_ztBMuBhMHo.jpg?auto=compress%2Cformat&w=48&h=48&fit=fill&bg=ffffff) |
| × | 1 | |||
 |
| × | 1 | |||
 |
| × | 1 | |||
 |
| × | 1 | |||
Software apps and online services | ||||||
 |
| |||||
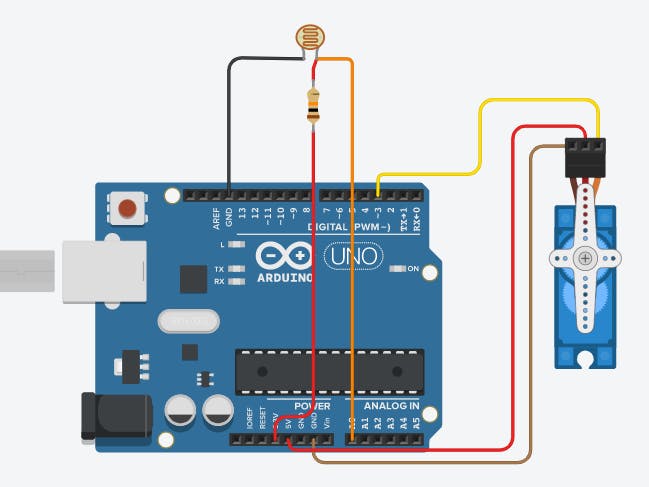
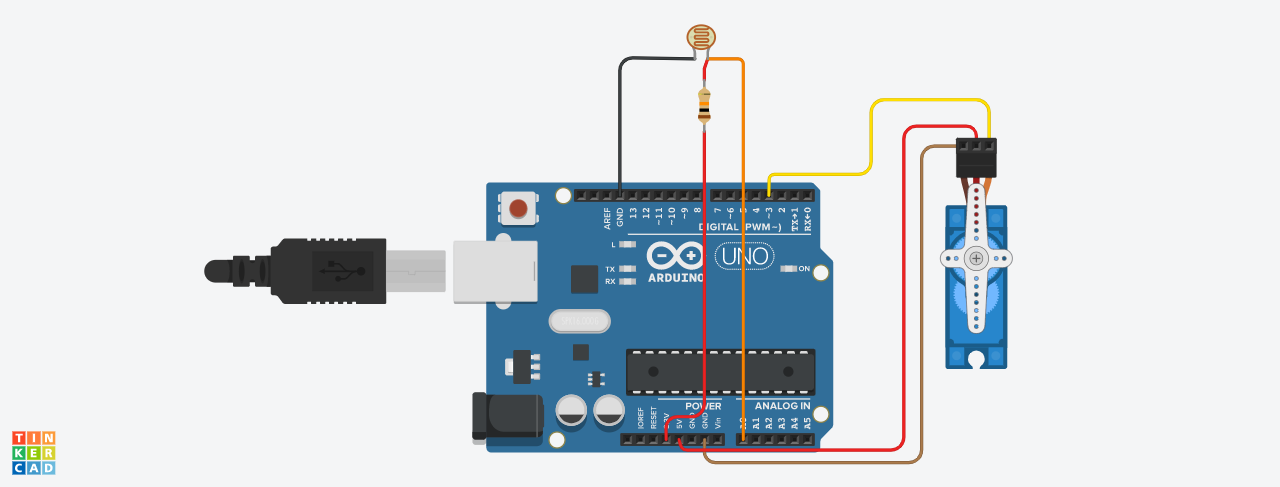
Here we are controlling the position of servo motor using LDR(Light dependent resistor). As we know that as the amount of light on LDR increases the resistance of LDR increases. Here we are going to read that value using analogRead() operation and use as a variable for the servo motor position. so as the amount of light on LDR increases the position of servo motor increases(0-180).


11 projects • 17 followers
Highly skilled Electronics and Communication Engineer, adept Programmer, and creative PCB Designer.
Comments
Please log in or sign up to comment.