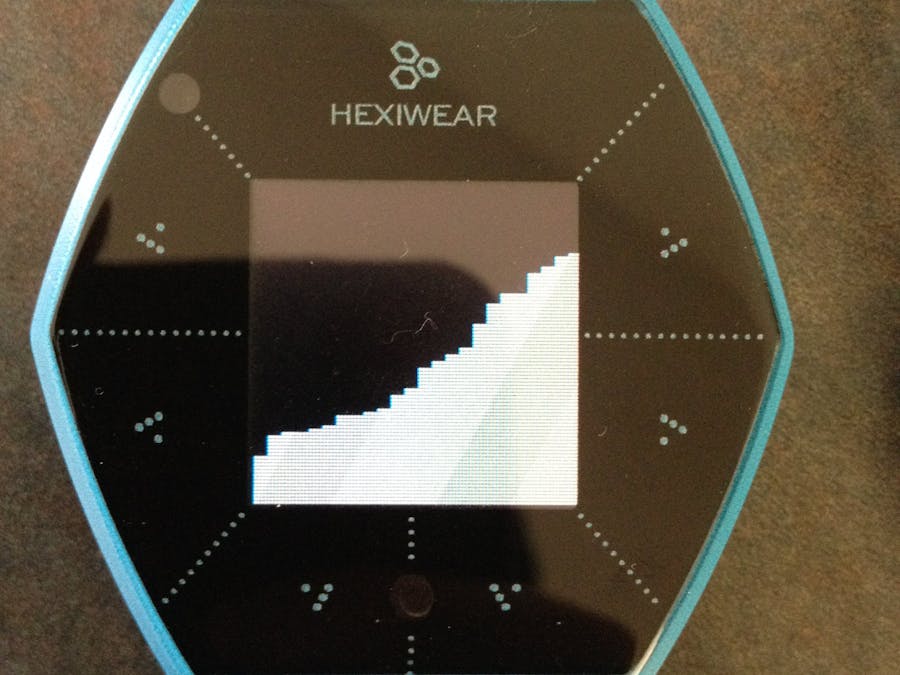
As you may have figured out by the title, this is a motion detector. MotionWear uses the gyro sensor on the Hexiwear and calculates the RMS (root mean square) of the three axis of your motion. It will then take that information and output it onto the 1.1in. OLED screen on the Hexiwear as a bar graph. At the end of 12 hours you will have a bar graph of your activity with each data point being your average movement per 30min.
What can this be used for?Anything you want to track the motion of over a long period of time! This could be your sleep motion, or your daily motion. The Hexiwear is small enought to fit right into your pocket. Just click the reset button (on the back of the Hexiwear) whenever you want to re/start!
How do you make it?Easy! Just download the .bin file in the attachments section, drag-and-drop it into the “DAPLINK” drive that appears after you plug in the Hexiwear, and then reset the Hexiwear to start the program.
Here’s the step-by-step instruction for what to do:
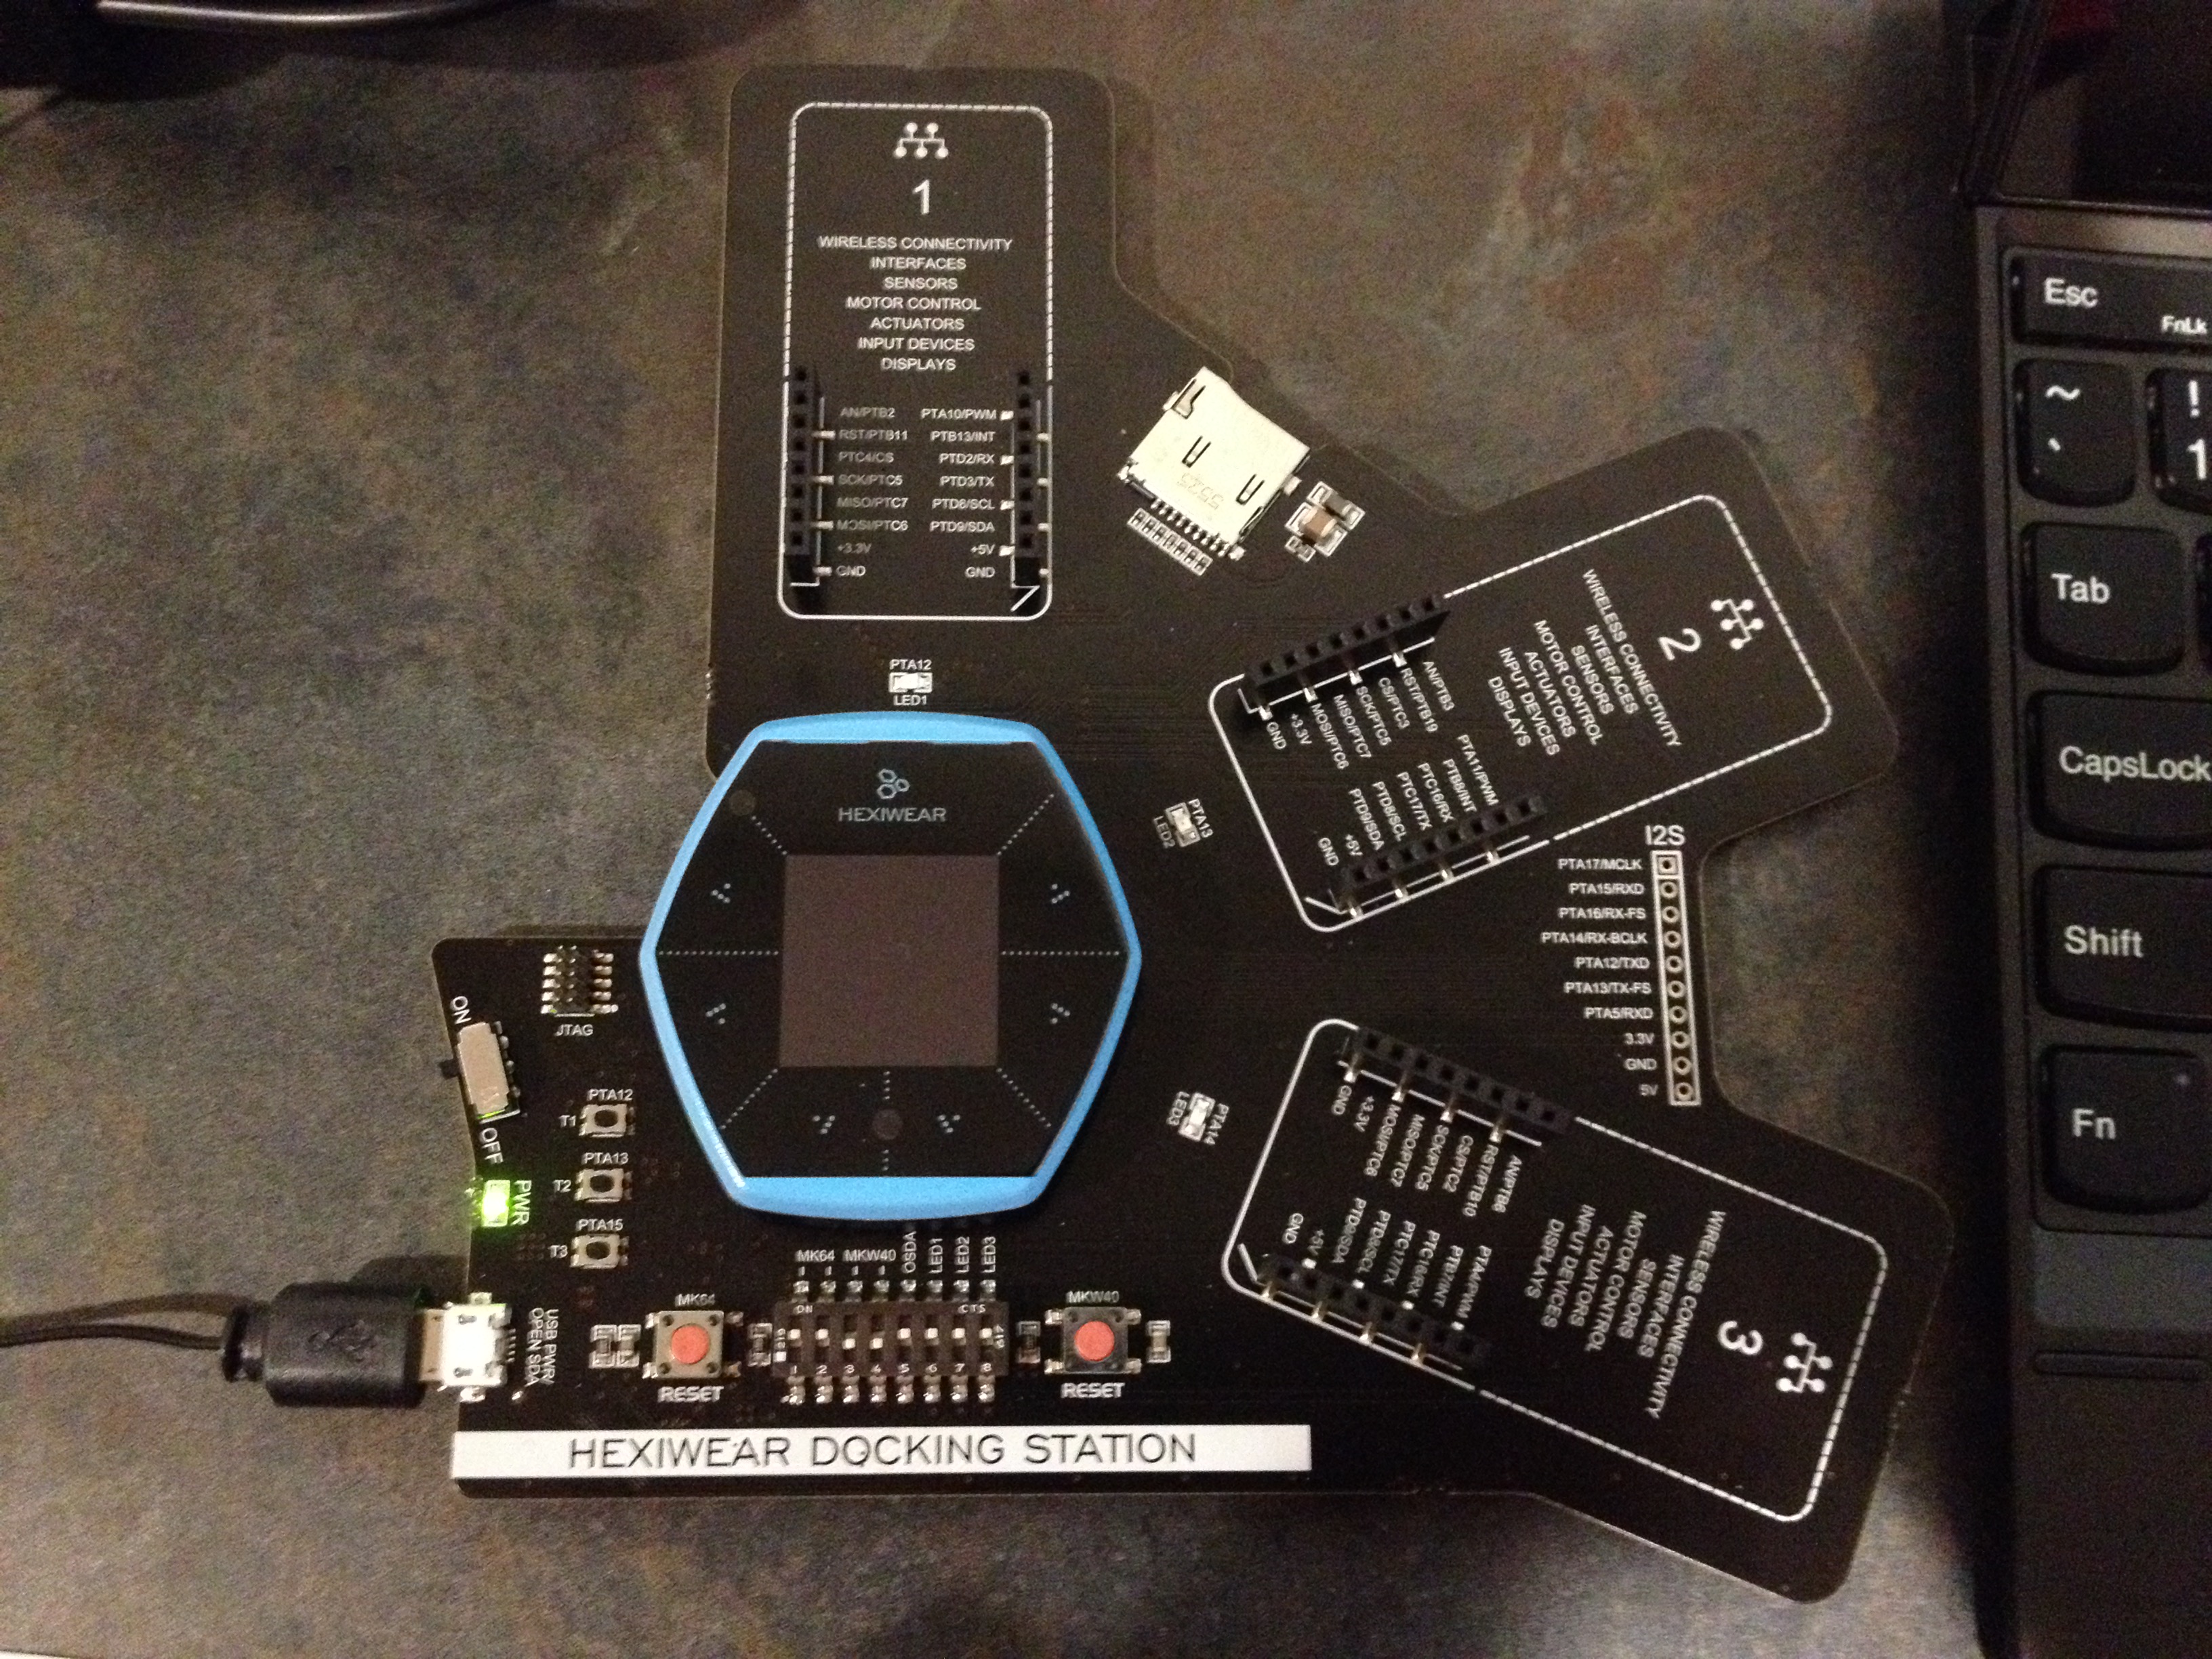
1. Plug the Hexiwear into the Docking Station.
2. Plug a Micro USB cable into the Micro USB port on the Docking Station.
3. Plug the other end of the USB cable to your computer’s USB port.
4. Flip the switch on the Docking Station to turn on the Hexiwear. A green LED with the letters “PWR” above it should turn on. You should also see a new mass-storage drive named “DAPLINK” appear.
5. Go to the Attachments section of this project and download the .zip folder from the GitHub link.
6. Extract the files in the zip folder.
7. Double-check the debugger. The switches’ positions should be up, up, down, down, up, up, up, up.
8. Drag-and-drop the file “Motion_HEXIWEAR.bin” into the “DAPLINK” drive.
9. Wait for the file to finish it’s transferring into “DAPLINK”, when it’s done the Hexiwear’s screen should be blank (black).
10. Push the MK64 reset button on the Docking Station (it’s the button with the pink top and a small “MK64” printed above it).
That’s it! After you press the reset button, the program will start.
How to use the MotionWear case (optional)...After you print our the case ("MotionWearCaseForPrint.f3d" or "MotionWearCaseForPrint.stl") you will notice that there are two other items along with the case: a long axle and a tiny rod with a stopper.
First you will need to slide the axle trought the hinge (the part that is on the other side of the Hexiwear compared to the hooking part).
Then you will need to slide the small rod, stopper side first, into a hole located at the bottom half of the hexiwear.
Lastely, put the hexiwear into the case (making sure the the small rod fits into the reset hole at the bottom of the hexiwear). That's it, you got you case!
The code explained…Basically, what it does is it tells the Hexiwear to collect data every minute from the three axes of the gyro sensor. It then converts the three data points into a single number the determines your motion from the scale of 0-1000. After it does this 30 time (in other words after 30min.) it will average all 30 data points and draw a bar graph on the Hexiwear’s OLED screen. The code will repeat this 30min. process 24 times. In total, the code takes 12hrs. to complete.
Final notesSo, there you have it! A simple project for the Hexiwear platform. Please respect this project if you liked it, and please feel free to leave comments or questions for this project!
*please note that the attachment ".f3d" can't be printed because it has a Hexiwear (shape) in it that would also be printed*
Thanks!


Comments
Please log in or sign up to comment.