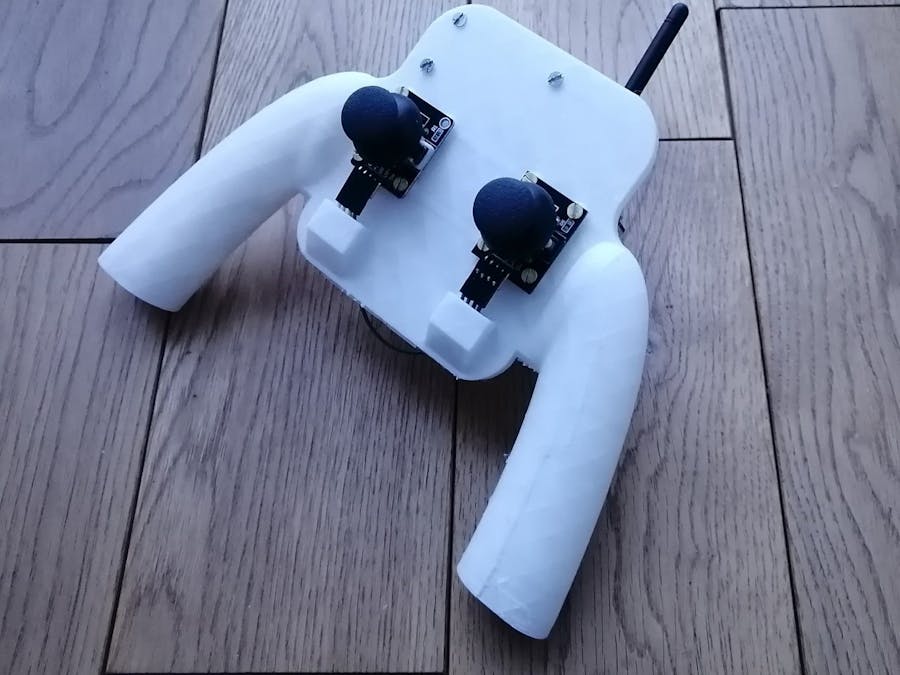
This RC controller will be use in a future project where I'll build a quadcopter. It composed of 2 joystick (one for the direction and the other for "up and down").
DesignI will focus on 3D printing and design for this project, because it took more time than the code itself. I was inspired by the PS4 controller design :
But my controller is less complete and has less buttons than this one (and is maybe kind of weird, but it works). First design :
After the printing, I saw that this design isn't adapted for a good joystick control.Here is my second design :
Here is the entire code of our controller :
- In the first part of this code, we initialize librairies (SPI, Mirf, nRF24L01 and MirfHardwareSpiDriver).
- Then, in void setup, we define all parameters required for the sending of values. CE and CSN pins are 3 and 4.
#include <SPI.h>
#include <Mirf.h>
#include <nRF24L01.h>
#include <MirfHardwareSpiDriver.h>

void setup() {
Serial.begin(9600);
Mirf.cePin = 3;
Mirf.csnPin = 4;
Mirf.spi = &MirfHardwareSpi;
Mirf.init();
Mirf.channel = 1;
Mirf.payload = sizeof(int) * 5;
Mirf.config();
Mirf.setTADDR((byte *) "dron1");


}

void loop() {
int valeurs[4];
valeurs[0] = analogRead(0);
valeurs[1] = analogRead(1);
valeurs[2] = analogRead(2);
valeurs[3] = analogRead(3);

Mirf.send((byte *) &valeurs);

if(Mirf.isSending()){
Serial.println("Values are sent");
}

delay(50);
}Firstly, you'll have to print parts of this controller : the main part, the battery adapter and the arduino nano adapter.
These parts are available below.
Once you've printed arduino adapter and battery adapter, put the NRF24l01 on the slot of the arduino adapter. Then, put the arduino on the other slot beside (as shown on these screens).
Then, to mount adapters, you'll just need to screw up these parts to the main body. You'll have to use M3x20 screw. Firstly screw the main body with the arduino nano adapter, and then screw the battery adapter.
In a nutshell :
- Step 1 :
- Step 2 :
(the battery adapter is screwed on right joystick holes)
Then, you can connect all components and your RC Controller is finished ! ;D
Follow me on Tipeee for more informations on upcoming projects :D !MisterBotBreak – Tipeee


Comments
Please log in or sign up to comment.